If Thor had to make a croquet set, he’d have this one. Big. Bad. Burned. And ready to bring the thunder.
Want one of your own? Here’s how I made this croquet set.
Table of contents
- Choose the wood for the wood mallets.
- Make the blank for the head.
- Table saw habits: tool tip.
- Draw a circle for the head shape.
- Make a test piece.
- Shave the extra wood from the head.
- Make the mallet’s neck.
- Side cutting: tool tip.
- Add a fired up finish.
- Glue the handle and head.
- Sand and finish.
- Make the hoops.
- Adapt to real life.
- Add color to the hoops.
- Dial-in the handle.
- Make the set weather-ready.

Choose the wood for the wood mallets.
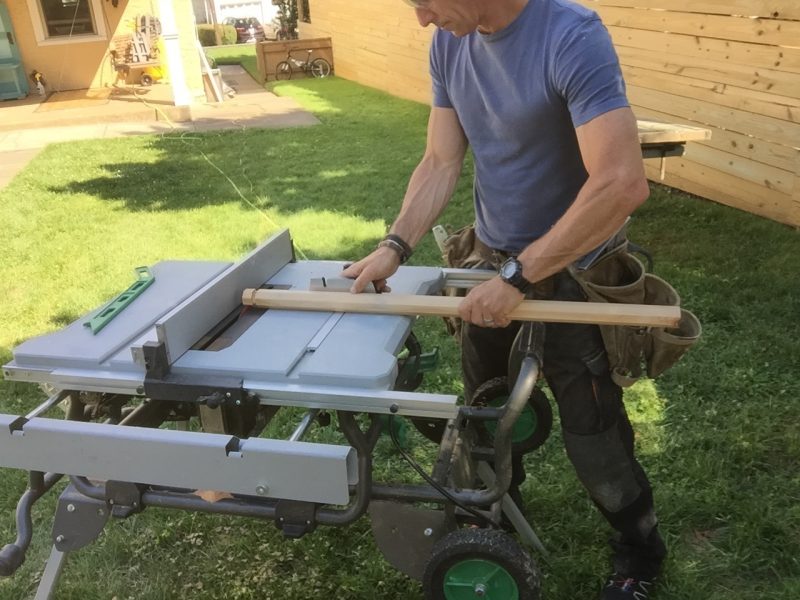
I started with the mallets and the straightest, tightest grain Douglas fir 4×4 I could find at The Home Depot. After cutting the 4×4 to 36-inches of tight-grained goodness, the next stop is the table saw.
Make the blank for the head.
To get this croquet set started with a 1 1/2-inch x 1 1/2-inch ‘blank’ (square length of wood that we’ll work on), I start by making a 2-inch wide rip. This means that as I cut the blank down I’ll be sure to cut off any damage or dings the wood will have in it and I’ll be working with the interior of the piece.

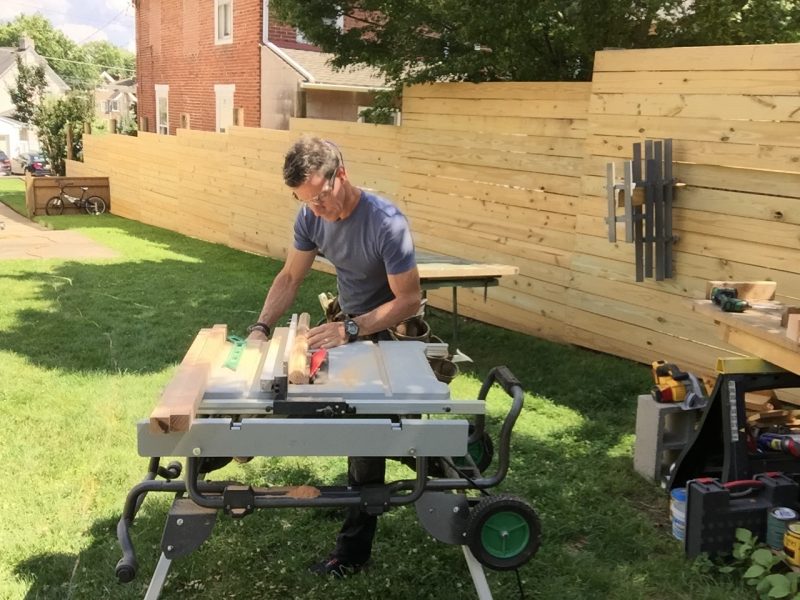
Table saw habits: tool tip.
Three things happening here. First, develop good table saw habits. Habits keep you safe. Second, I’m using a push stick—which I always do for pieces 1 1/2-inches or under. Third, my left hand doesn’t go past the front of the saw on cuts like this.
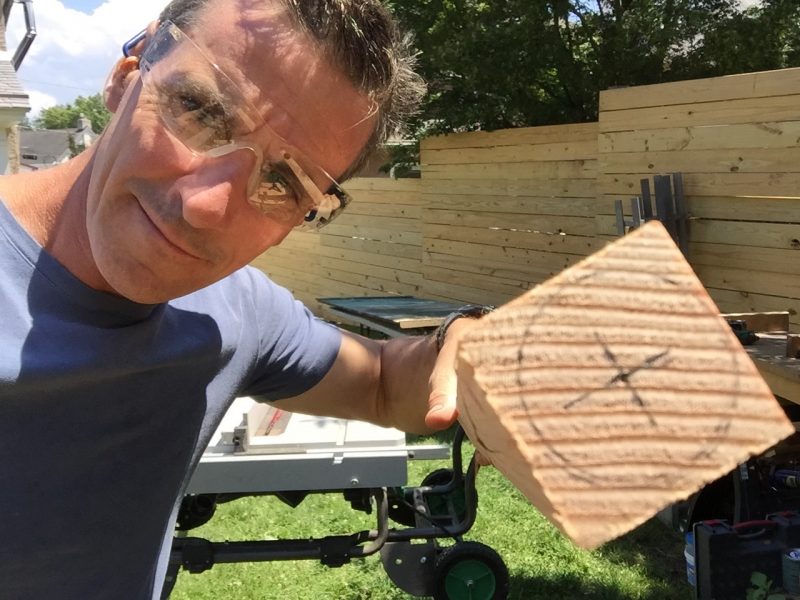
Draw a circle for the head shape.
Mark the center of the blank, then use a compass to swing a circle. I own a nice one, but you might be able to snag one out of your kid’s desk drawer. It doesn’t have to be perfect. I’m using it as a guide to set up the table saw for the next round of cuts.
Make a test piece.
This is one of those projects that lands somewhere between straightforward and somewhat tricky. What I do in a case like this—and I can’t recommend it highly enough for DIY, woodworking, and other projects like crown molding—is make a test piece first.
This process usually reveals most of the mistakes, pitfalls and ‘oh, I see how that works!’ moments I can then avoid on the finished pieces. Here, I’m using the test piece to set up the table saw to cut the finished pieces.

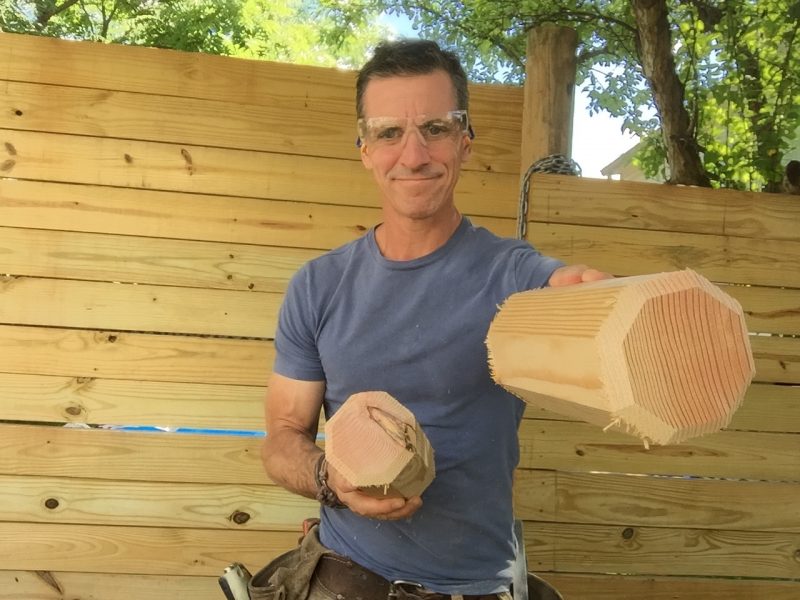
Shave the extra wood from the head.
The table saw might be seen as a poor man’s lathe. With the blade beveled to 45-degrees I used it to ease the edges of this square blank to make an octagon. Feels circle-y enough. Note: I made one pass and realized I could get closer to the line so I adjusted the saw fence and tightened it up. Pretty sweet.

I tried to get each face of the octagon on this DIY croquet set mallet heads to be 1 1/2-inch each. While it’s close, I was also going to make a smaller mallet head.
Using the miter saw to clip a tiny bevel off each end of the mallet head gave a sweet look. After all a croquet set should have at least a little bit of a dialed-in look. Even if it’s thunderous.
Make the mallet’s neck.
I set the saw blade just high enough to cut a 1-inch diameter ‘neck’ for the mallet handle. The neck is the part of a hammer handle that goes into the hammer head. I made the first few cuts using the bevel gauge and cross-cuts.
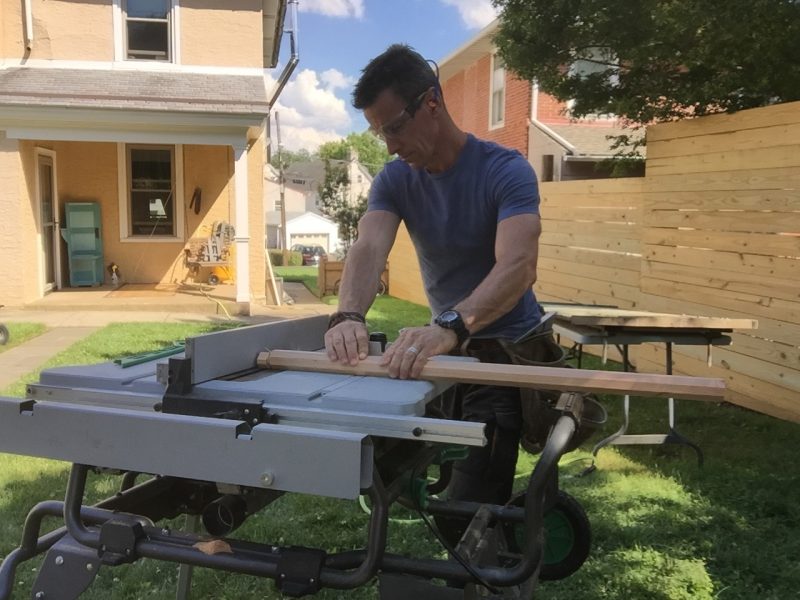
Side cutting: tool tip.
Because cross cutting the neck would result in approximately 3,000 cross cuts, I used a little known ability table saw have: Side cutting. I know carpenters who’ve made crown molding on their table saws using this basic idea.
Basically, I use the miter gauge to secure the piece, then I slide it slowly across the blade. Did I say slowly, because that matters! And don’t try and cut too much—3/8-inch or less is what I did here.
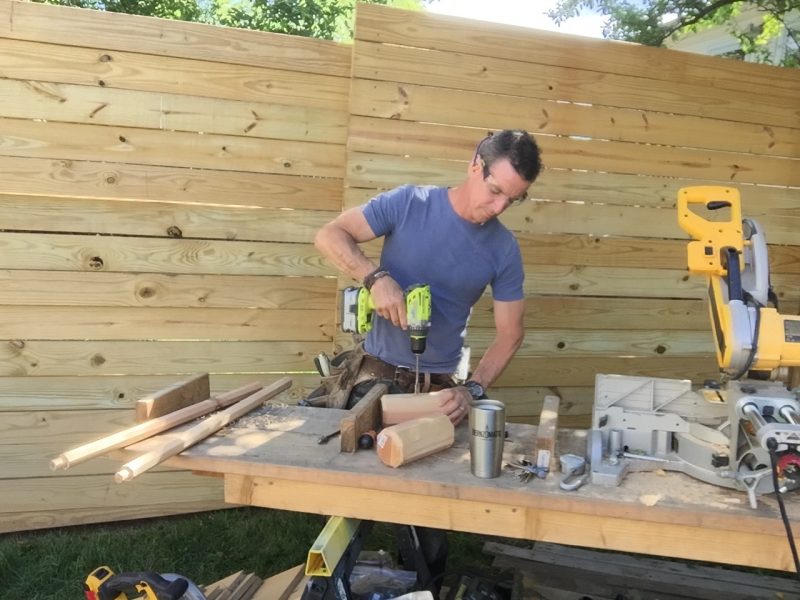
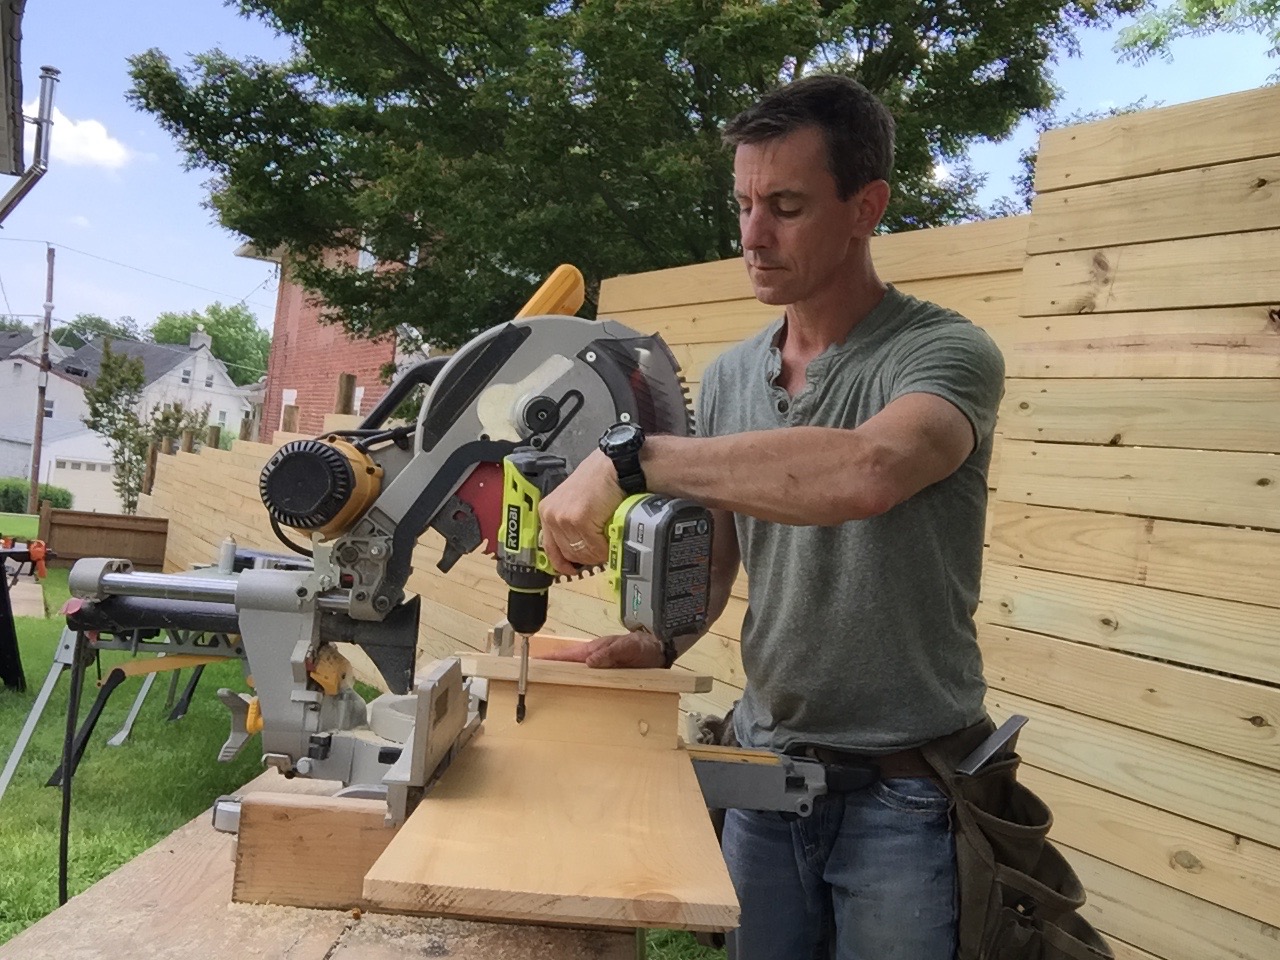
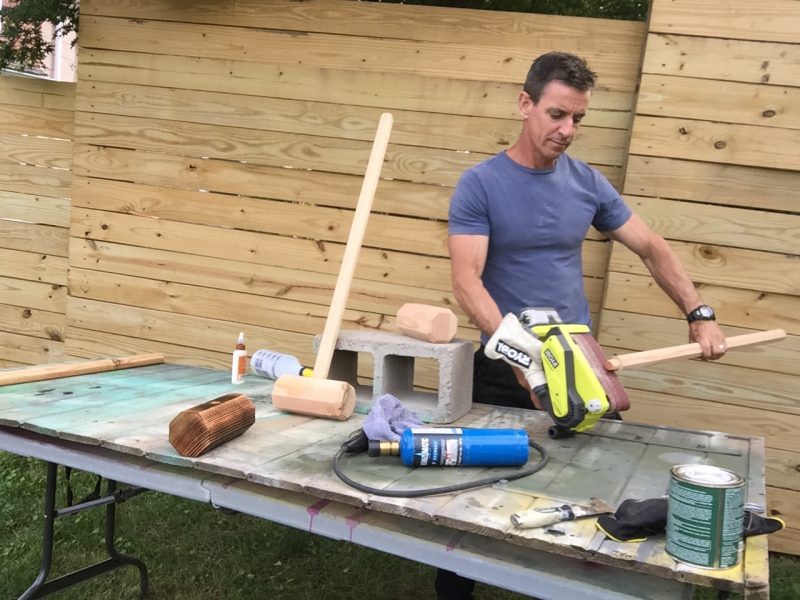
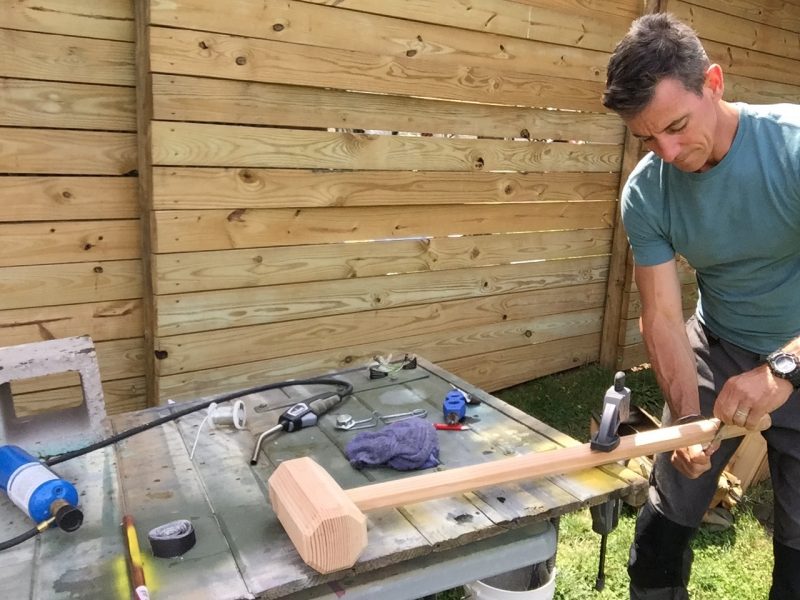
In a real woodworking shop, this would be done on a drill press. All I have is a cordless drill that I press into the lumber. It worked fine.
Tip: match up your drill bit to the actual size of the neck. The hole should be just a tiny bit smaller. Don’t rely on measuring or what the neck ‘should’ be. Using what actually is is the way.
OK, so I’m a dweeb. I sanded the saw marks out of the handles. Yes, and the mallet heads too.
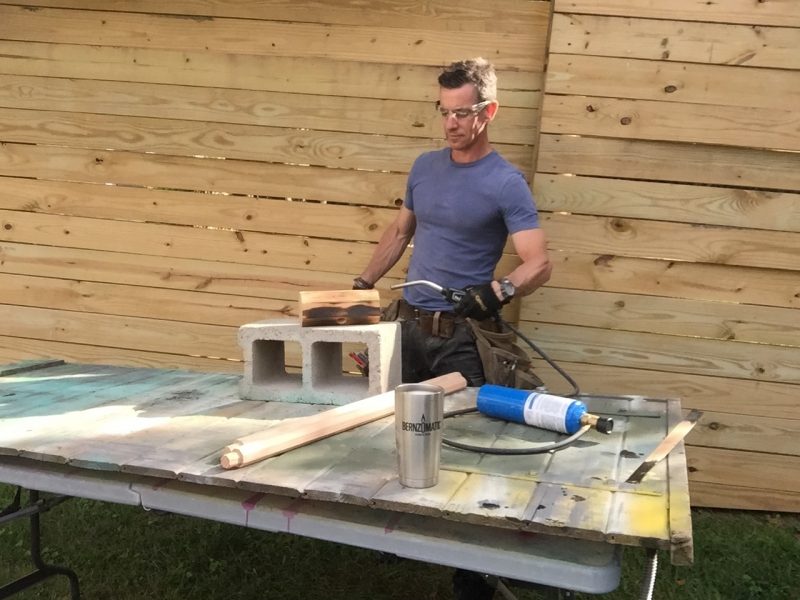
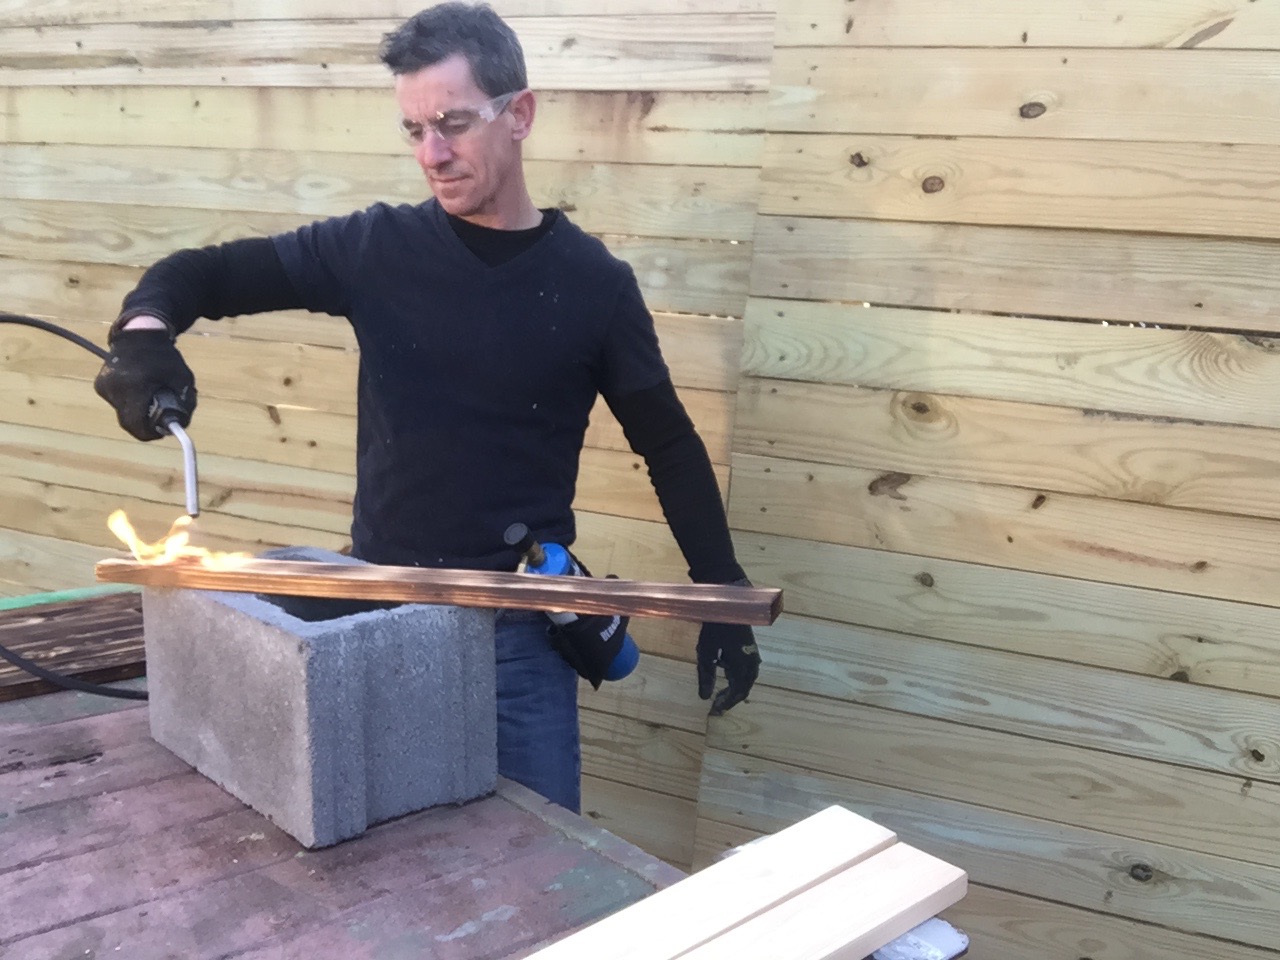
Add a fired up finish.
Using my Bernzomatic BZ8250HT and propane fuel (blue tank) to fire a finish on one of the mallet heads before assembly.
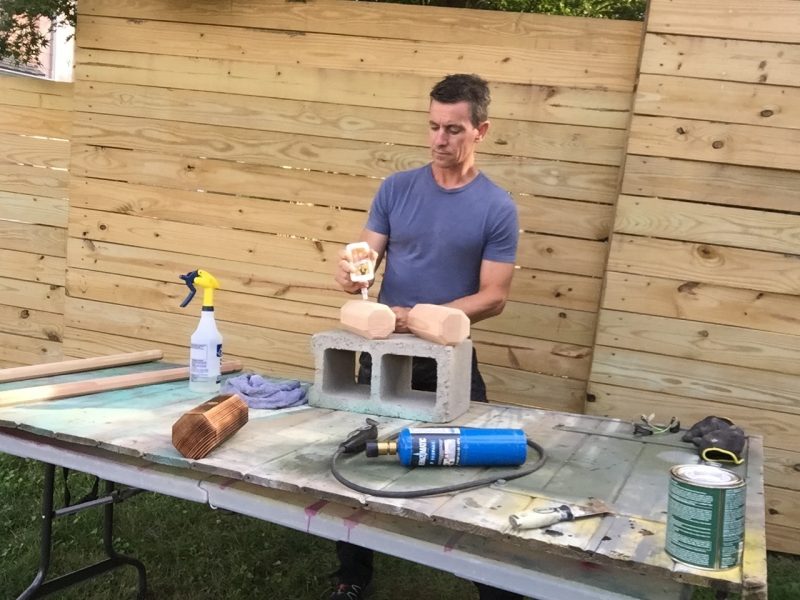
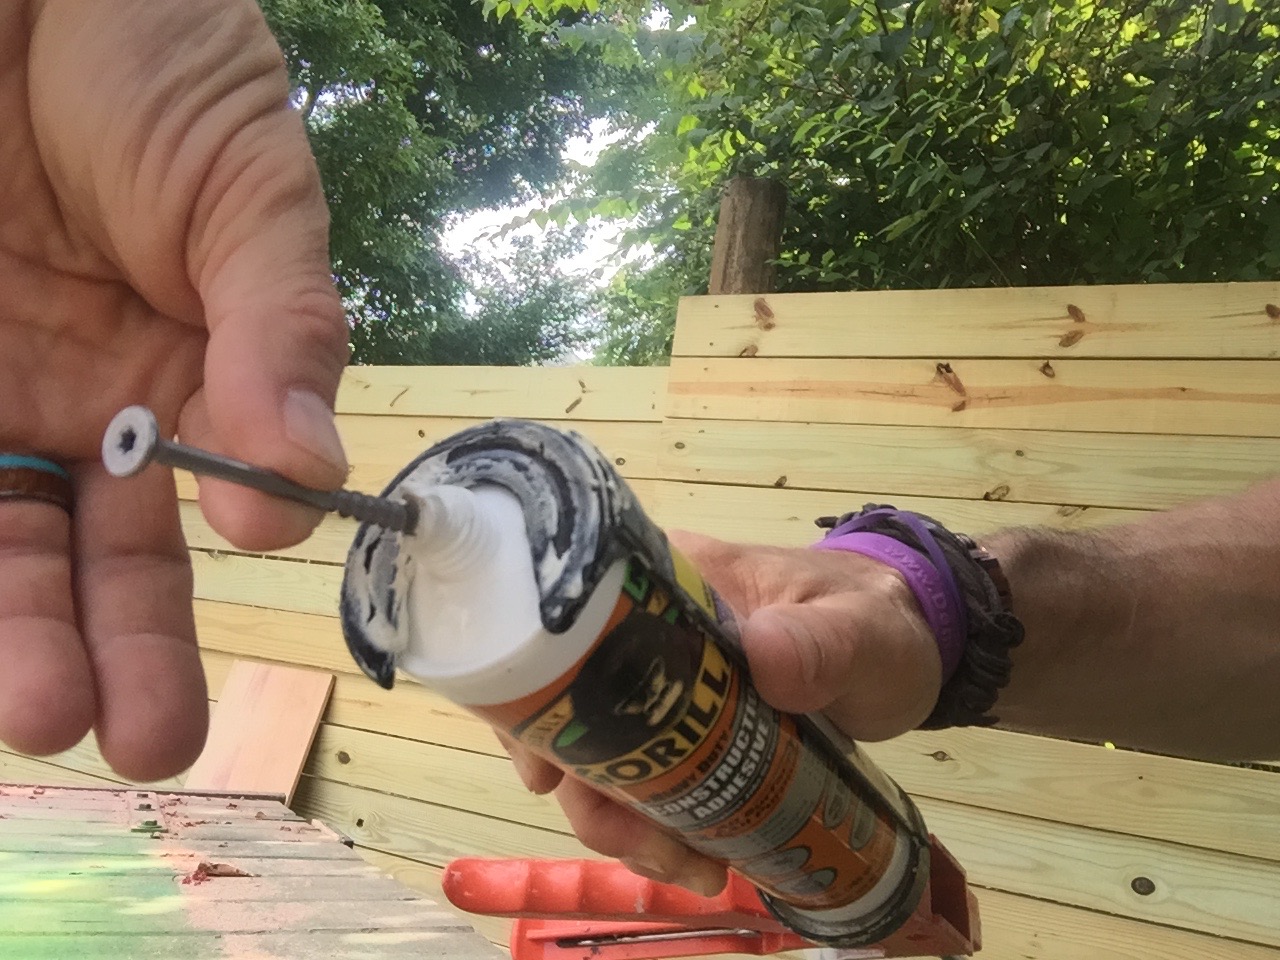
Glue the handle and head.
Glue it to it. I used some Gorilla Glue wood glue to connect the handle to the head.
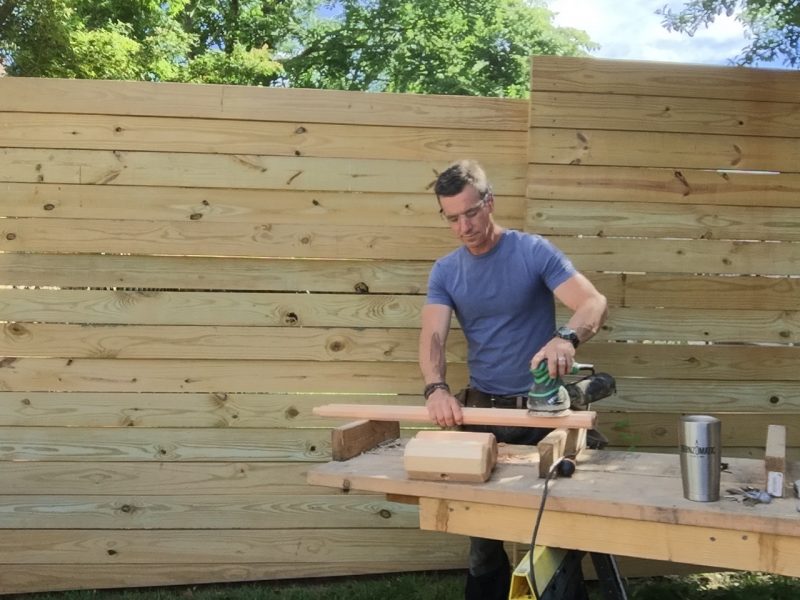
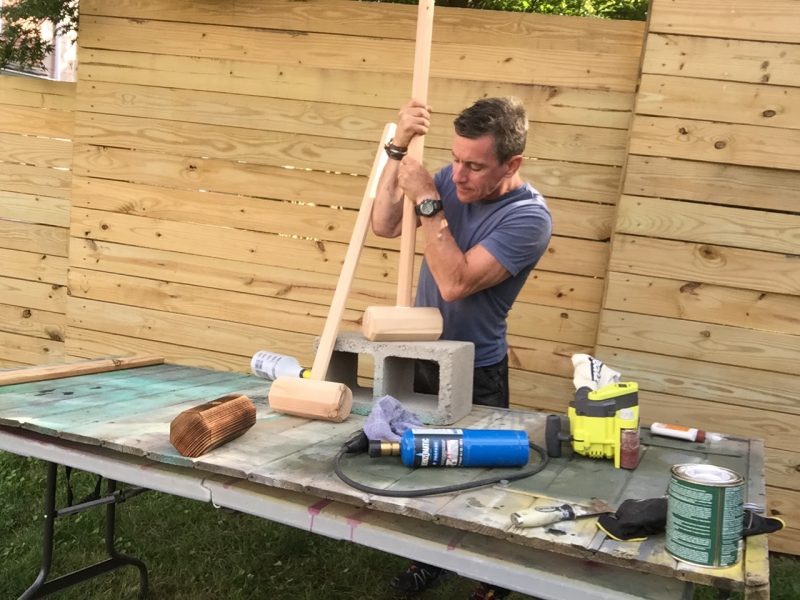
Sand and finish.
Sometimes a little massaging is necessary when your lathe is a table saw. So I used my belt sander to knock down some high spots on one of the mallet necks. Less is more here. In other words, you can always take off more but you can’t put any back so go slow.
The glue will squeeze out of the hole. This is called, technically, squeeze-out. A damp rag is your best defense for both cleaning up the glue (it’s inevitable if you used enough) and for minimizing any blotches on the wood.
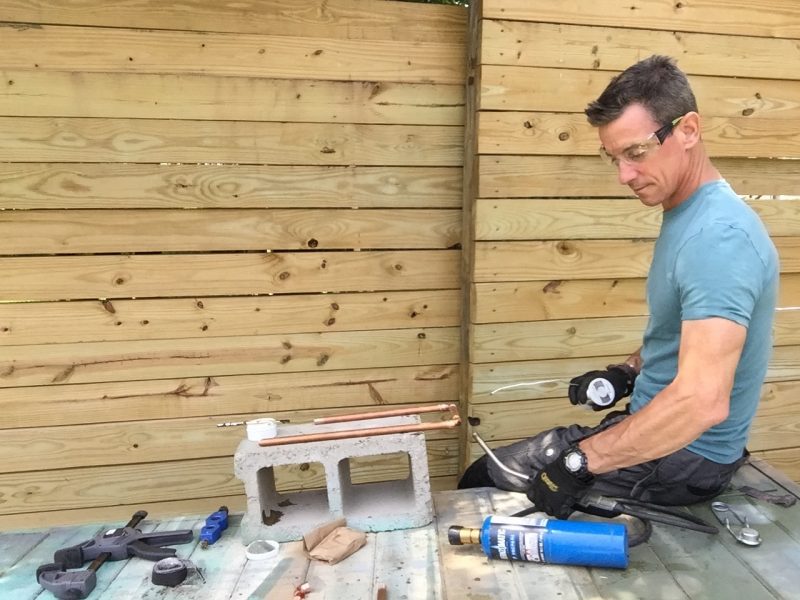
Make the hoops.
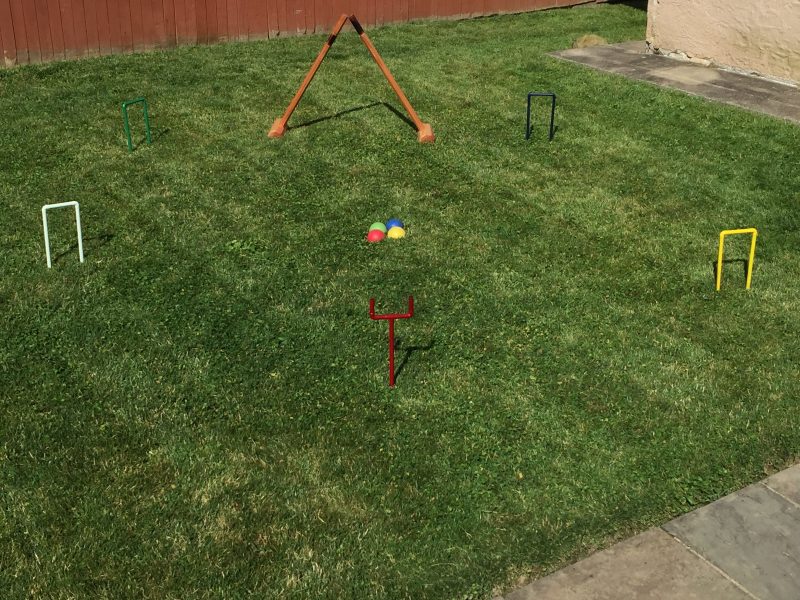
The long leg of the hoop has a 45-degree angle cut on it (I use a miter saw to cut copper pipe—always wear safety glasses). It’s 16-inches long. The top is 5-inches long and the short leg is 12-inches long.
Adapt to real life.
While this isn’t technically croquet set hoop dimensions, I improvised because I’ll be playing with bocce balls on tall grass with an 8-year old.
Also, it occurred to me during this build that I thought I knew what croquet was. Then I found out I was pretty wrong. Want the actual rules (it sounds hard), click here.

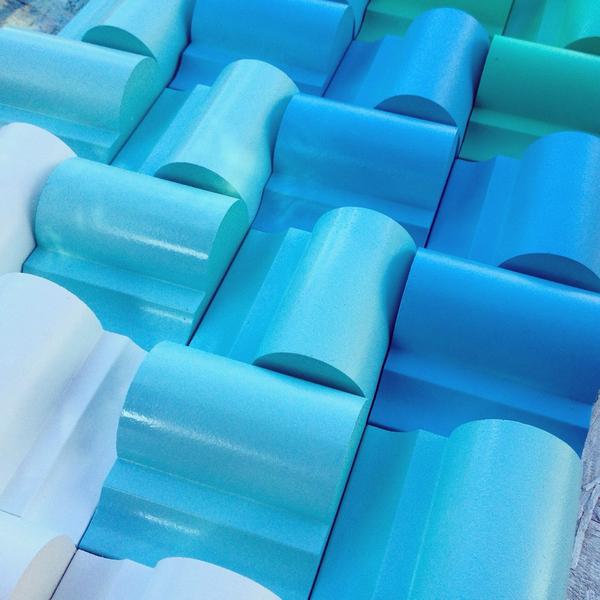
Add color to the hoops.
I checked a few cans of Krylon ColorMaster Paint+Primer from Theresa’s color library and gave the hoops a dash or brightness. After all, I’m boring, but they don’t have to be.
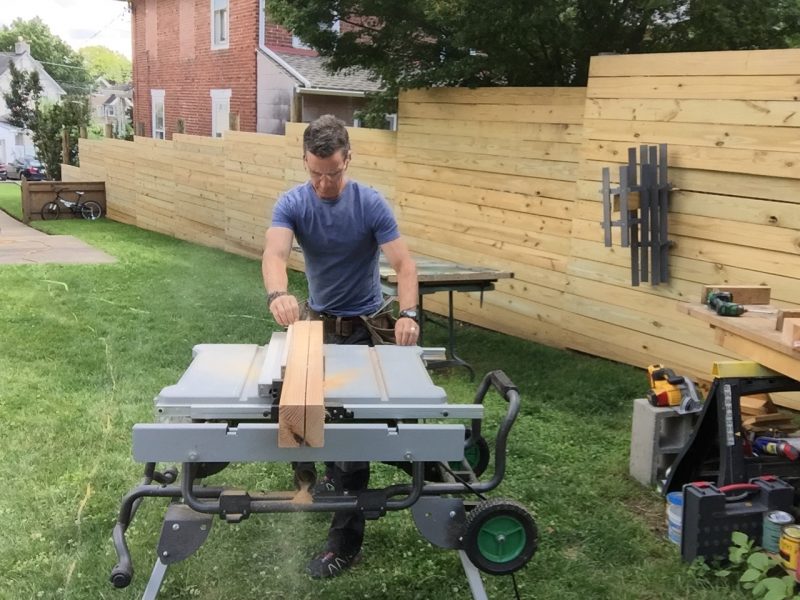
Dial-in the handle.
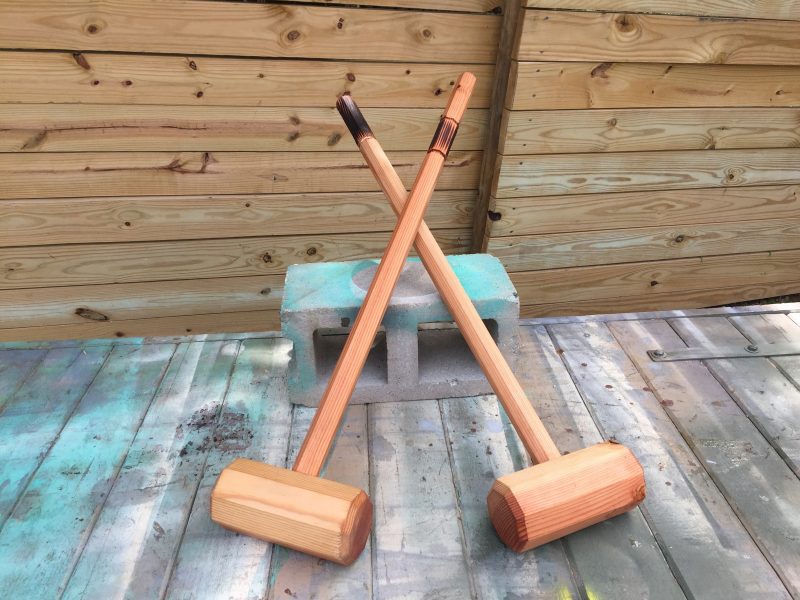
Because I am insufferable, I added a detail to the mallets. I cut a kerf all the way around each handle on the table saw, much like I cut the neck of the mallet above. And then, I sanded it with a long strip of sandpaper.
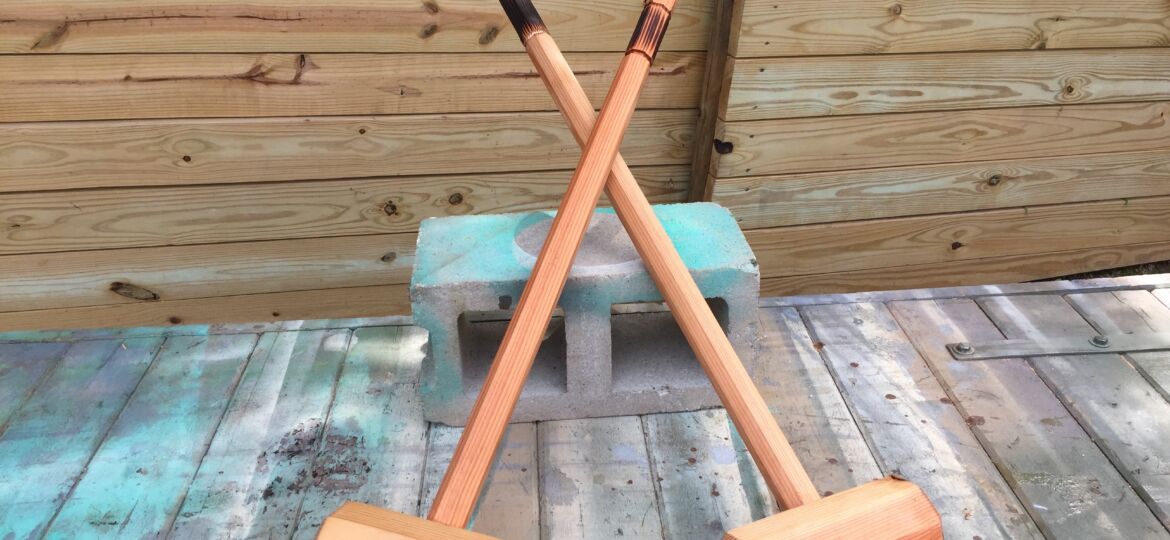
Make the set weather-ready.
A little ‘finished with fire‘ detail for the mallets. I love the burnt look.
I cleaned off the char with a damp rag, then wiped on a mineral oil finish. However, I probably should use boiled linseed oil because these will inevitably get left out in the rain. But, not having any made that impossible at this time.
Want more fire-based projects? Click here for MyFixitUpLife action. Or here for more designers and doers at Bernzomatic.