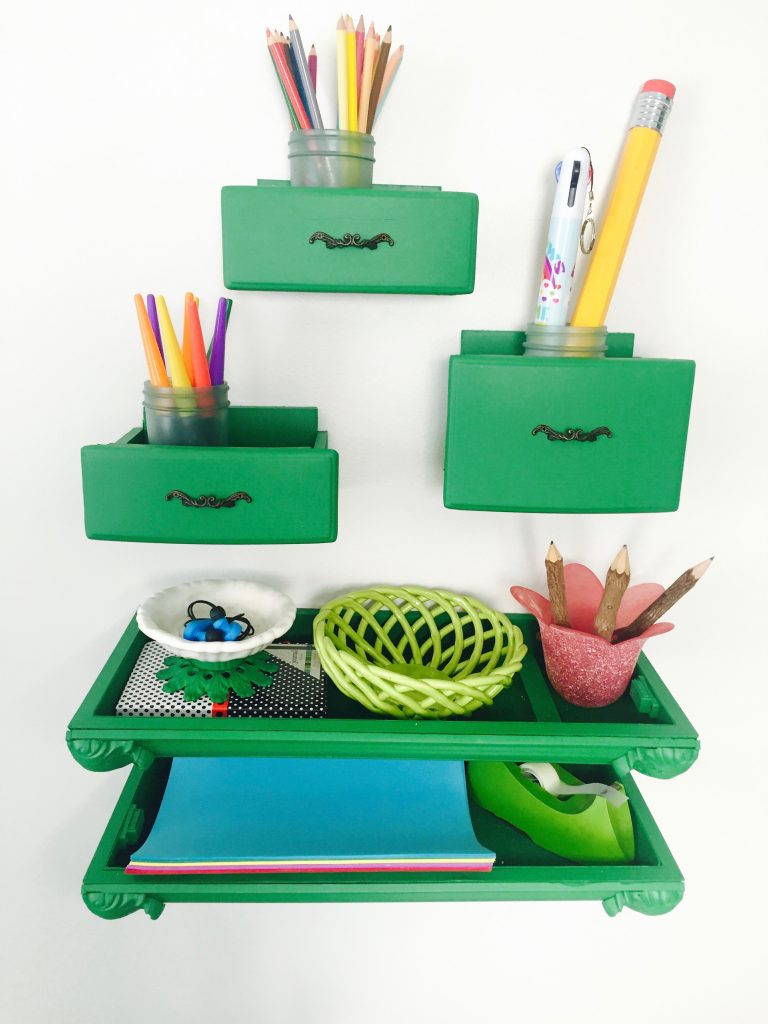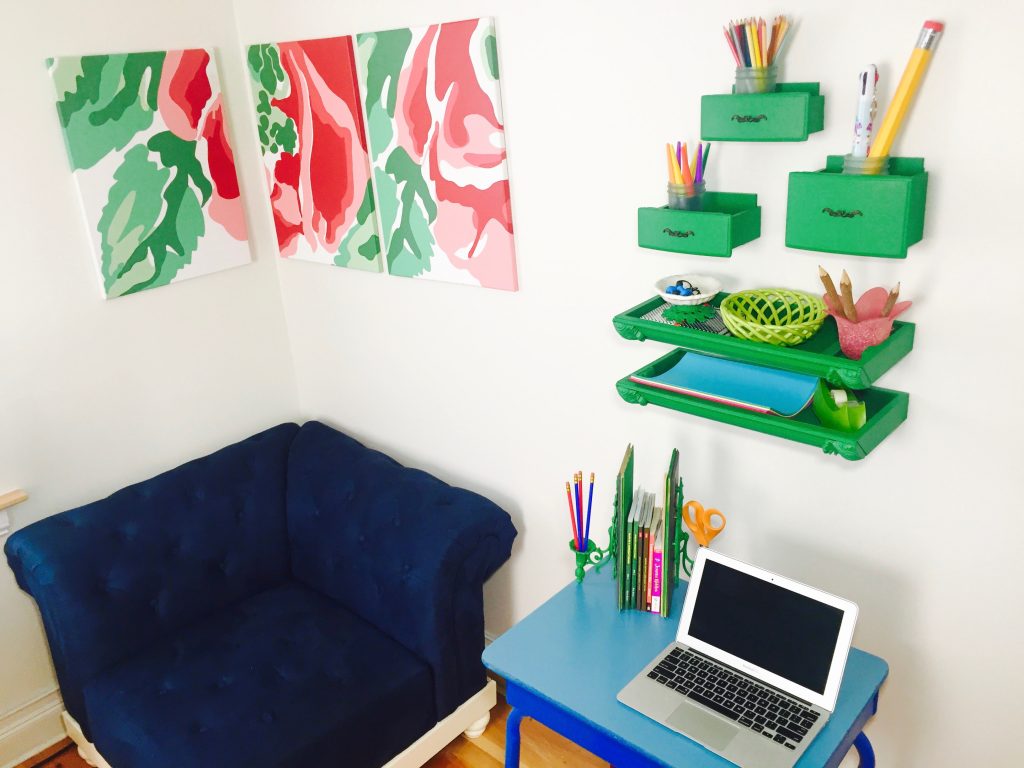
It’s easier than you might think to make your own fun desk shelves.
Deep breath. Back-to-school time is creeping up on us already.
It feels like we just finished field day and unpacked backpacks of last school year’s school supplies and well-worn folders and notebooks. But alas, it is time to start strategizing again on how to tackle the back-to-school paper overload of forms, homework negotiations, and those long-term projects.
My strategy to get organized for back-to-school has already moved into implementation. The goal is to transform everything that surrounds the school experience at home look more fun. And my superhero power to put fun into anything is color.
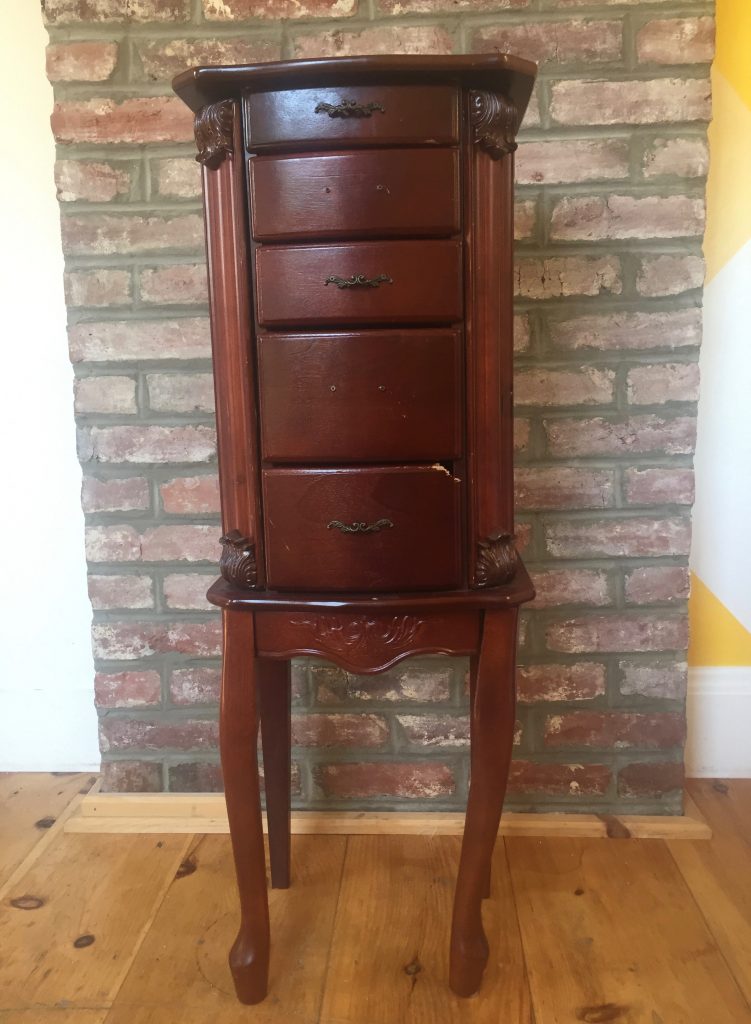
So I shopped my local Habitat for Humanity ReStore for something to use as shelves or cubbies to contain school supplies, and I found the perfect item. It is a jewelry box with several small drawers.
I’m transforming those jewelry box drawers into floating desk shelves. And since green is my happy color right now, I chose Krylon’s Chalky Finish in New Leaf as my color mojo inspiration for this desk shelves project.
Here’s the story of how a jewelry box became back-to-school desk shelves.
There was a jewelry box at my local Habitat for Humanity ReStore that needed a new home. I was looking for an item to use to help organize some school desk chaos. This jewelry box had several great drawers, and perfect sizes for school supplies.
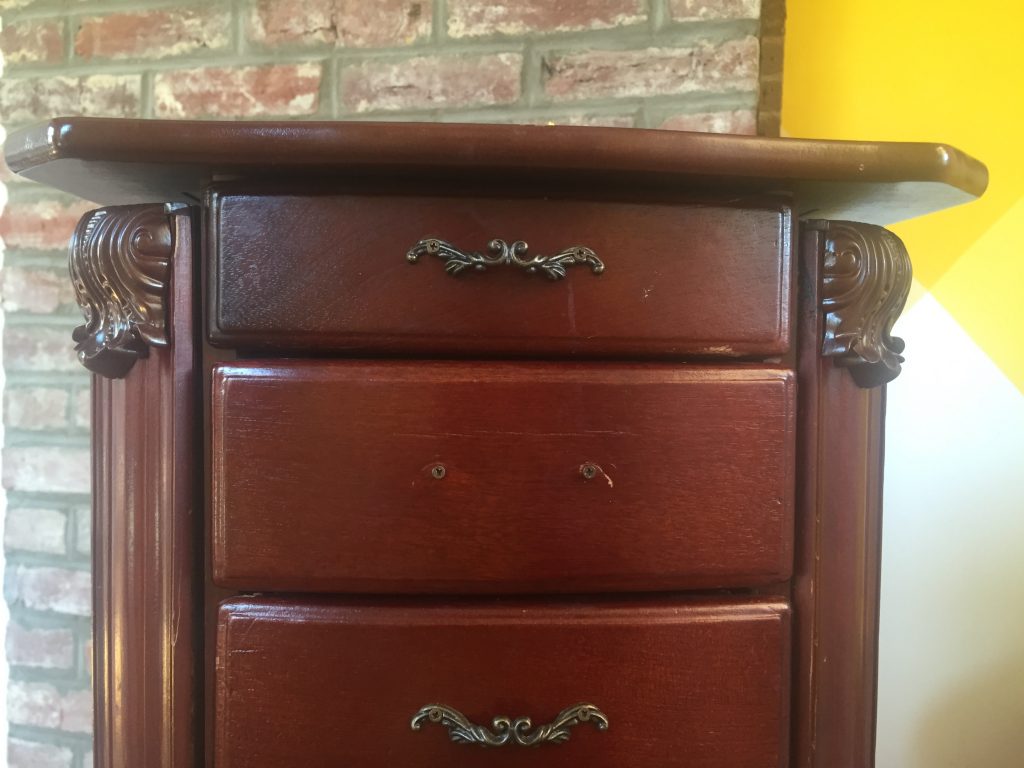
When I shop ReStore, I like to look for items to refresh, restore, or reuse for something else. Since this jewelry box had a few overloved details, like a chipped drawer and missing hardware, it seemed a good candidate for a reuse project.
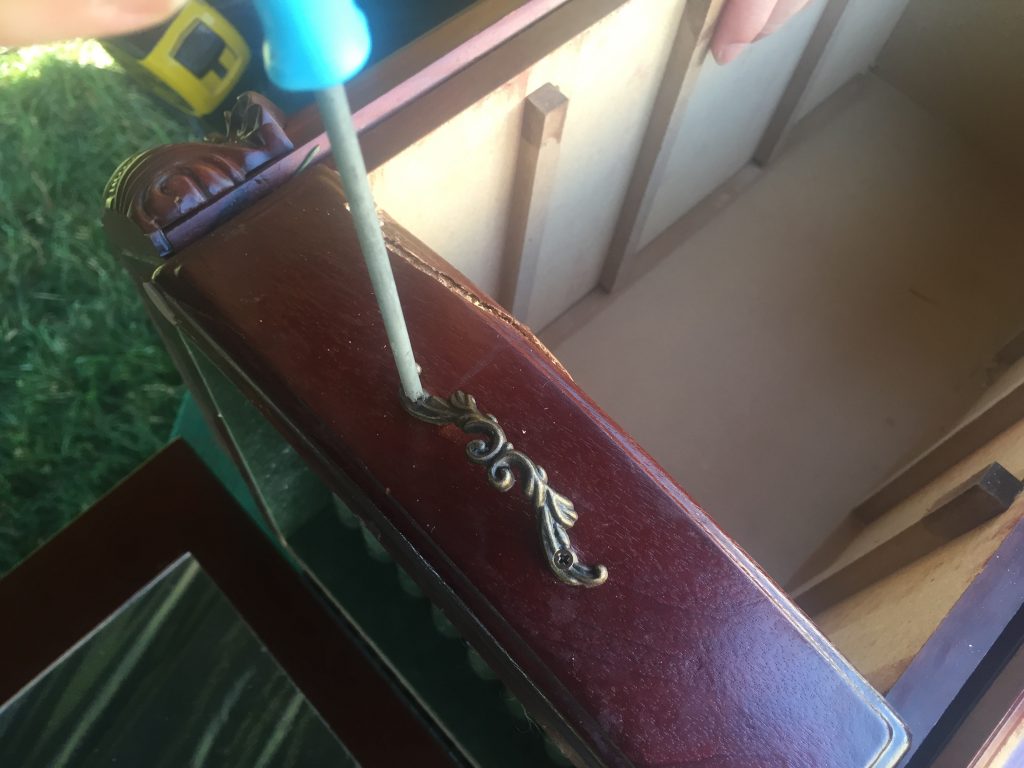
After buying the jewelry box for $16 and taking it home, the first thing I did was remove the drawers and the hardware. The hardware had tiny Phillips head screws so I used my handy screwdriver that’s mostly used for replacing toys’ batteries.
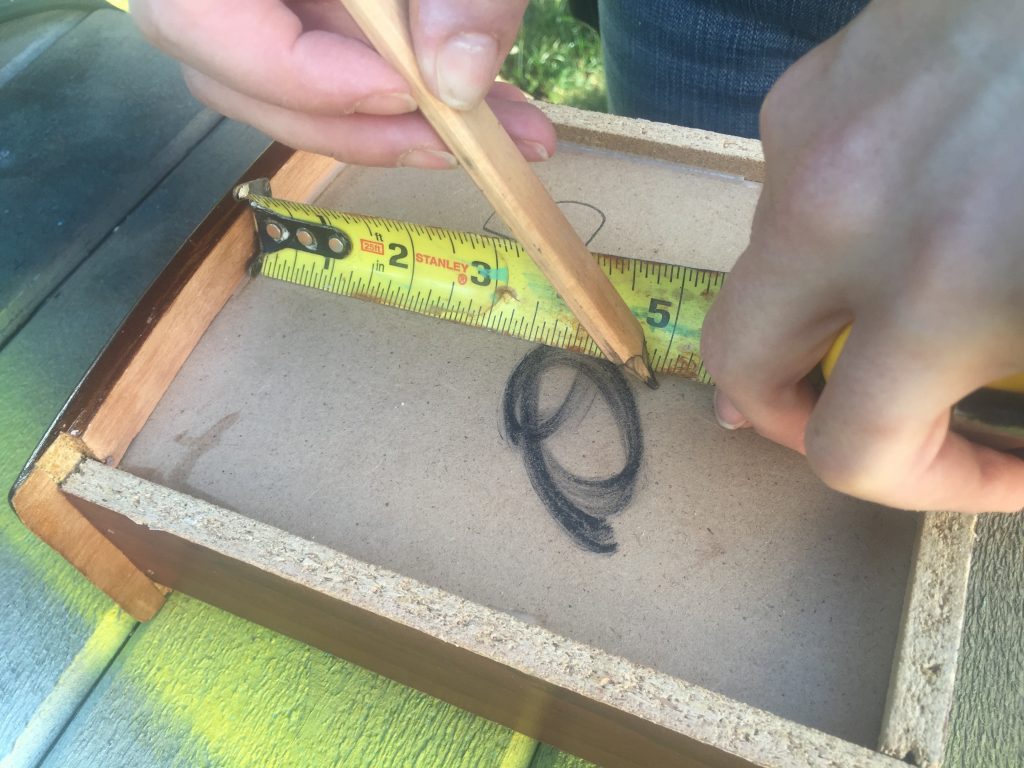
My vision for the floating desk shelves included a free form look, so I wanted to make sure they were all a little bit different and weren’t attached to the wall in a column or row. I decided to cut the three shelves to 3 inches, 4 inches, and 5 inches deep. All of the drawers are deep enough to hold a small mason jar, one of my must-haves for pencils, markers, and pens. It makes it easy to grab the colored pencils to take to another location in the house, if we want to work on a project somewhere else.
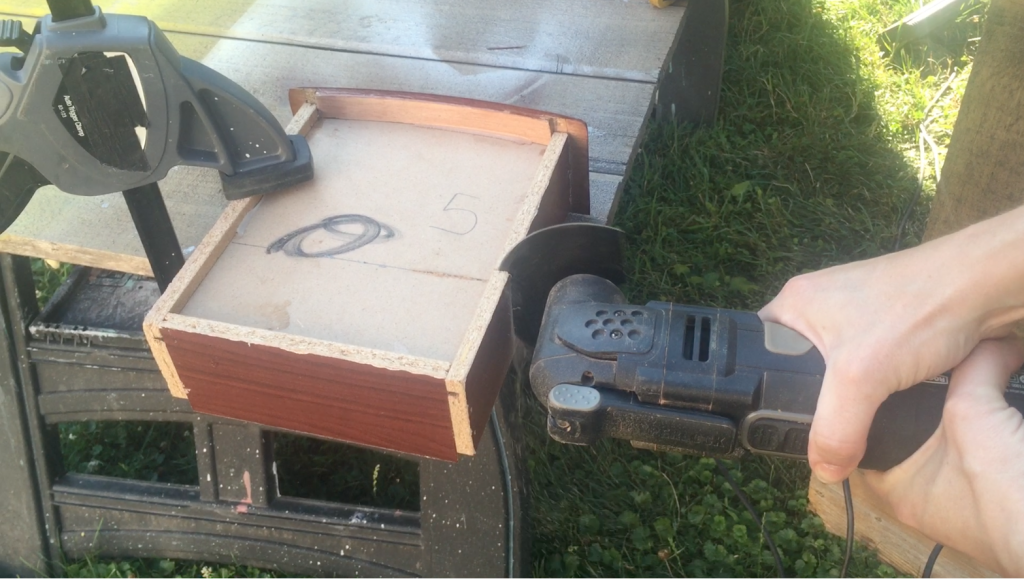
I clamped the drawer to my work table, put on a pair of safety glasses, and powered up my oscillating tool. The drawer was fairly easy to cut through, and didn’t take very long. If you are trying this set-up for a DIY project at your house, make sure that clamp won’t be in your cutting path. It’s one of those easy-to-make mistakes.
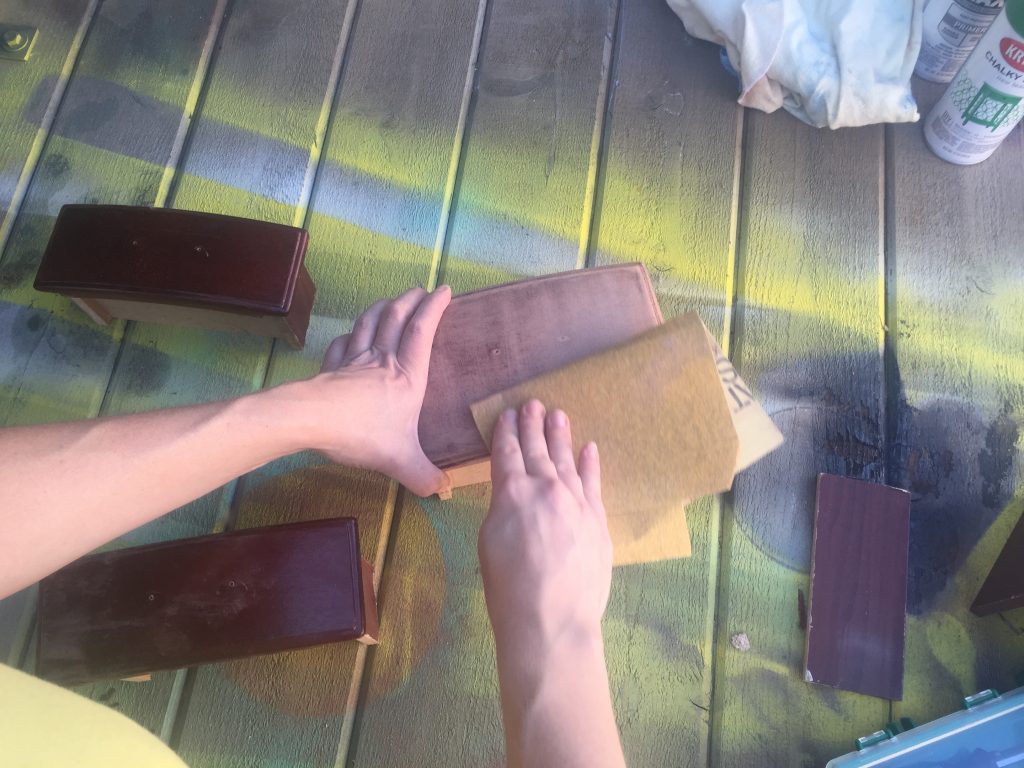
Each drawer was ready to be prepped for paint. Using a medium grit and then fine grit sandpaper, I spent about 10 minutes in my zen-zone and sanded the surfaces to ready them for primer.
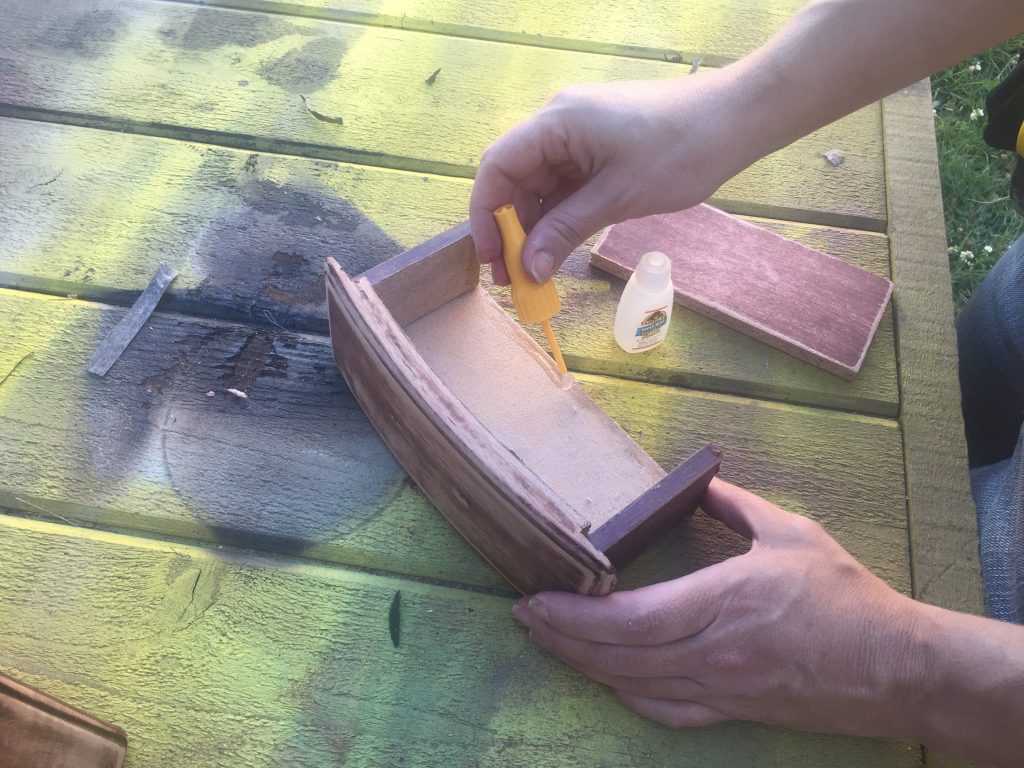
The drawers need a new backer, since the old drawer back was cut off above when I trimmed the depth of each drawer. I decided to just reuse the old drawer backs. They were easy to pry off. Using super glue, I put glue on the drawer back and the inside of the drawer just to be sure both surfaces were covered. The glue sets quickly, but I like to give the glue a little bit of extra glue-hug time, squeezing the pieces together to make sure it is super set.
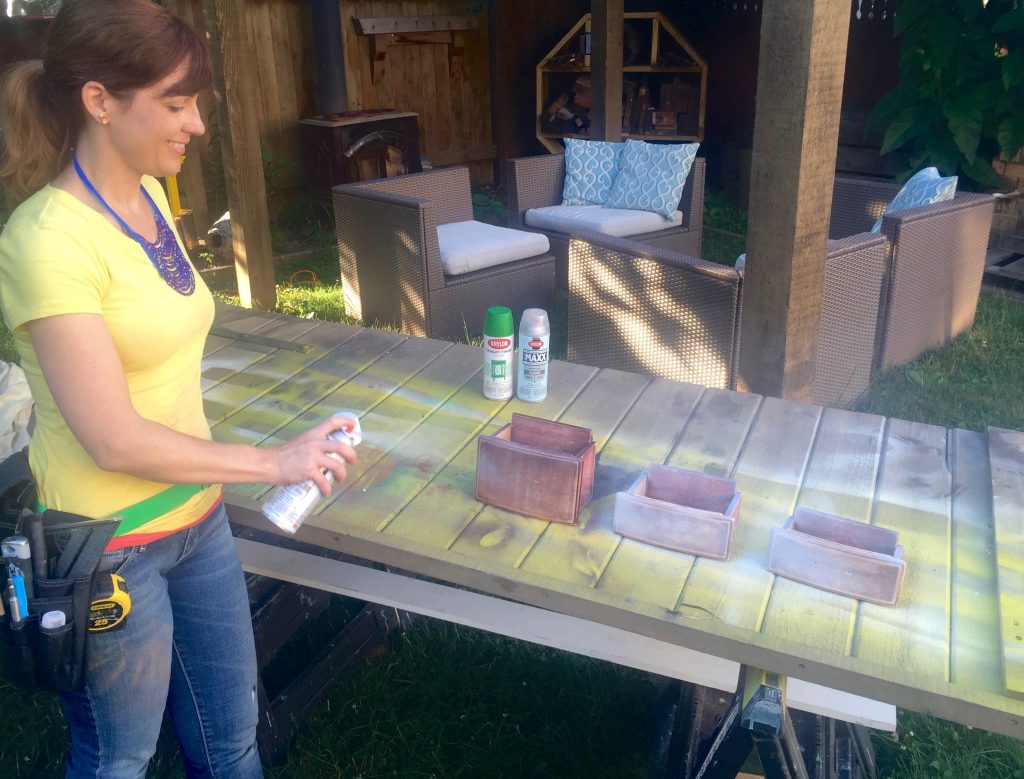
At this point of the repurpose project, I usually have started talking to the project as if the pieces are real people. (I have an anthropomorphize addiction that is quite intense.) So my drawer friends are sitting pretty and ready for paint. I like to prime even when the spray paint says that it’s not necessary. It can only be extra guarantee of super long-lasting color. With a few light, sweeping coats, back-and-forth, I prepped the drawers for the color.
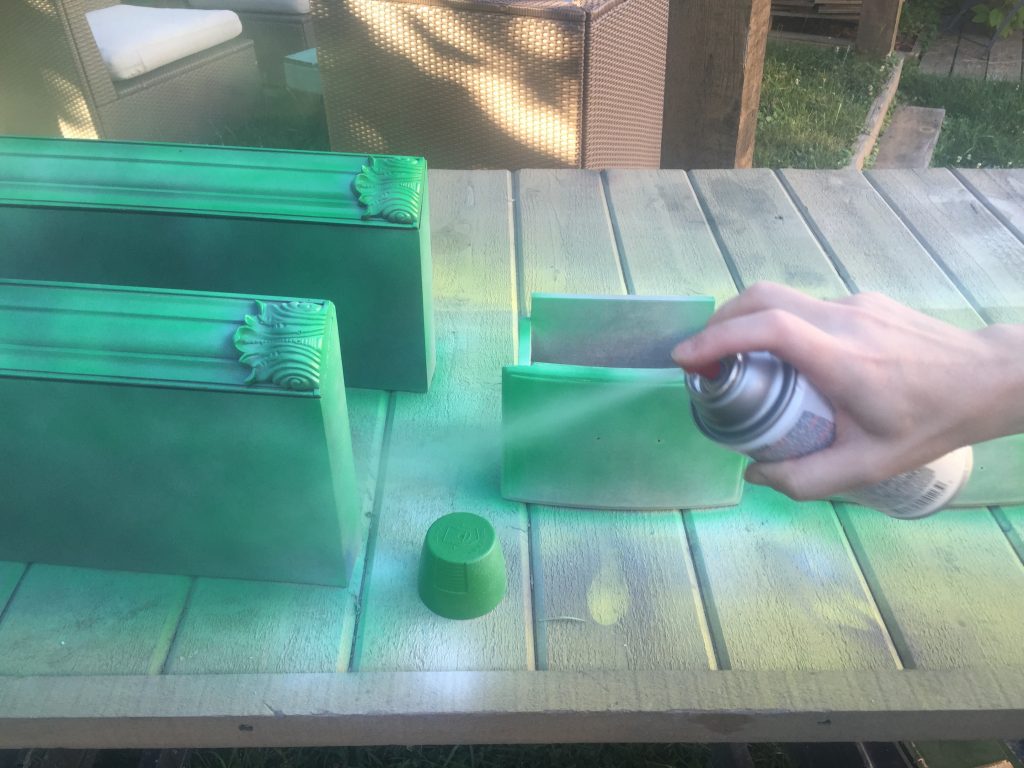
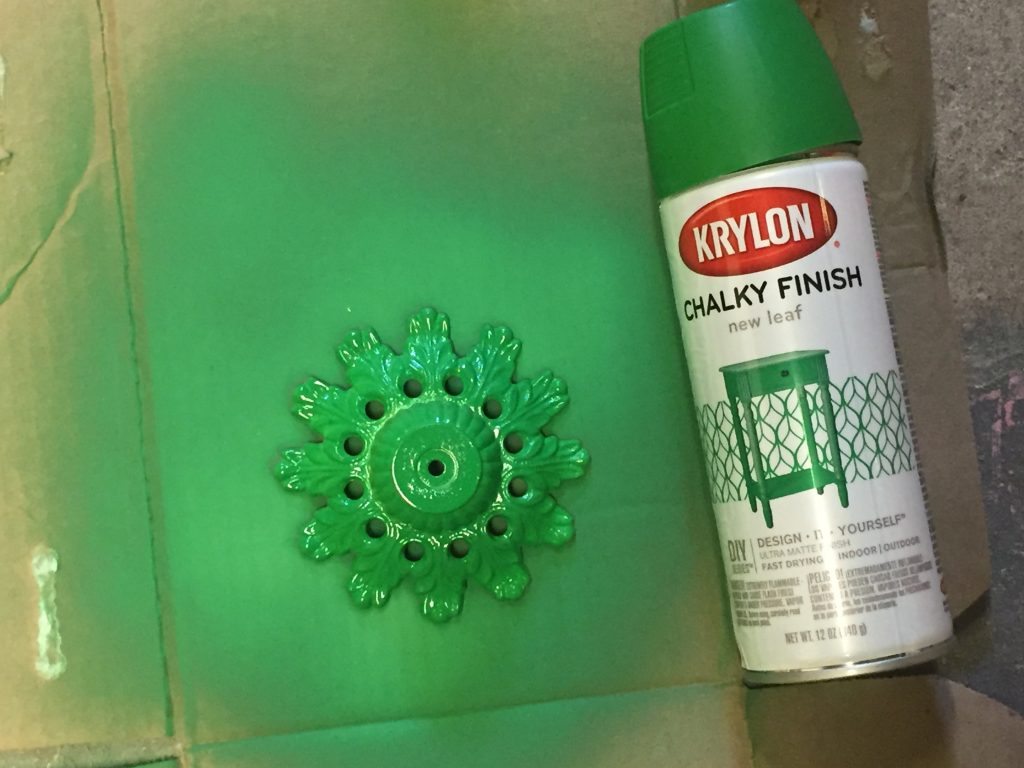
And oh… the color. It’s called New Leaf from Krylon’s Chalky Finish line. I’m crazy about this color (check out my toolbelt), and even more psyched that I discovered this green paint in a chalky finish. I like setting out the cap next to the project that I’m painting. It’s fun to see the color match spot-on to the cap as the light spray paint layers add up. Don’t forget to always read the product label for proper application and safety instructions.
And those little additions on the left are the side cubbies from the jewelry box. Why can’t they be turned 90 degrees and made into shelf-drawers, too?
I liked the color of the New Leaf so much, I painted the base of a little vintage tray that I found at Habitat ReStore for 5o cents.
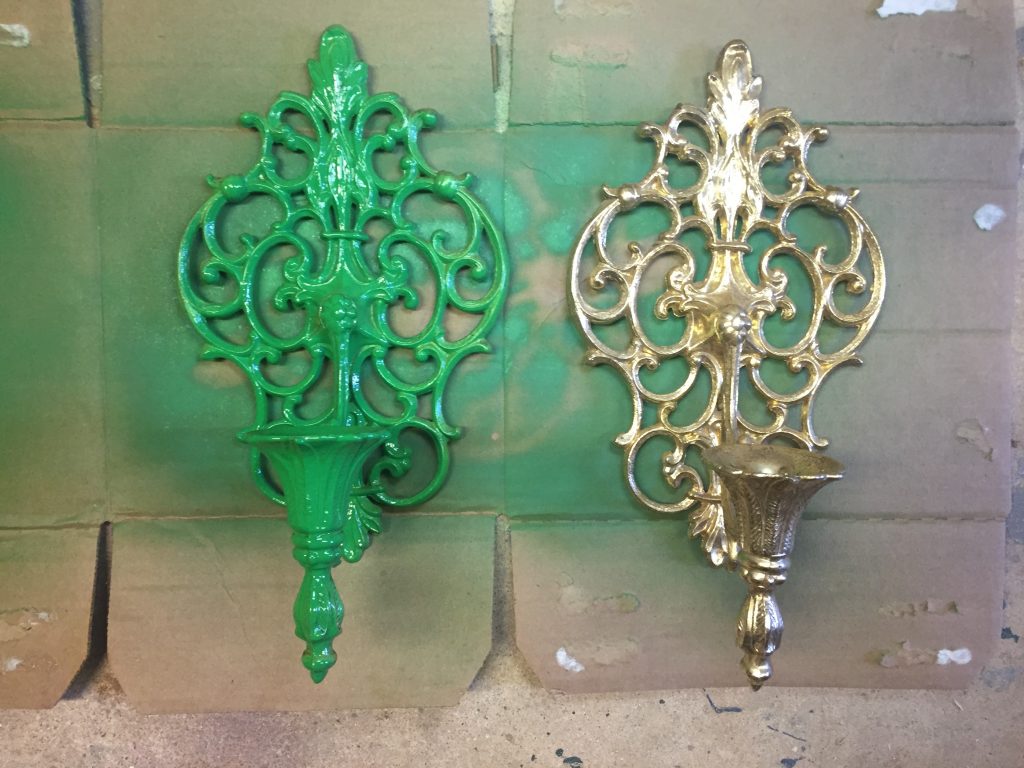
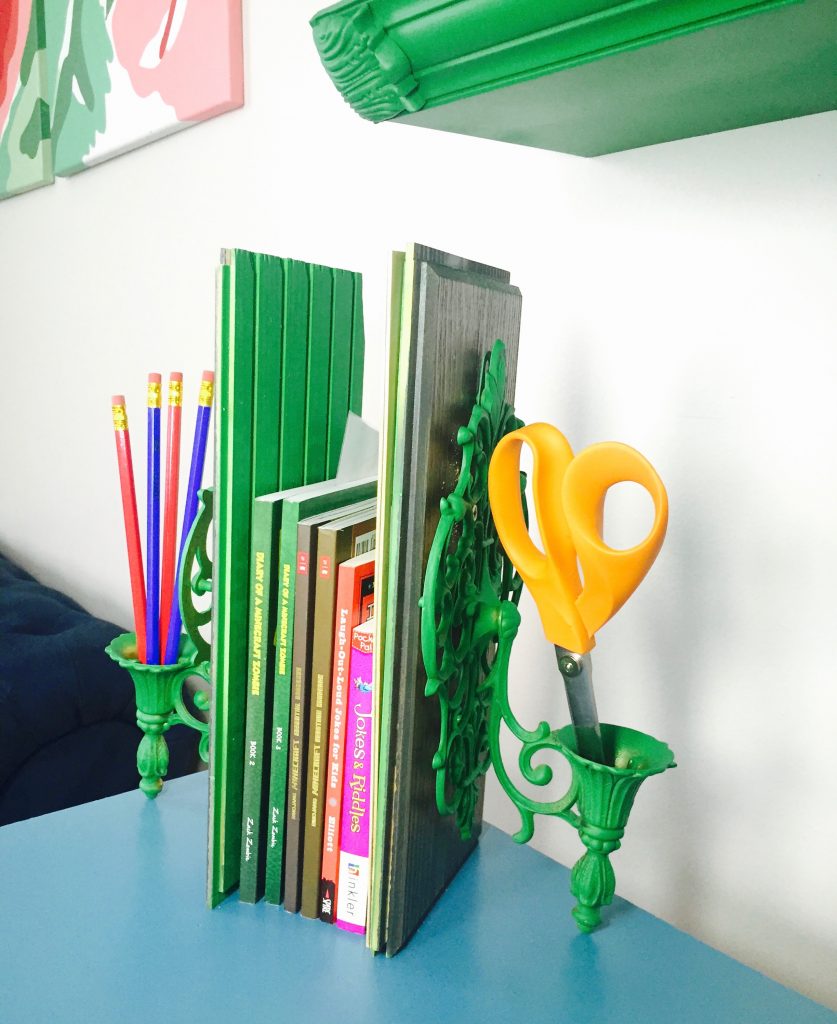
And then it seemed like a good idea to make book ends from this pair of wall sconces I picked up at Habitat ReStore for $2.
I had a few cut-offs leftover from putting in a wood wainscoting in my son’s bedroom makeover, so I painted the backside in new leaf, and attached the wall sconces. The candle holder portion is a perfect ‘balance’ for the upcycle book ends.
Armed with my team of Krylon New Leaf organization items from ReStore, I assembled the work station into a fun little spot to do homework. Of course, there’s a cozy chair for mom to sit and be ready to review and encourage homework productivity. If you are wondering, yes, that is a giant pencil and a giant click-for-colors orbitor pen.
