
Make a play set for your kids. What could be more fun? Get a few tools and sketch up the design. Then, start whacking boards together. Sun’s shining. Lemonade (or beer-mon-ade) is close by. And Junior thinks you’re a hero, right?
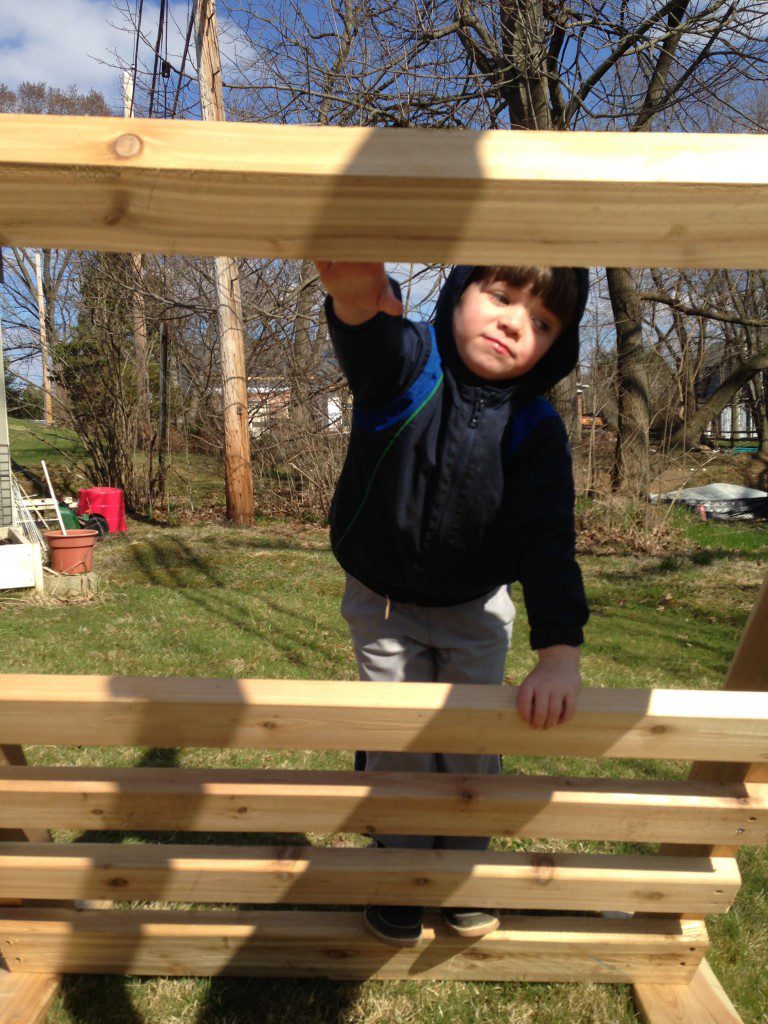
Yeah, until you’re whipping your cordless drill at the lawn when the piece doesn’t fit. AGAIN! And, the sun is a laser-fiend scorching a hole in your neck. And you’ve walked three miles getting stuff out of the garage and lugging ot to your yard. Yet, nothing is built.
Happens to everyone, so here are a few things we do when we bring the work out of the workshop to keep it fun and productive.
Quiet time. Think about the project from beginning to end—BEFORE you do anything. Give it 5-minutes and see what happens. Then, like our friend Tom Bury says: Make a list. Or more than that. What tools do you need? Do they all work? Do they have functioning blades and bits? Game day is the wrong day to find out your batteries are toast.
Accumulate. Get all the stuff you’ll need to make a play set from all the places they are: Shovels, wheelbarrow, and concrete from the shed maybe. Power tools, level, power strip and cords and tool pouch from the garage and so on. When I pack up like this, I small stuff in the wheelbarrow the and take it all to the site in a trip or two. Because, like our friend me says: Looking for tools isn’t building. It’s just looking for tools.
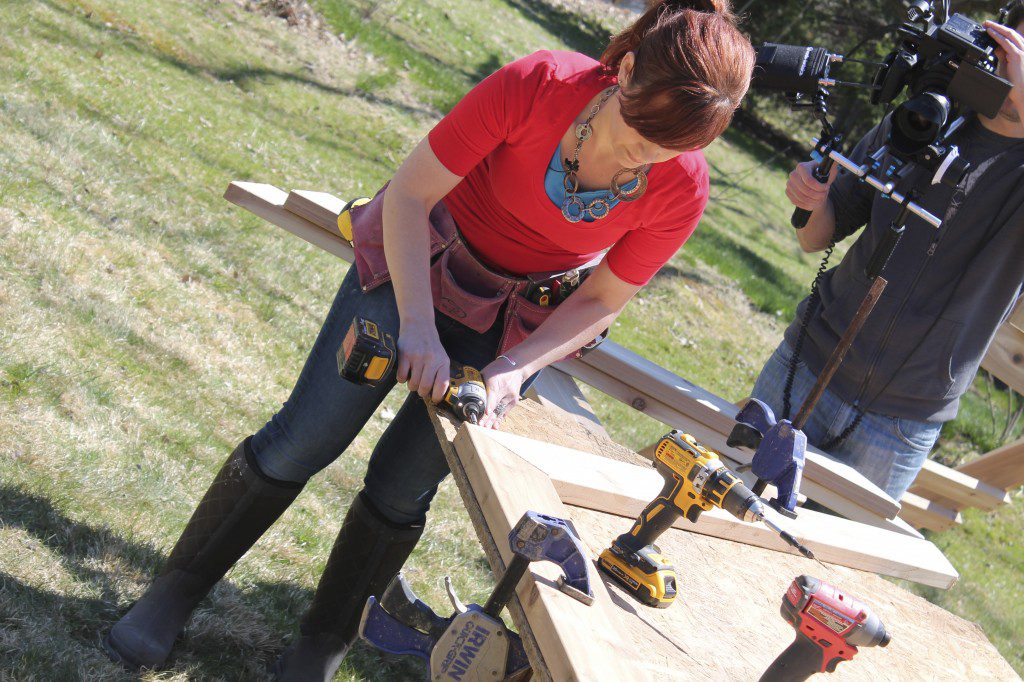
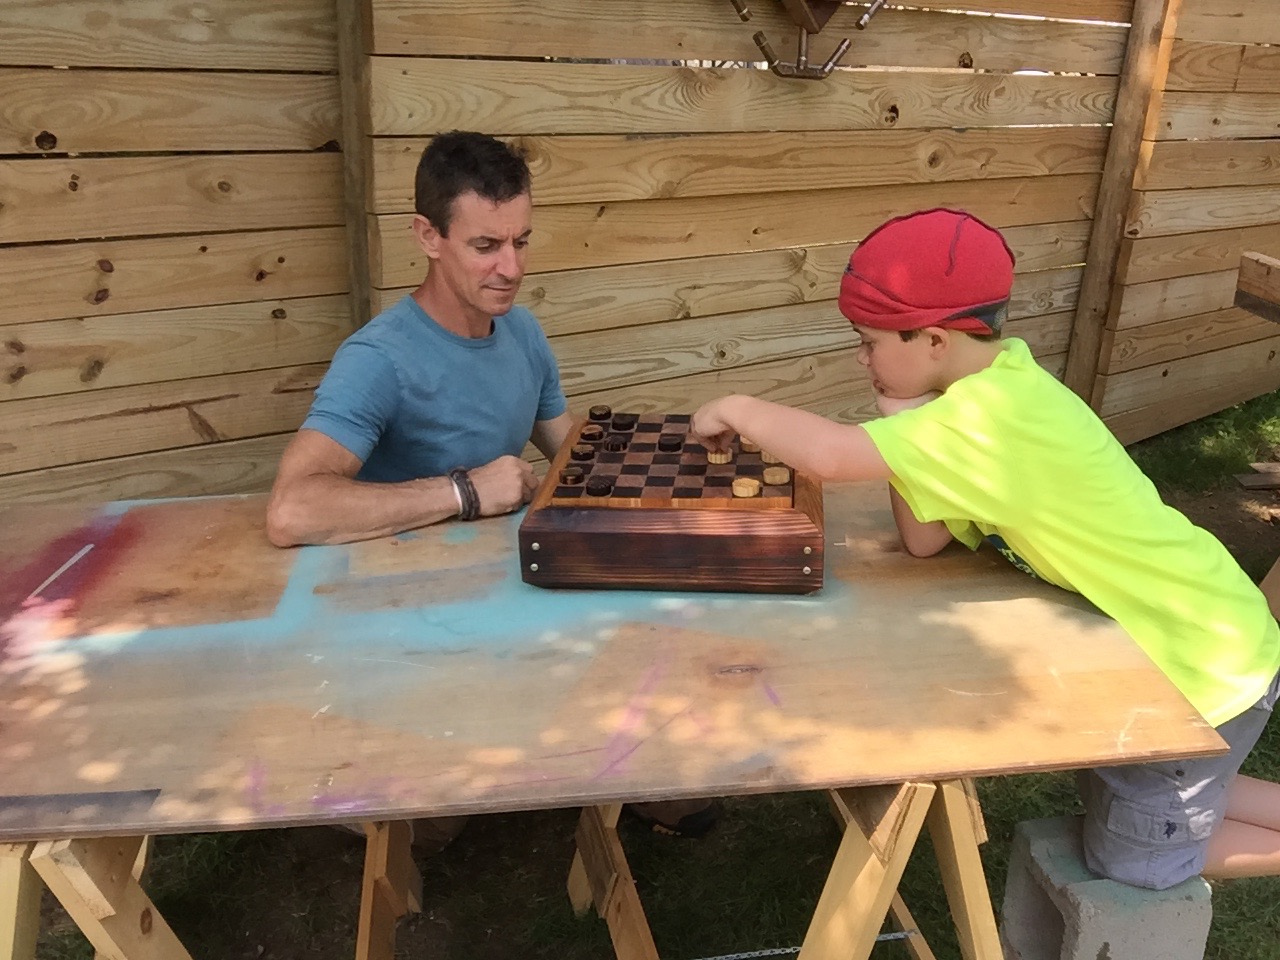
Organize. Set up smart. A work table is great place to keep things organized. And if this is a multi-day operation, you can store stuff underneath it if you need to (lock up and tarp as needed). Sawhorses and plywood do wonders.
Assemble. The photos you’ll take and your kids will remember are of playing on the play set, jumping around and having tea parties and playing trucks and princess. The thing that makes this all possible—that runs behind the scenes like programs on your computer—is that your play set stays together and isn’t a rickety heap of yard trash.
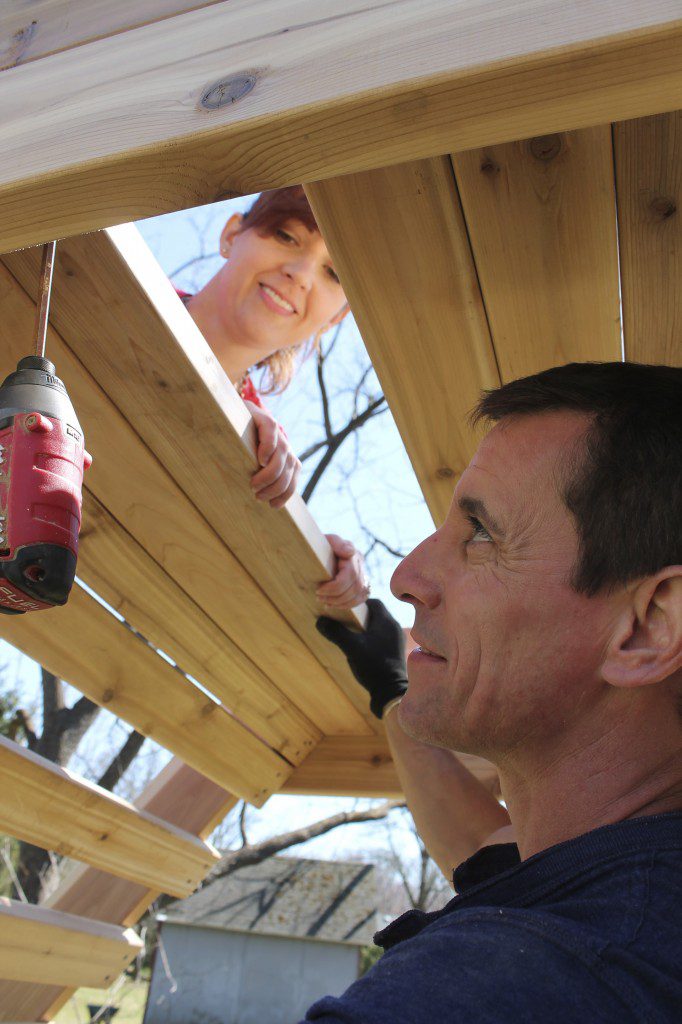
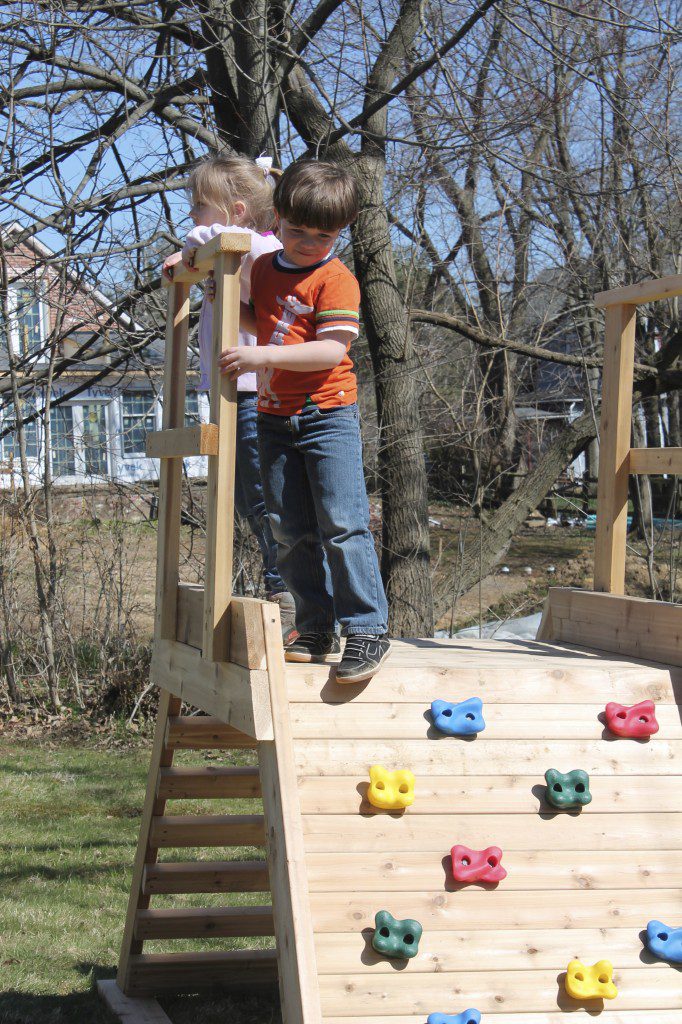
For this, fasteners are our friends. When we make a play set we, use screws that drive easily, don’t split the wood and help us work fast. We used Spax PowerLags for this one on the climbing wall. PowerLags also rock for the guardrail connection. They did the double duty of saving us time and making this wooden monument to the plastic cup tea party fun and rock solid.
If you want plans for this project, click here.
To watch a video and get more detail, click here.
Thanks for checking this out.










[…] to life by copper pipe and my Bernzomatic torch, not only does this DIY sprinkler blend in to my son’s play set, it’s built to last and is easy to store if I so choose. If I want to make it a permanent […]