
Because staring into a computer screen for too long has a certain effect on me—Think: Tranquilizer dart and clinical depressant—I’m what you’d call a stand-up desk fan.
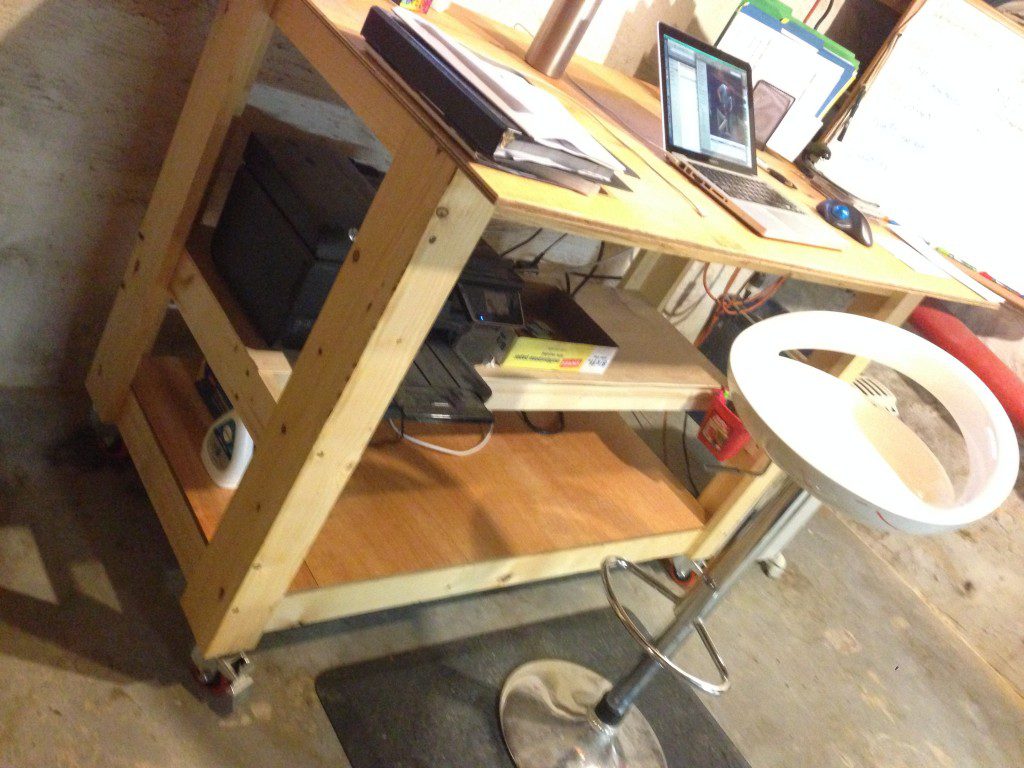
A stand-up desk truly does help me fight off the urge to go nighty-night at midday. And I also feel it’s helping me do my part to keep us from becoming a chair-shaped species.
While many stand-up desks I’ve seen are adjustable, they’re just glorified tables. And I mean table. Like if you have a printer, a coffee cup, or anything you plug in…well…store them somewhere else.
Design-wise, there’s often a certain Death Star-ness to them as well.
So our answer: DIY your own stand-up desk. We made this one for about $100. And, we made it mobile. Ideal for a part time home office or a home under constructions as ours is. Unplug a single plug and roll this command center to the next outpost.
Materials
(8) 5/4 x 8 x 8 pine boards*
(2) sheets ½-inch sanded plywood
(4) 4-inch rolling/locking casters
(1) power strip
2 ½-inch cabinet screws
1 5/8-inch drywall screws
2 1/2-inch cabinet screws
Stool
How to
I start with the stool. This is the driver for the height.
My stool is adjustable up to a height of 32-inches and that works for me. It’s as comfortable as a chair, but comfort is relative. For your desk, try sitting at a table and measuring from your lap to the desk top. Then use this measurement to reverse engineer a stand-up desk height that works for you and the stool you buy—or make. Another guide: I like my elbows to be at right angles when I type, standing or sitting, so the combination of 32-inch stool and desktop at 41 1/2-inches works.
*The legs and frame of this stand-up desk are 3 ½-inches wide (a typical 5/4 x 4 board). However, we bought 5/4 x 8 pine boards because they were significantly cheaper. We ran them through the table saw to get a uniform 3 ½-inch width and saved money.
Each leg is (2) pieces 36-inches long. To get all the cuts the same, we measured and cut one piece, then marked the MyFixitUpLife work bench instead of measuring all the pieces individually. Faster. Easier. More accurate.
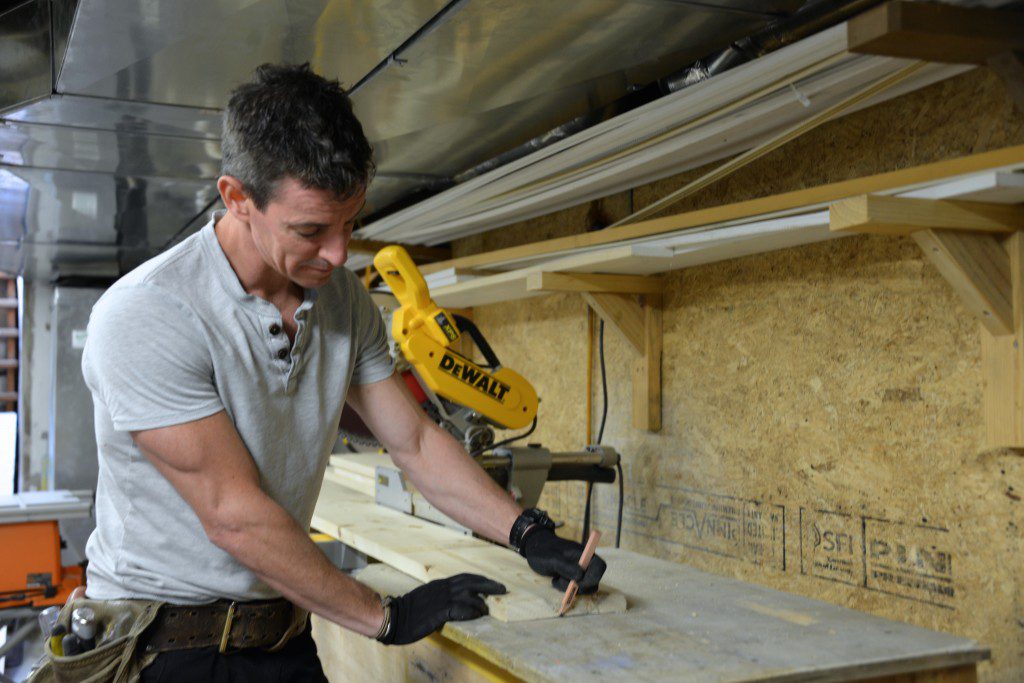


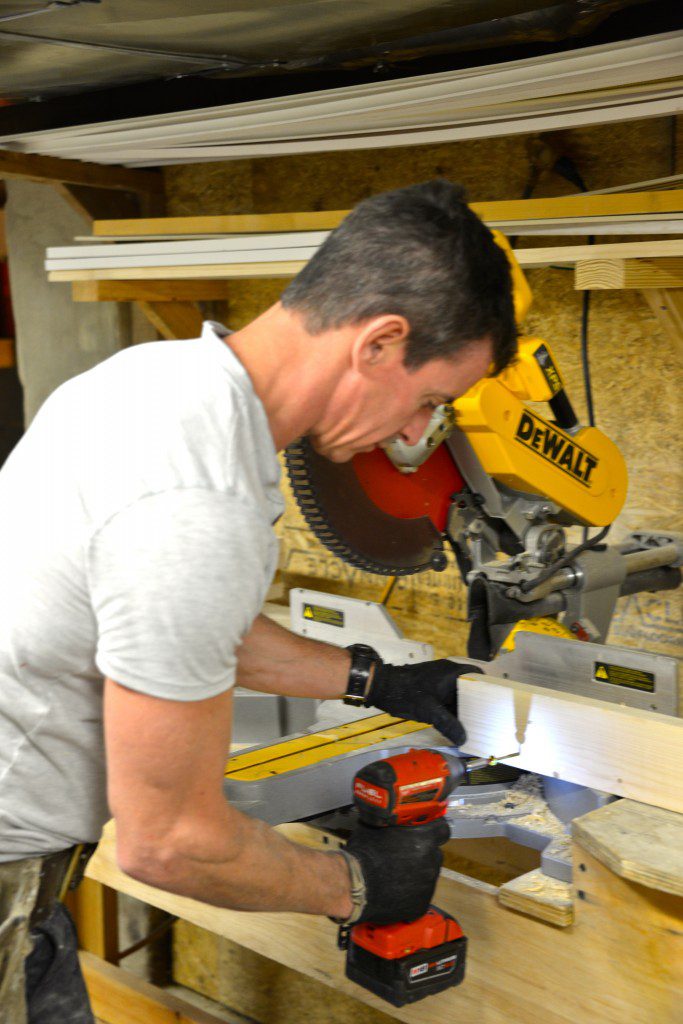
Assemble each leg into an ‘L’. We used 2 ½-inch cabinet screws. Awesome sauce. We also used the miter saw fence and bench as a support during assembly.


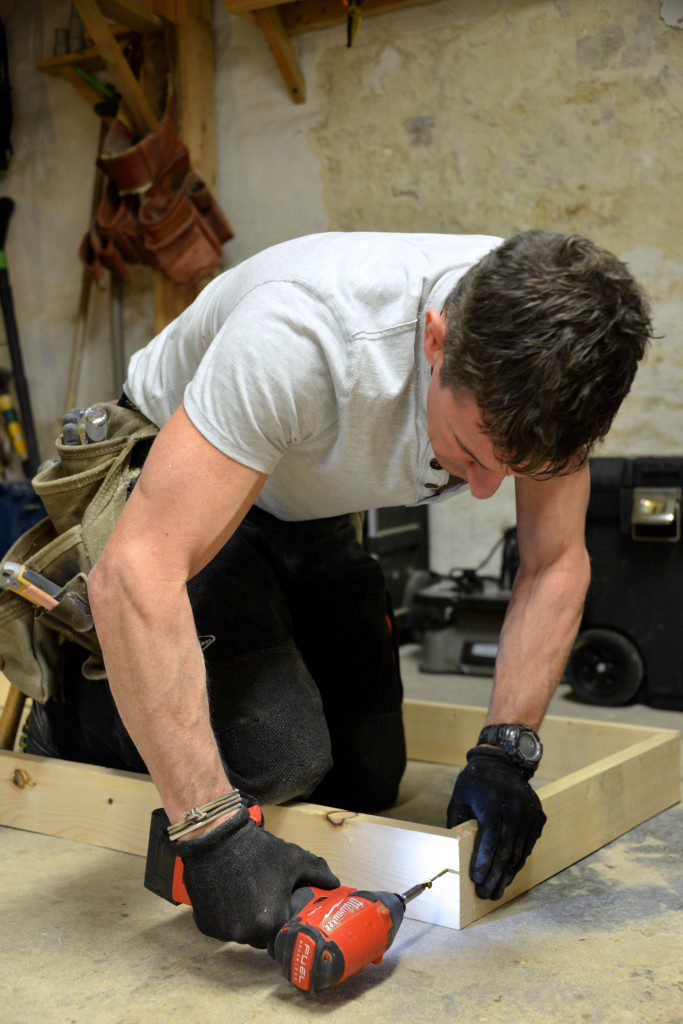
On a flat surface, assemble two rectangular frames. To create a desktop 32 x 60-inches with a generous overhang, we made our frames 24 x 54-inches.


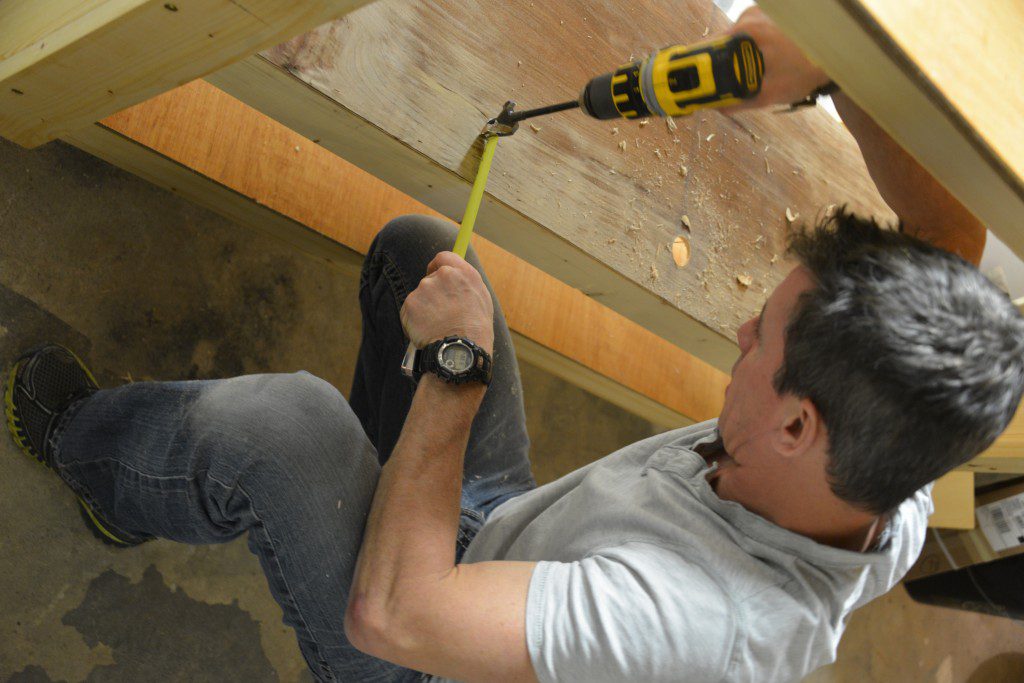
Attach legs to frame. Pre-drill and countersink to minimize splitting. I drive 1 15/8-inch drywall screws from the inside.
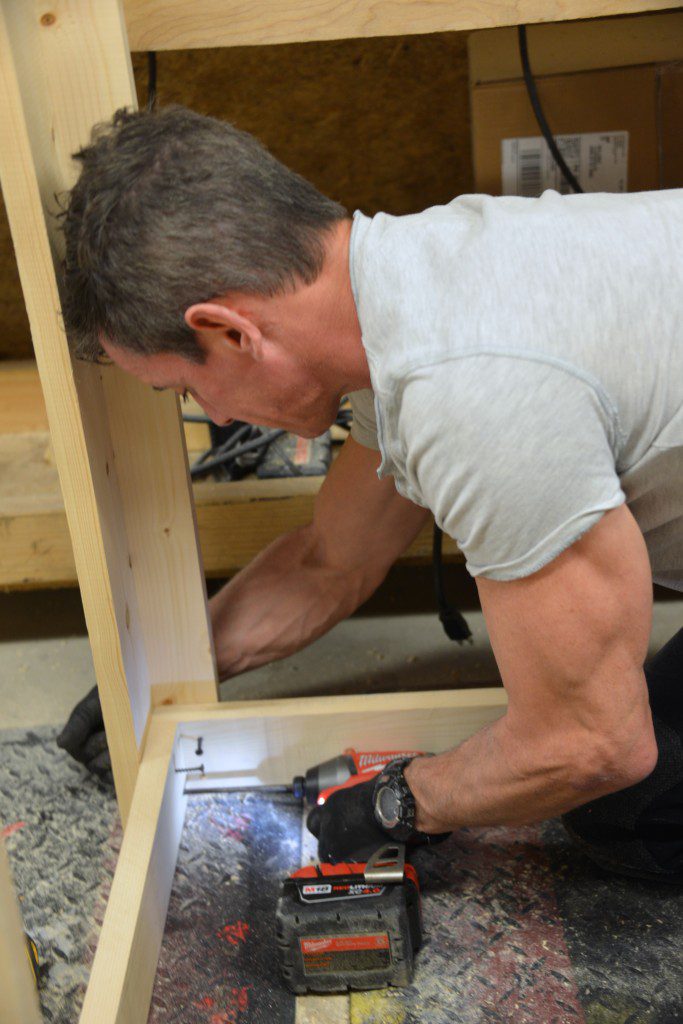


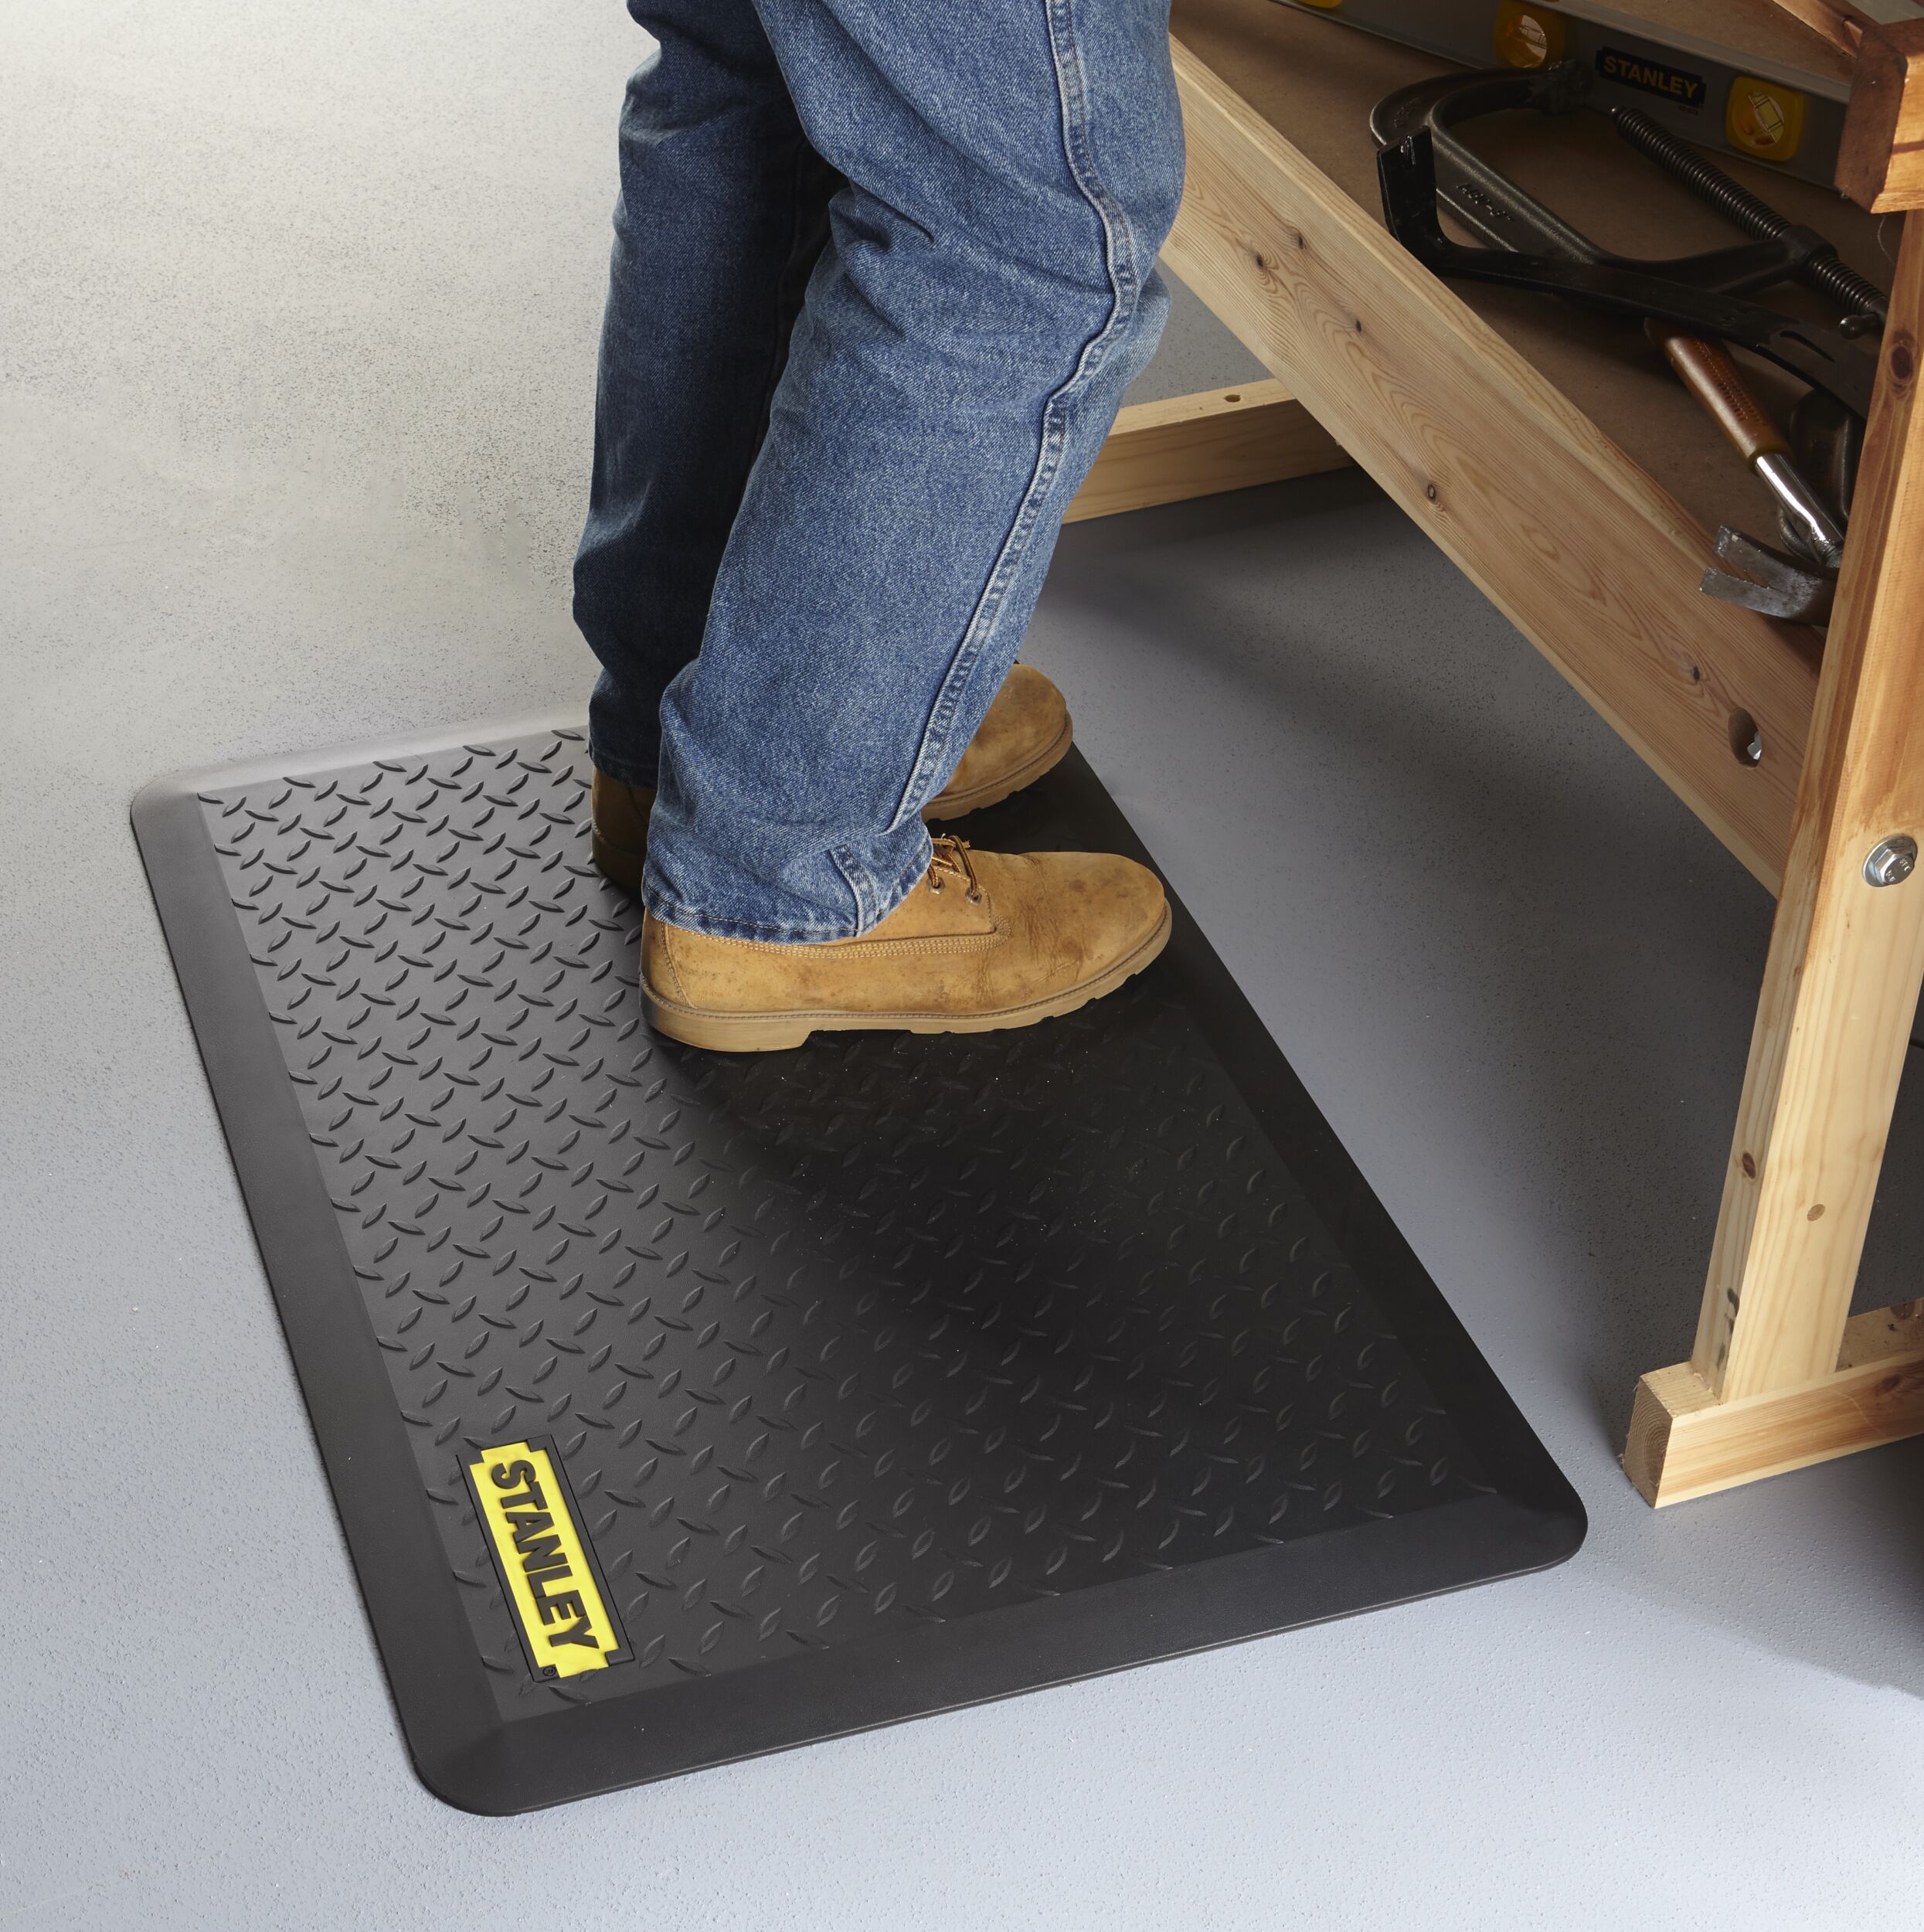
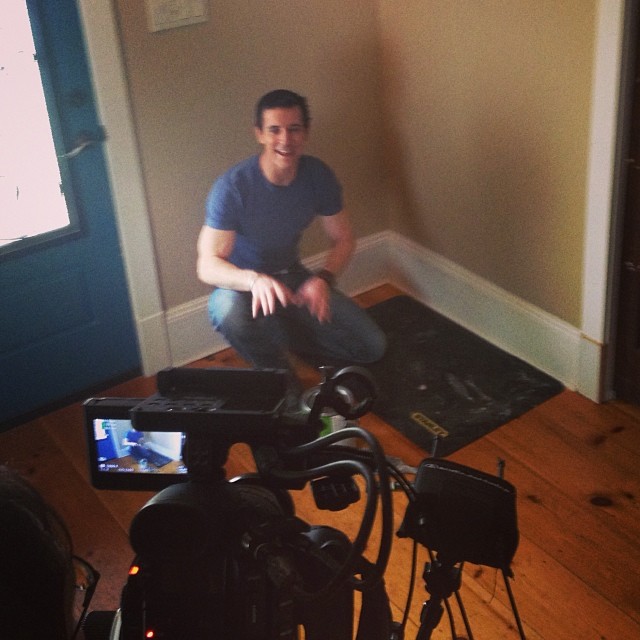
While assembling the legs to the frame, check for square as best you can. Also, for the floor work, I layed out my Stanley Utility Mat. Love that thing.
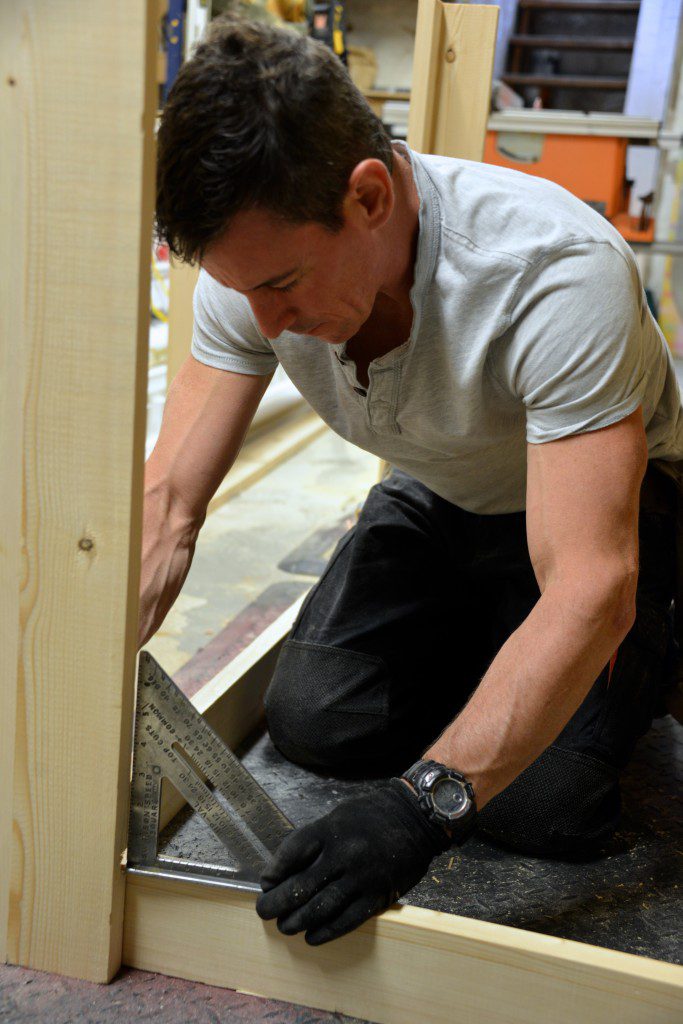


With frame #1 in place at the base of the legs, fasten frame #2 at the top.
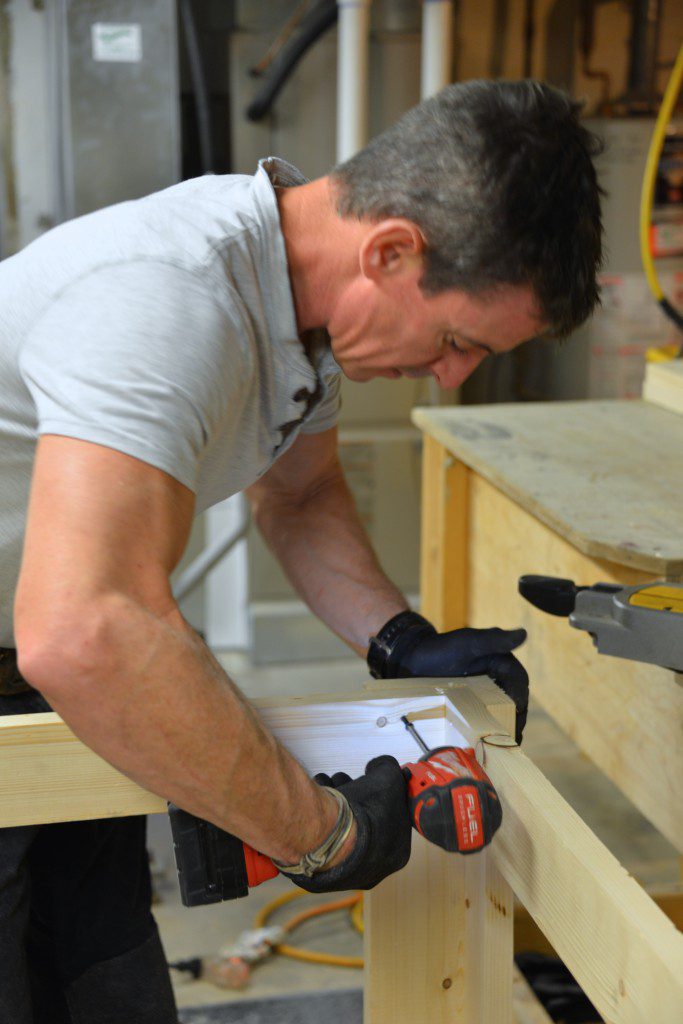


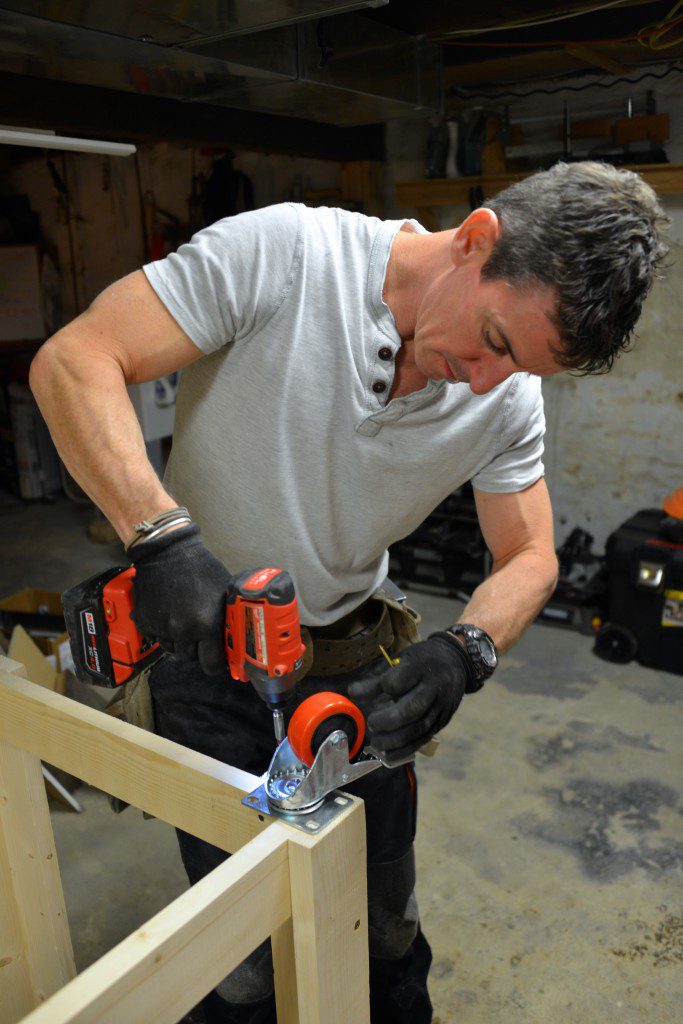
Switch back to the cabinet screws. They’re perfect for the casters. You can only catch three of the four holes, but that’s fine.


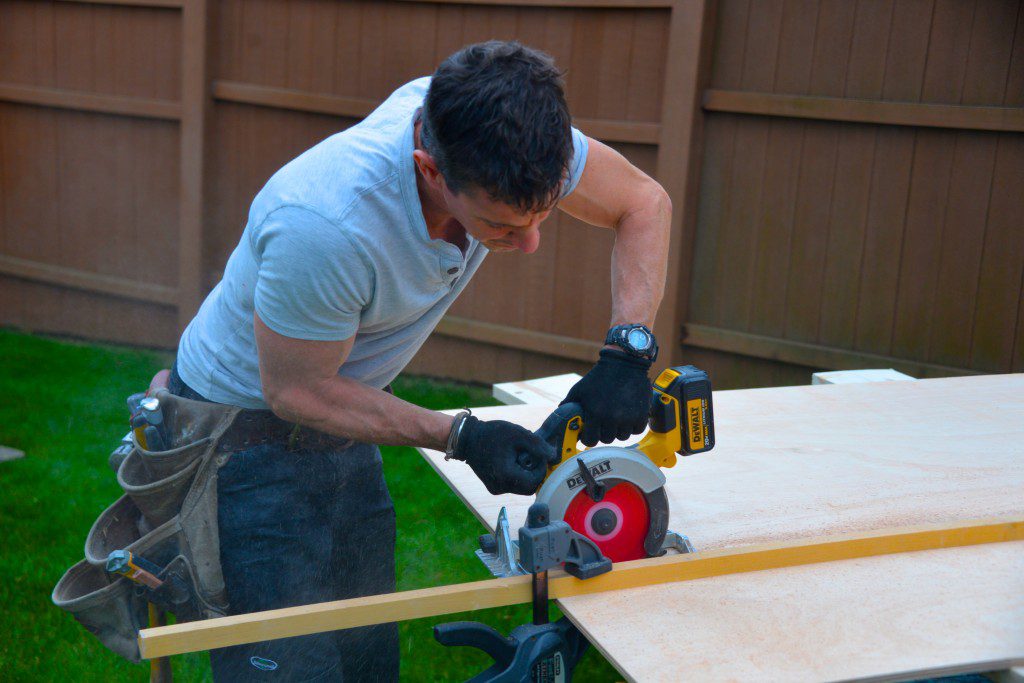
Cut the top to size. We place the good side down and use a straight edge guide to get a clean, straight cut.


We used the leftover plywood to make the bottom shelf. Note: It took 2-pieces and that might drive you crazy. Or, if you like, make the desktop smaller. Or get a second sheet of ply to make a 1-piece bottom shelf with the grain direction going the same was as the top. And use it for the printer/storage shelf.
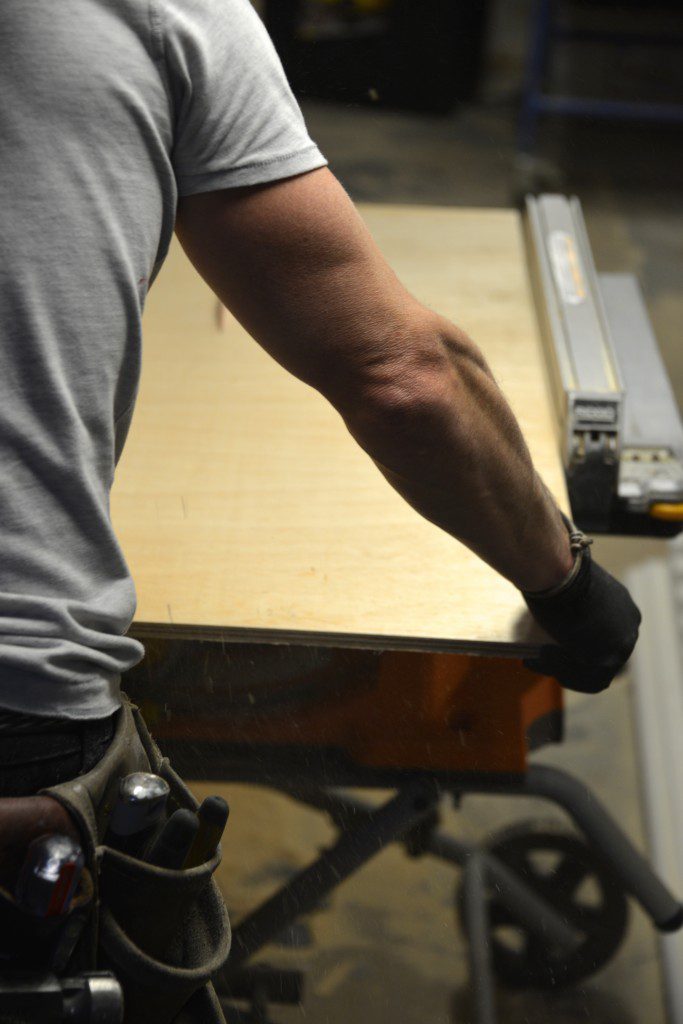


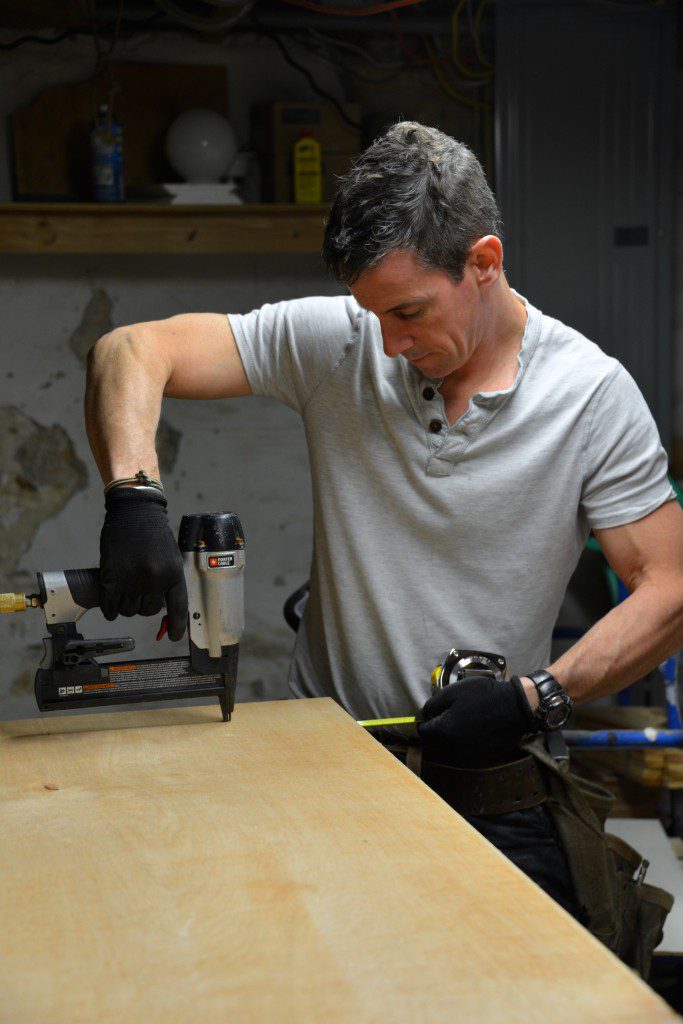
Staple the top and bottom shelves. Loooove the stapler. We cantilevered the front 5-inches past the legs.


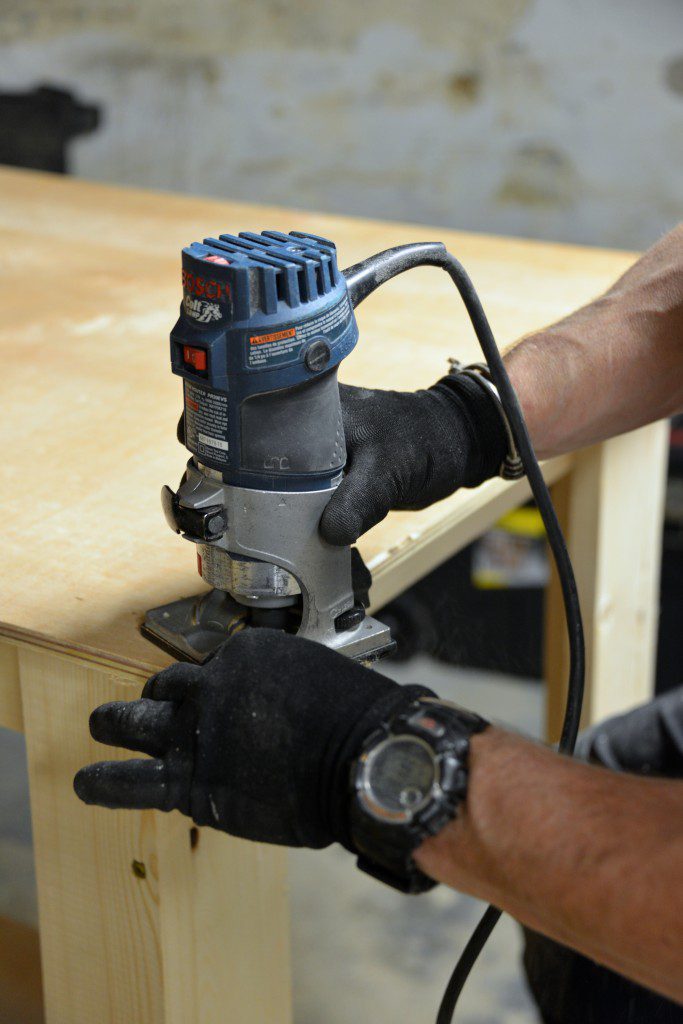


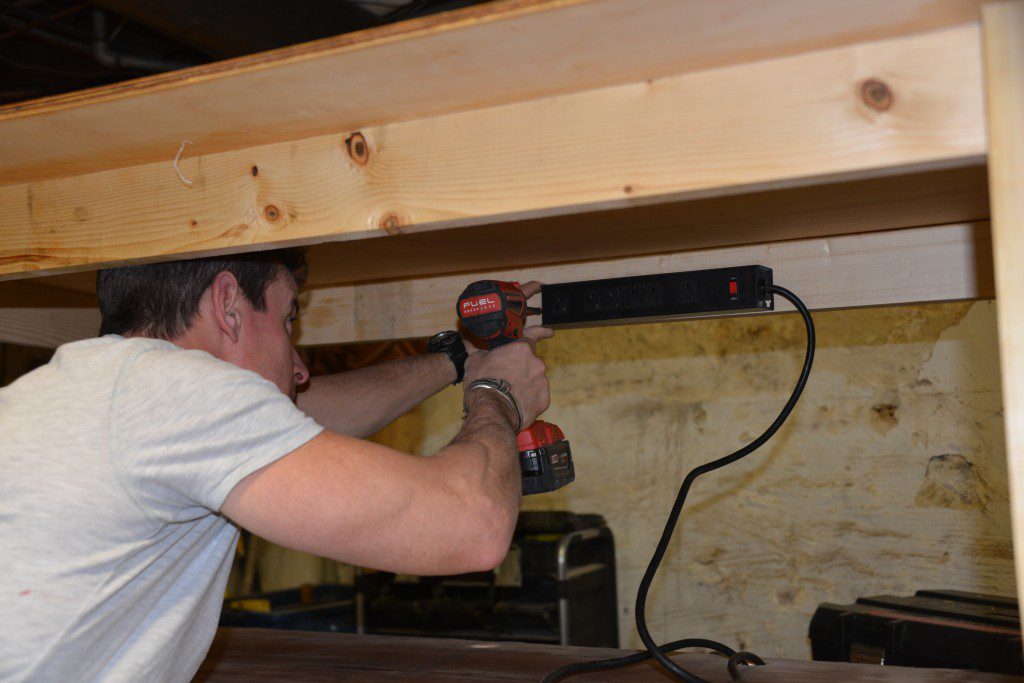
Add shelves, a power strip, and ‘cord ditch’ as you like. I ran a 16-inch deep shelf flush to the back of the stand-up desk to house the printer, paper, and other stuff.


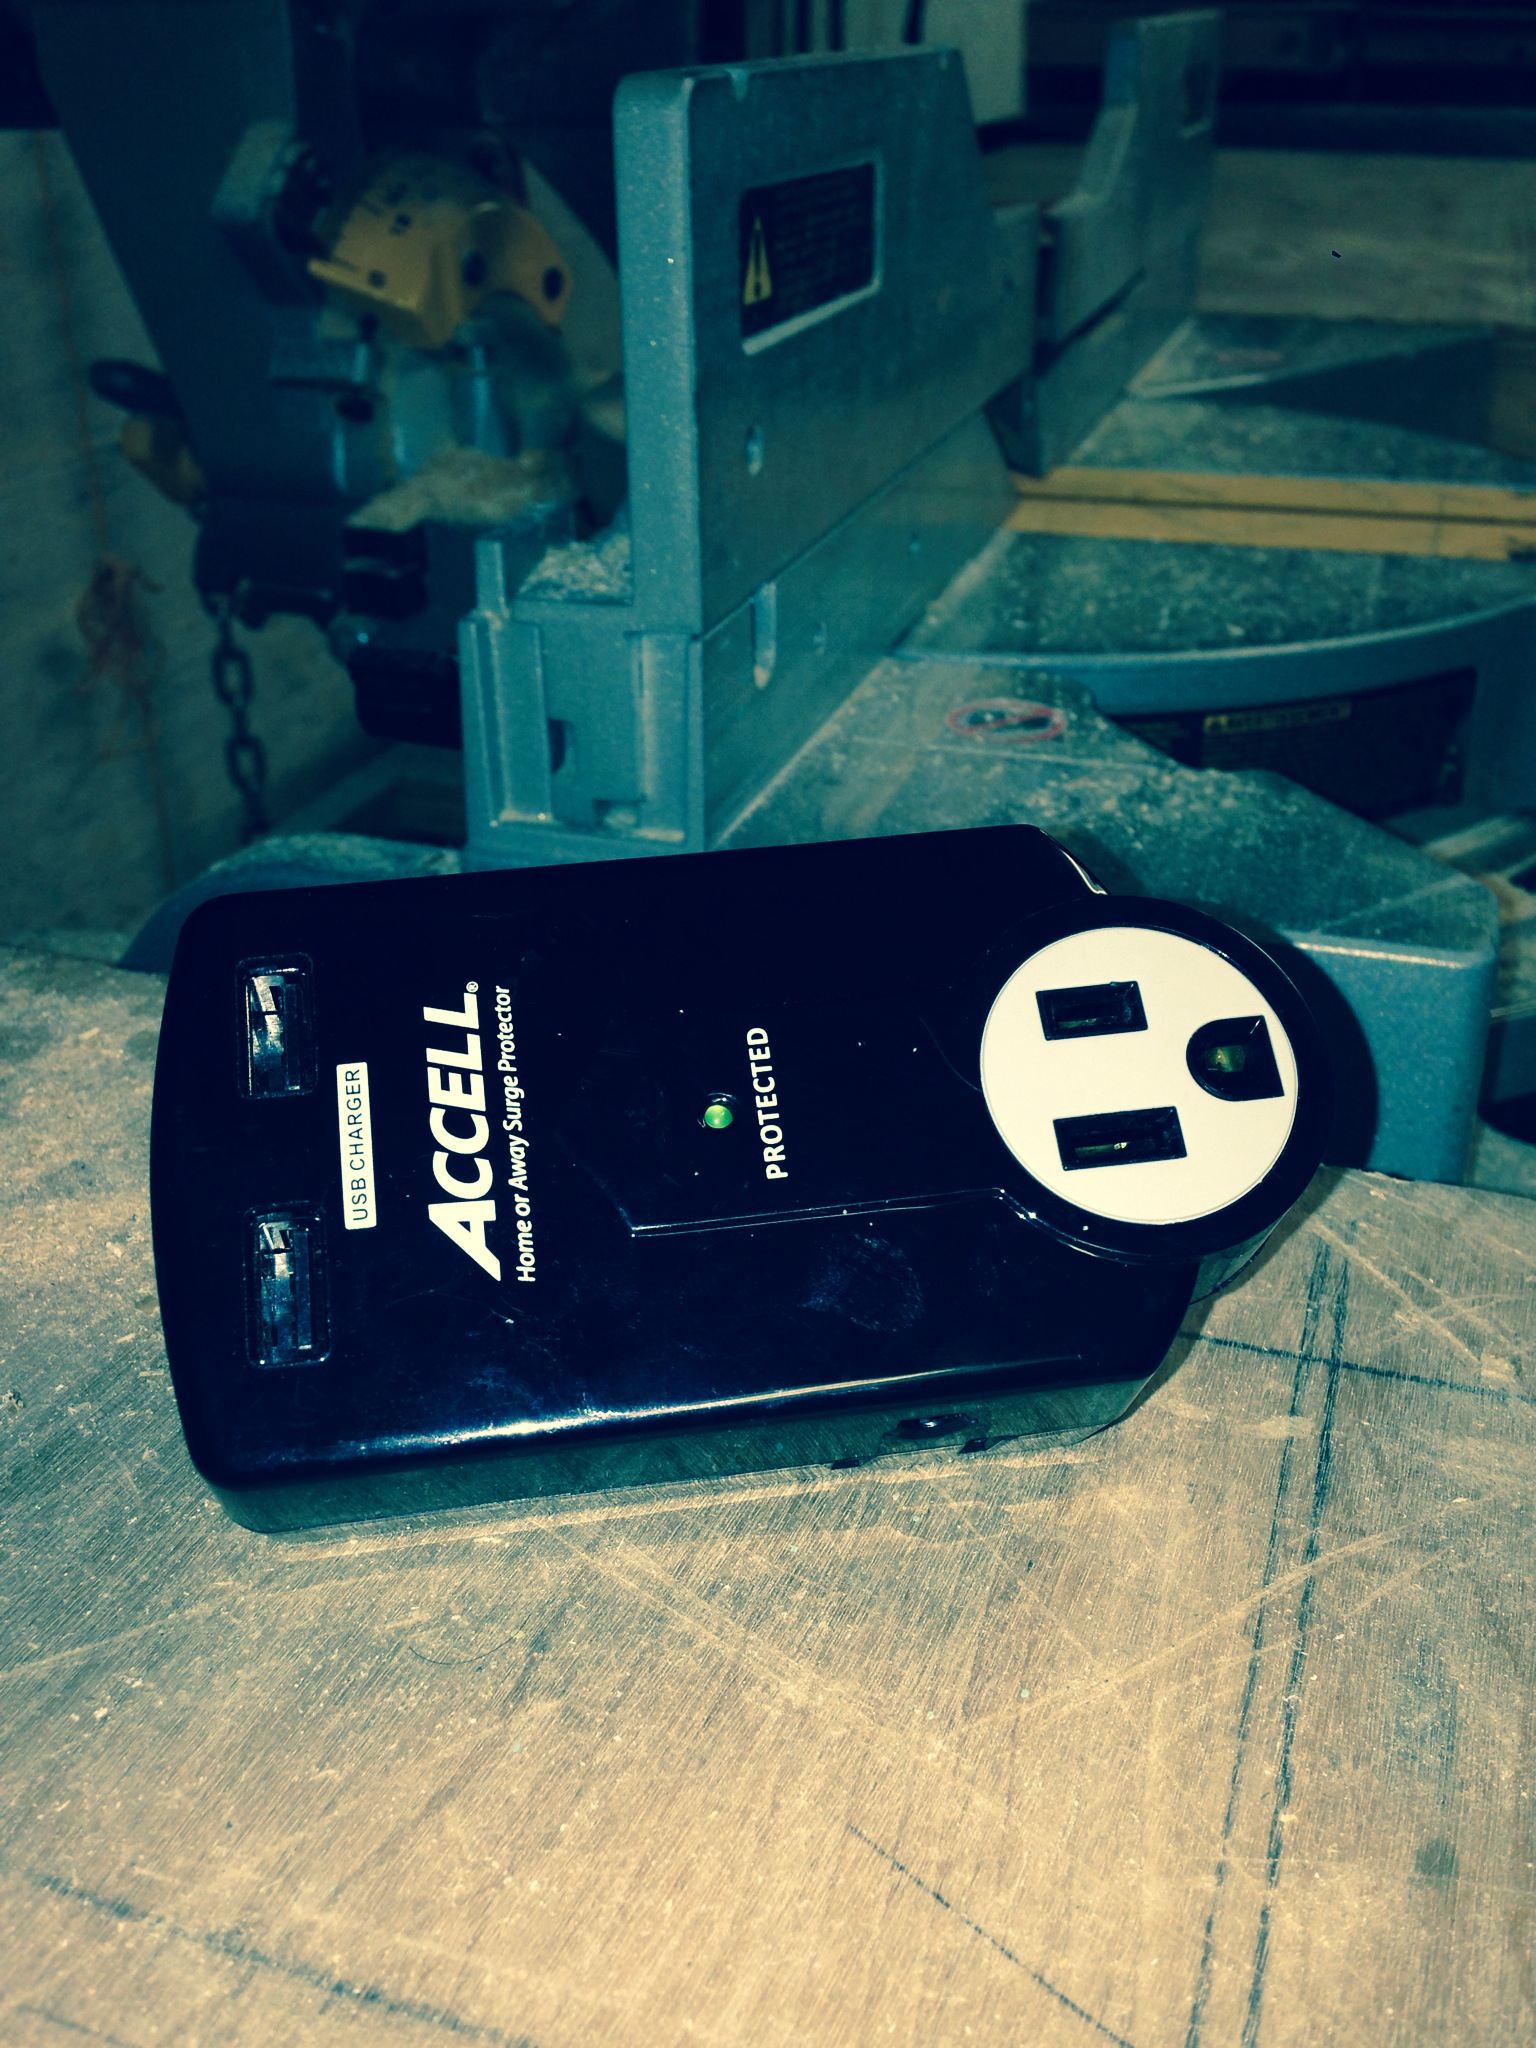
Place the power strip. Mine is lonely without one of my favorite office tools, my Accell power station.


Make it yours.
Make a place for your cup of pens and cup of coffee. And Vader mask.
The universe is now yours to command. On wheels.





[…] of these for DIY home improvement projects. We see it all the time. Take any project—a deck, stand-up desk or kid’s loft bed for example: While a significant part of driving screws for these projects […]
[…] from email to get the blood flowing again. Or just to stretch a little when I fear my that even my stand up desk is turning me into a chair-shaped […]
[…] that’s what no one really talks about too much. At least I didn’t in my how to make a stand-up desk blog. I mean, I mentioned it all the important parts about height and stuff. But I didn’t go into […]