The goal for trimwork is to make it look like it grew there, so any tips to help get accurate and clean intersections, tight corners, and spot-on seams is appreciated. Even after installing miles of trimwork, there’s always something new to learn that makes a home improvement job even better.
Why measure to the heel (short point) of trim?
First, why measure to the heel of a miter? Isn’t it easier to just measure to the long-point, or “toe”? You can just hook your tape to the tip of the wood, right? There are lots of reasons why measuring from the short point is necessary.
If I’ve measured a door casing incorrectly and I need to shorten it.
If the toe (long point of the miter) isn’t complete because it hits a ceiling or other obstruction.
If the trim conundrum I’m trying to solve only enables me to measure short-to-short–this happens in outside corners all the time–I have to measure from a short point of an already mitered piece.
How to measure to the short point of trim?
How does someone measure to the short point–also known as the “heel”–of a miter?
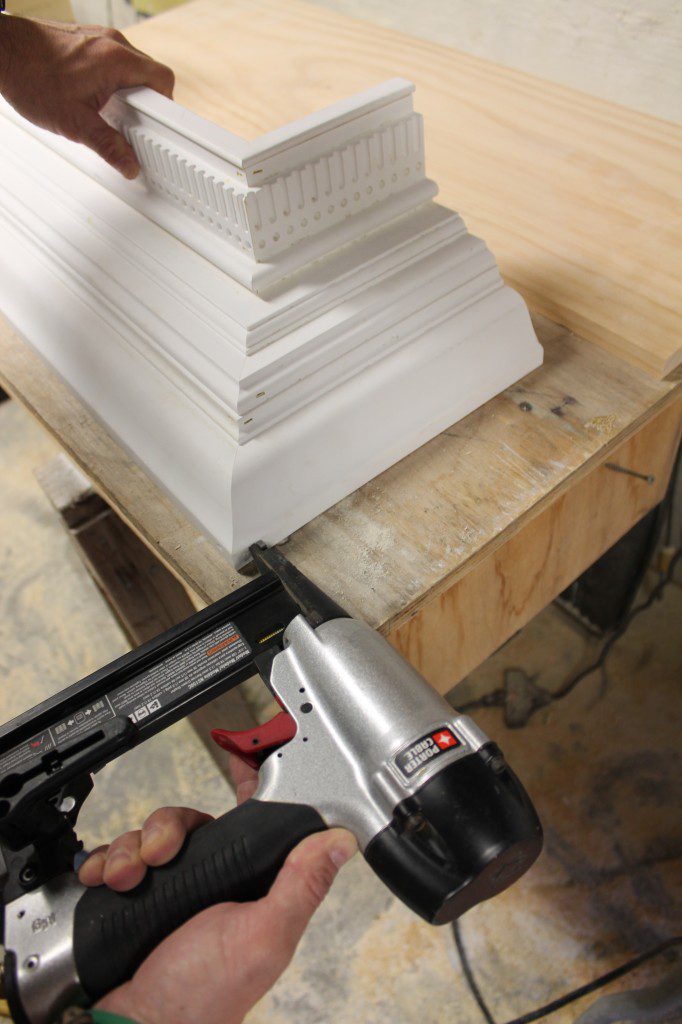
There are other ways to do this and plenty of talented trimwork carpenters offering tips, but here’s the most effective and accurate I’ve found. My method requires working on a work-table, something I set up on every job.
Align the miter’s heel to the edge of the table.
Then hook the tape measure on the edge of the table to get the measurement.
The table supports the work piece, it supports my tape and I can easily get an accurate measurement.
More trim-spiration


