My very experienced armchair was ready for a chair makeover.

Before I share this chair makeover, let me share this: I love my cats. However, I’m not a fan of their clawing habits.
When we moved into this home, the armchair was already here. It was the previous owner’s armchair, and her family had lived in the home since it was built in 1903. The armchair has a long history in this home.
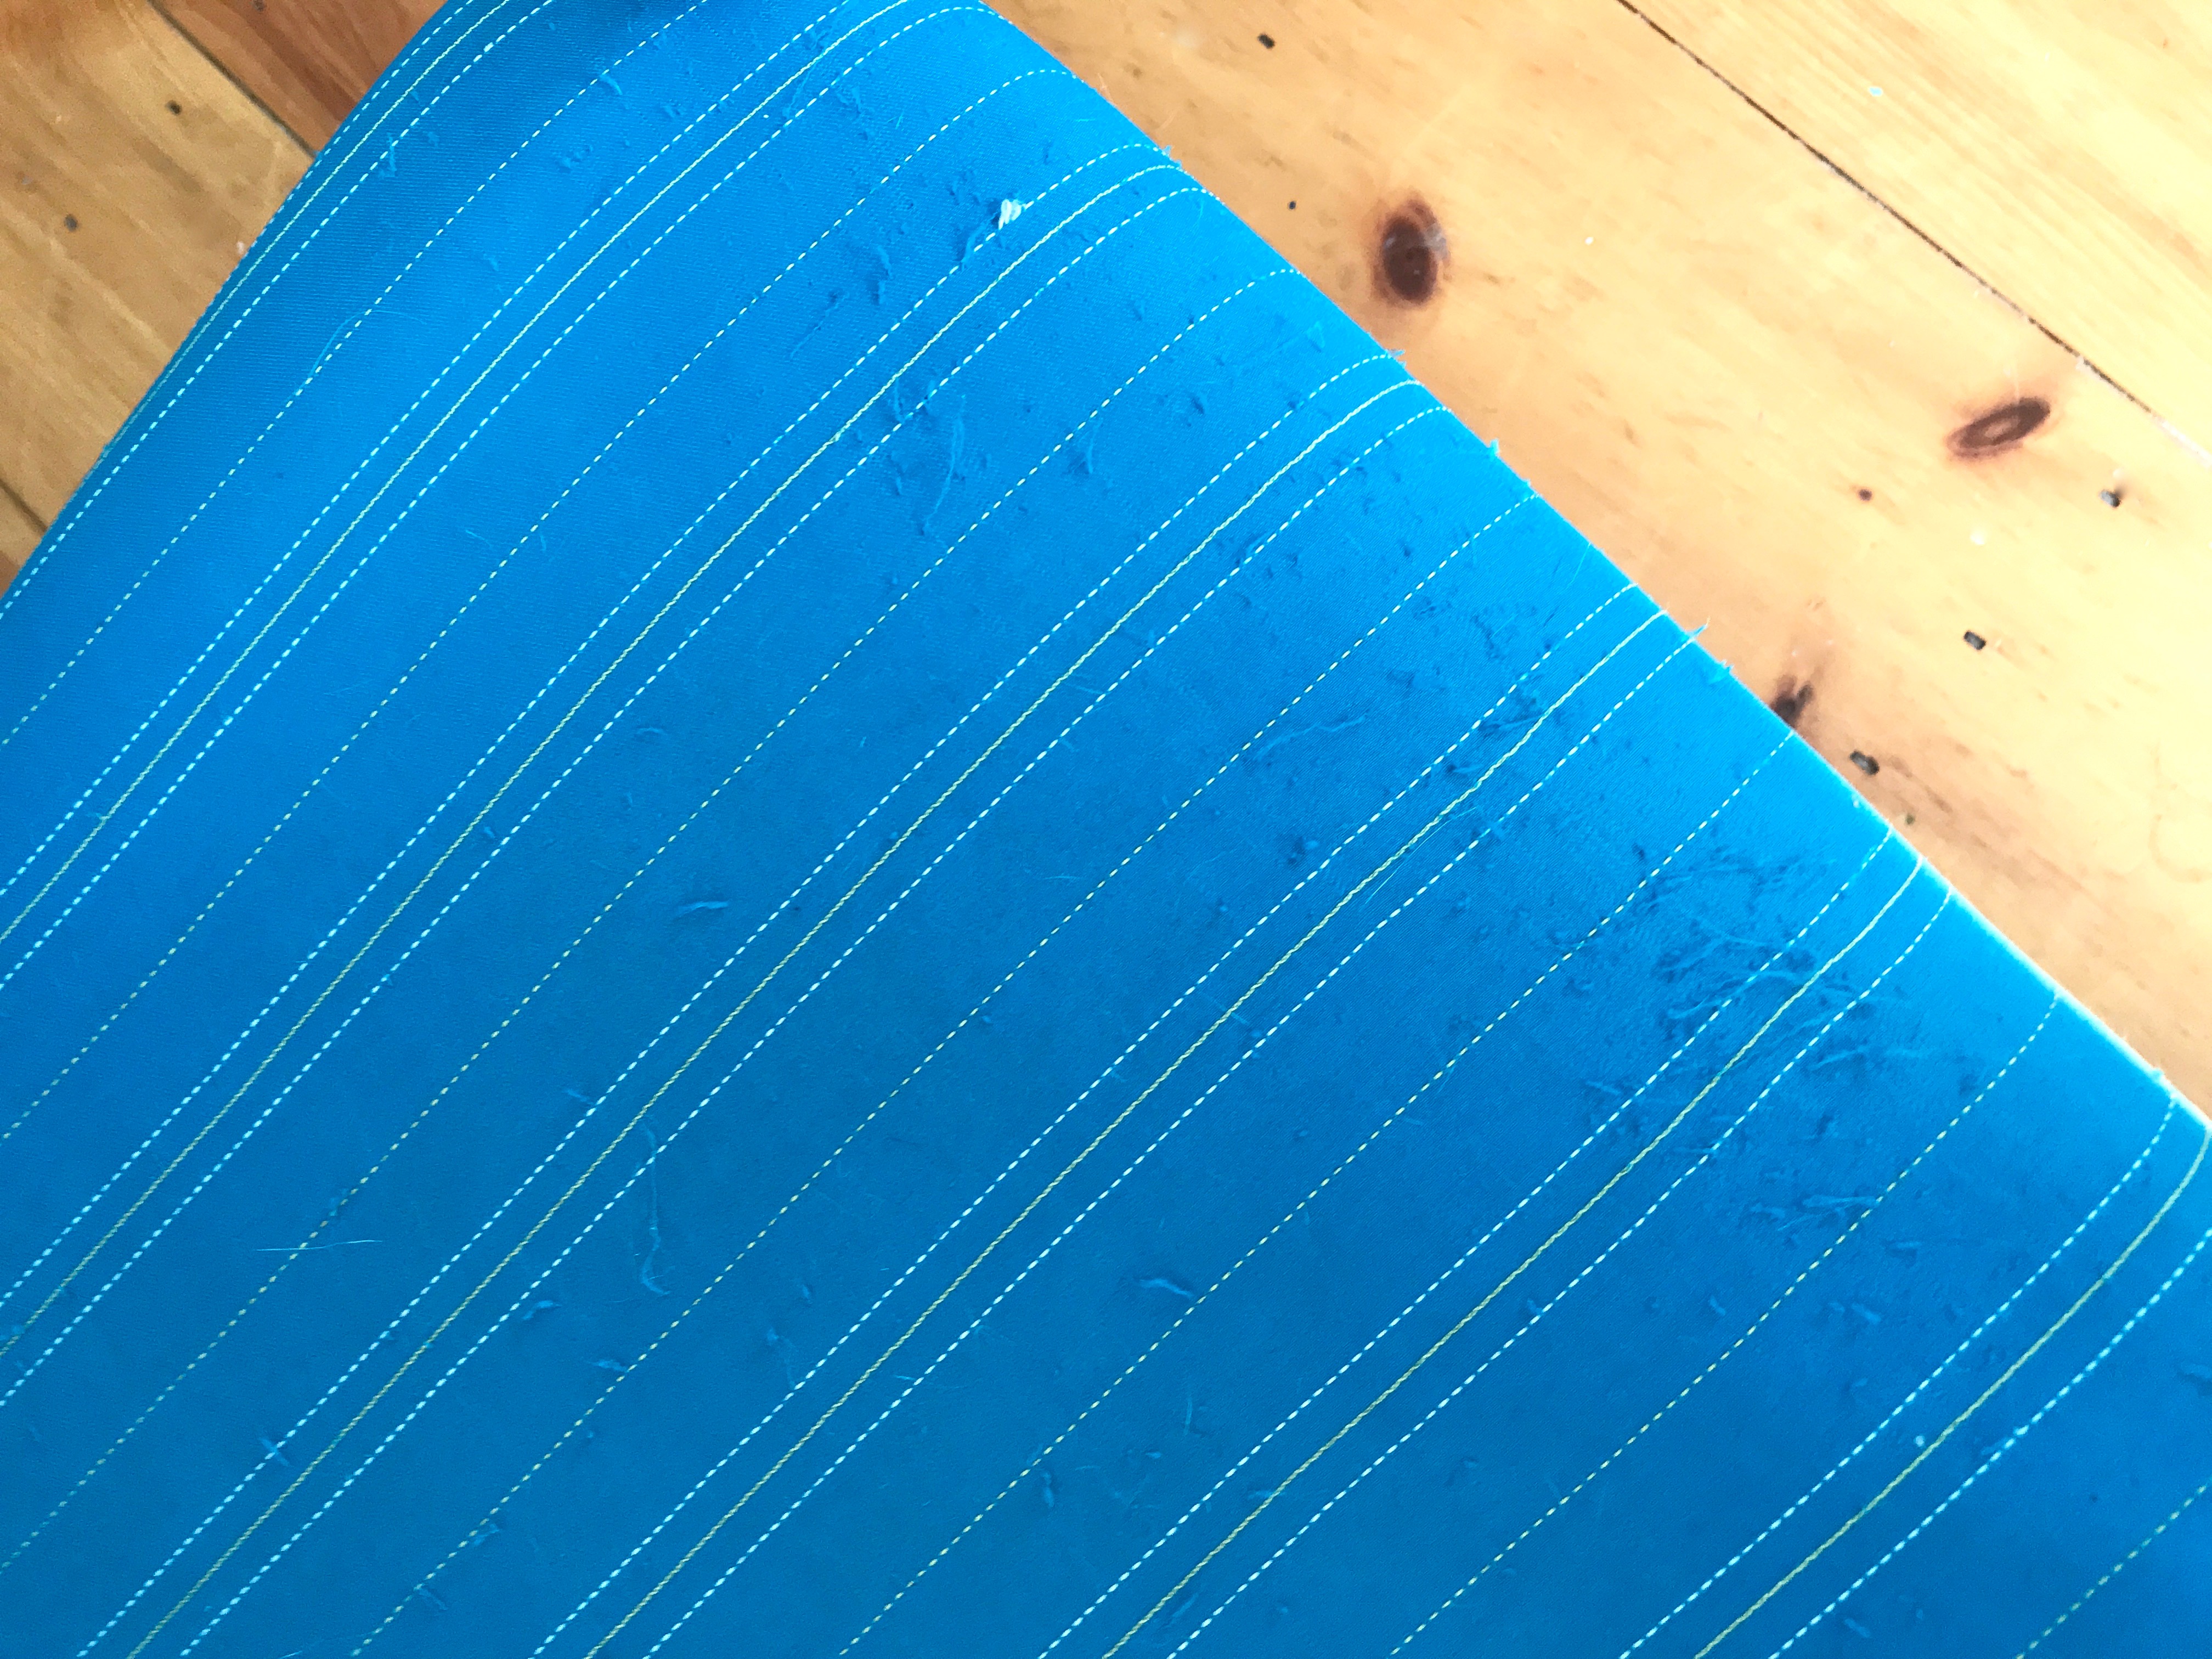
I’ve always loved sitting in it, but the fabric was worn, so I stained the wood and recovered it about a decade ago. Regrettably, I used non-cat-claw-friendly fabric. My cats aren’t scratching everything around the house, and I’ve learned what fabrics to choose, and that they really don’t like nailhead trim. And I do like the look. Therefore, most everything in our home has nailhead trim.
So as the years went by, and I saw more little pulls in the blue fabric, and then recently a total scratch job on the chair back, it was time. It was time for a chair makeover.
And this time, I decided to strategize the new cover based on my cats’ clawing behaviors. The reason is that if this is their favorite chair to scratch, I decided that I should embrace it. So I selected a material mix based on cat claw repellent nailhead trim plus claw-loving natural colored twine. And this time I chose a darker stain for the wood.
It’s like a giant scratch-magnet, but with the security of the nails to make sure it doesn’t get too crazy.
Supplies needed for this project:
- Twine
- Crochet hook
- Scissors
- Decorative nails
- Upholstery hammer
- Needle and thread
- Stain
- Soft cloth
- Rubber gloves
- Drop cloth
The how-to
The first step to this chair makeover is removing the old fabric.
I have recovered this chair before, about 10 years ago. That last time, I had stripped the seat back to the frame and support structure, but I had just covered the back in new fabric. This time I decided to strip the entire chair back to the inner structure.
Since I’m not the original owner of the armchair, I’m not sure how old it is. I can say that while stripping the chair, there was hay and horsehair inside.


Prep the wood
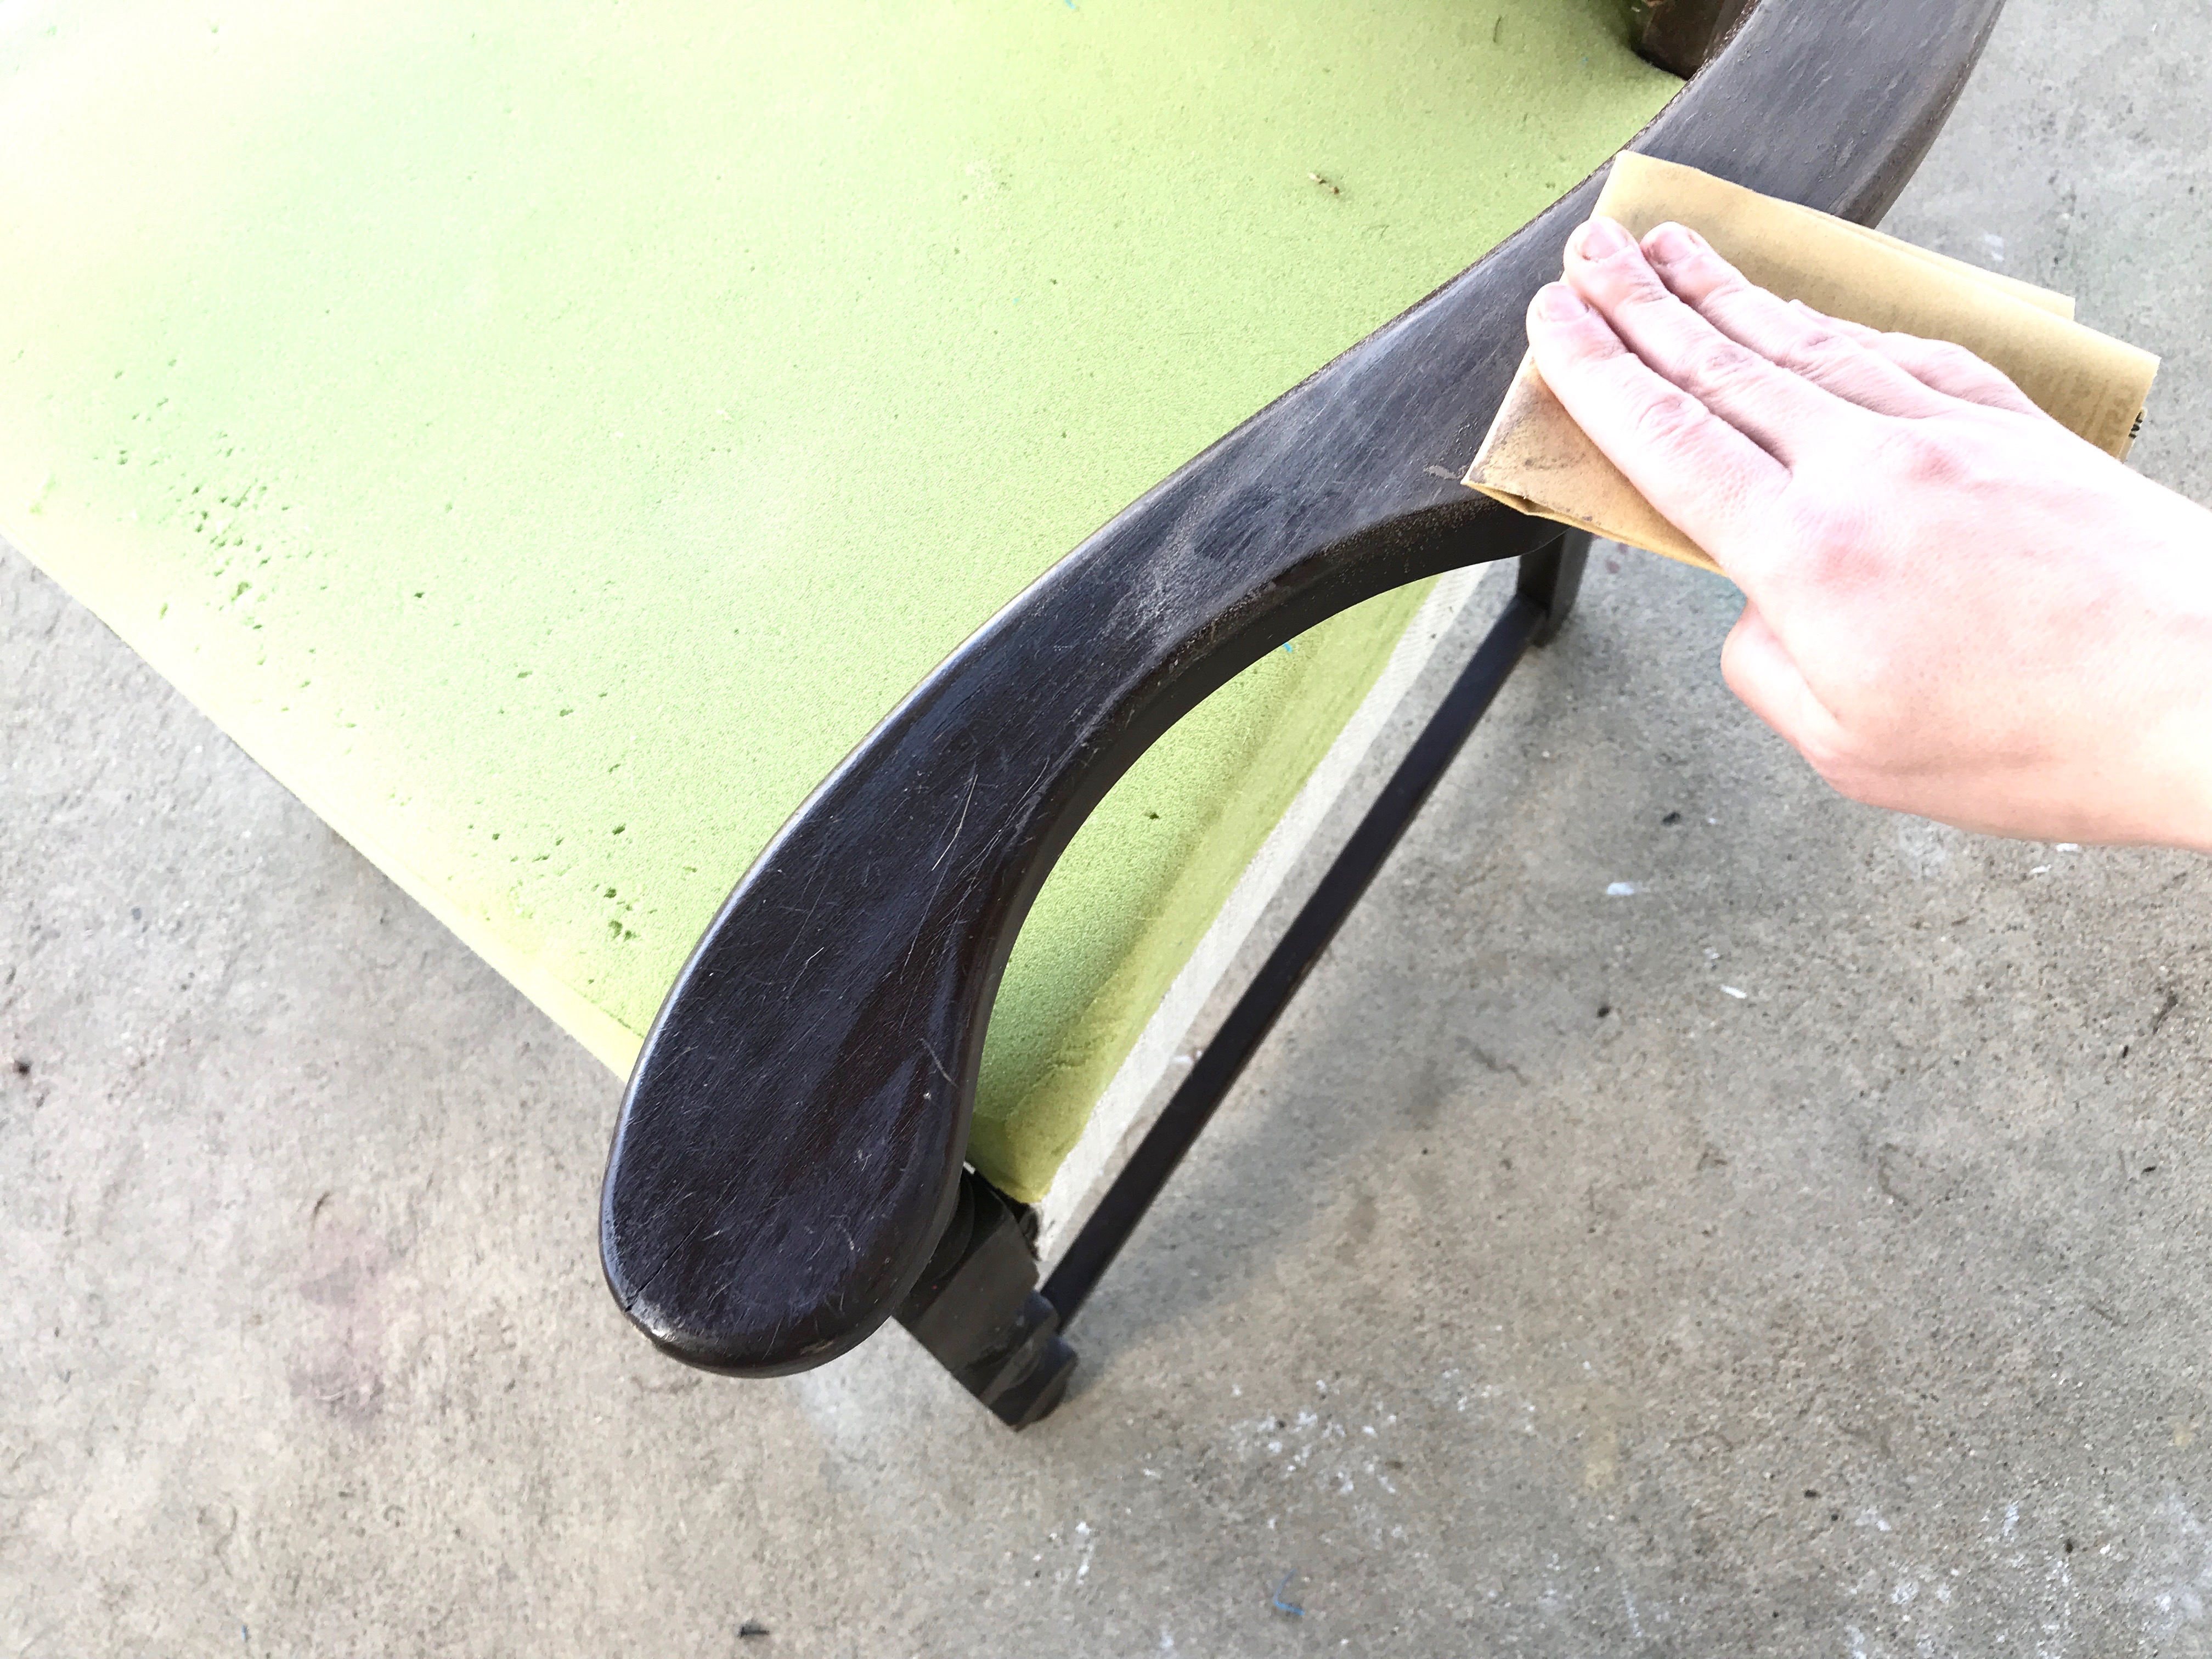
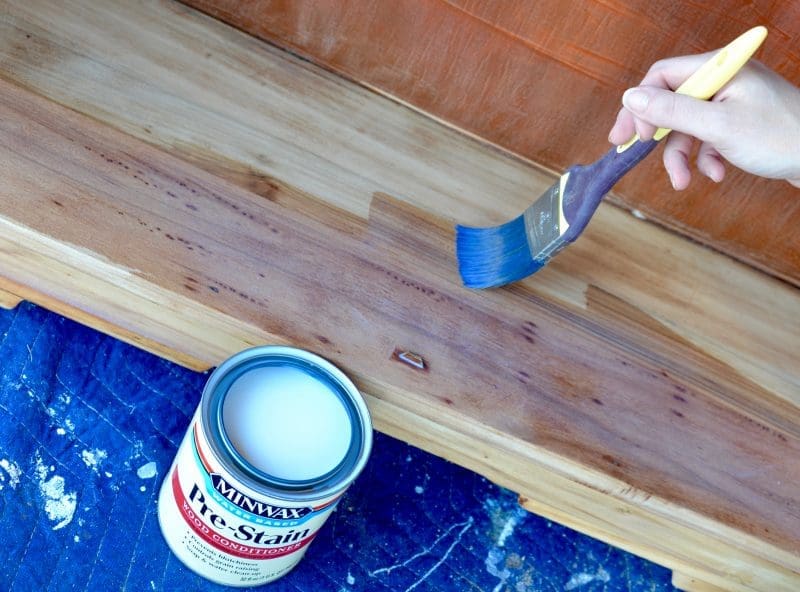
After removing the fabric, the next step is prepping the wood for the new stain. All of the wood surfaces were sanded to open up the grain. I used a soft cloth to remove the sanding dust before moving on to the next step.


Stain the wood
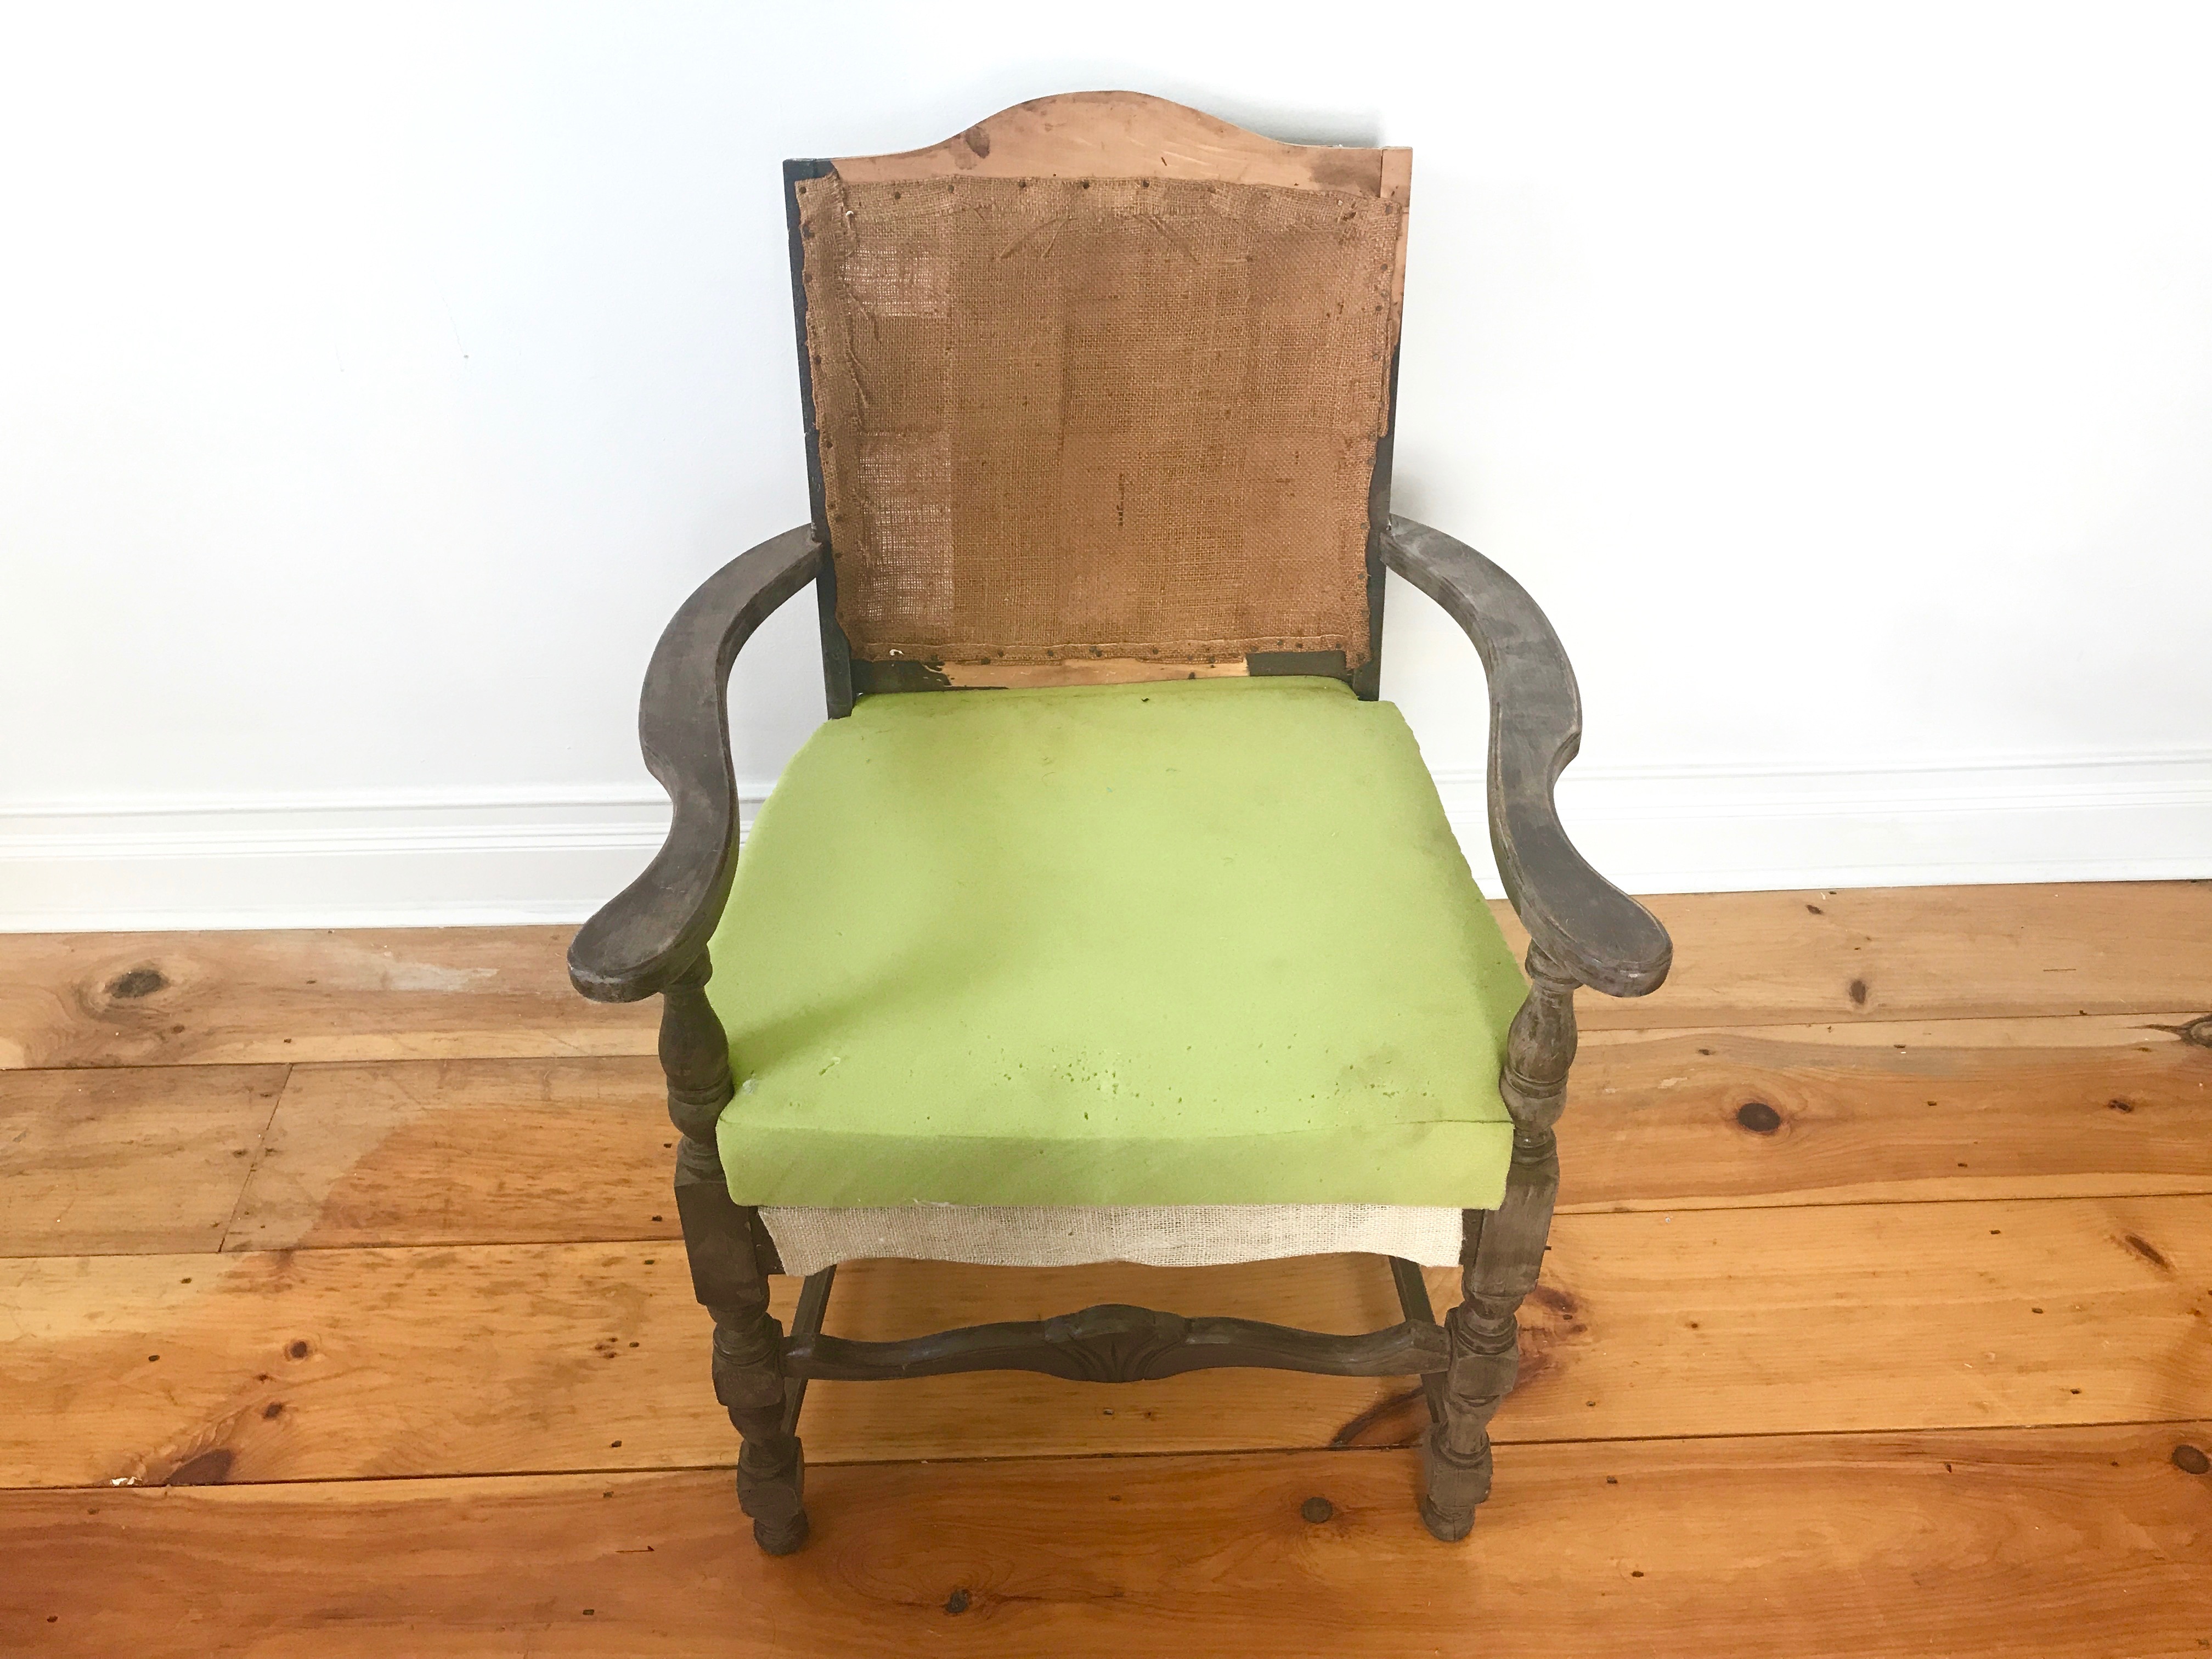
The armchair is ready for the new stain. While I was getting the armchair ready for stain, and deciding on the color, I realized that I can reuse the foam seat I had used to reupholster the chair a decade ago. It’s still in terrific shape.
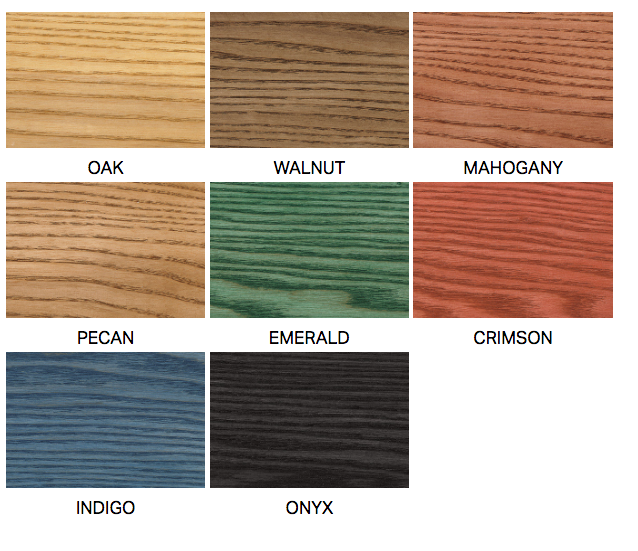


Since there isn’t a lot of wood for this project, I decided to use the easy tube of Express Color from Minwax for the stain. I think the natural twine will look sharp with an Onyx stain.
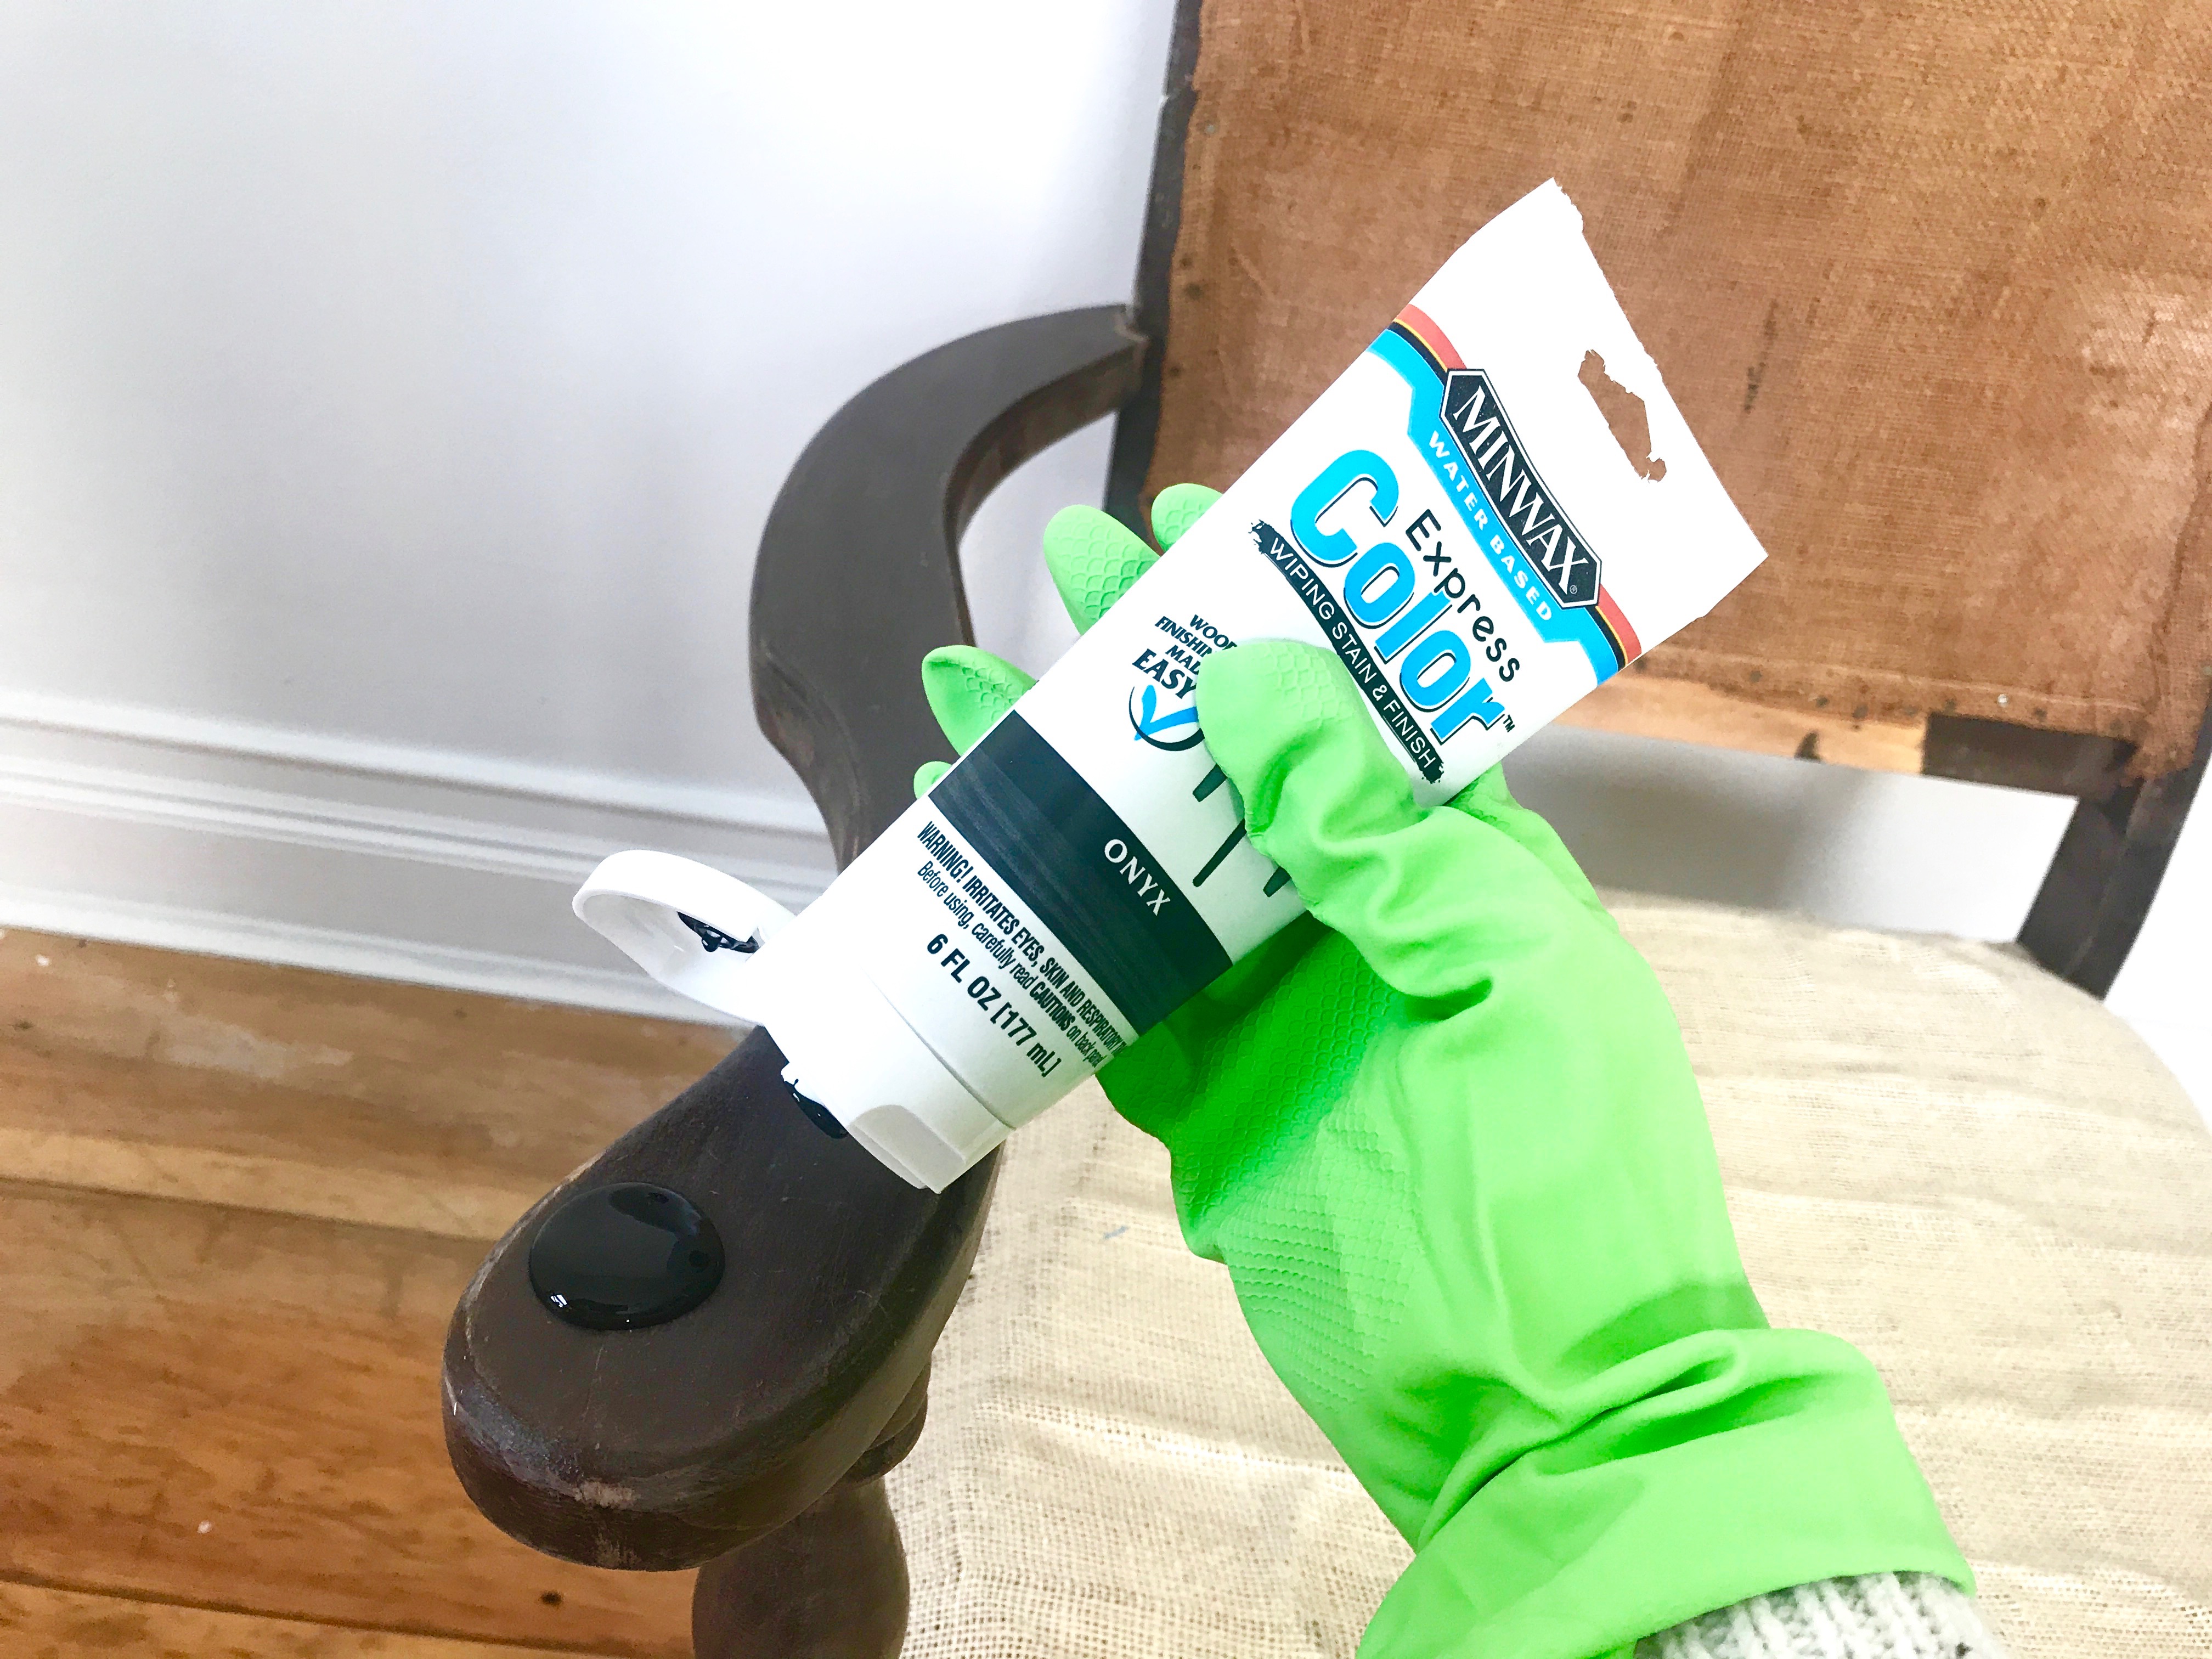


The Express Color from Minwax is water-based, and really easy to apply. I always try to wear gloves when I work with any stain and paint.
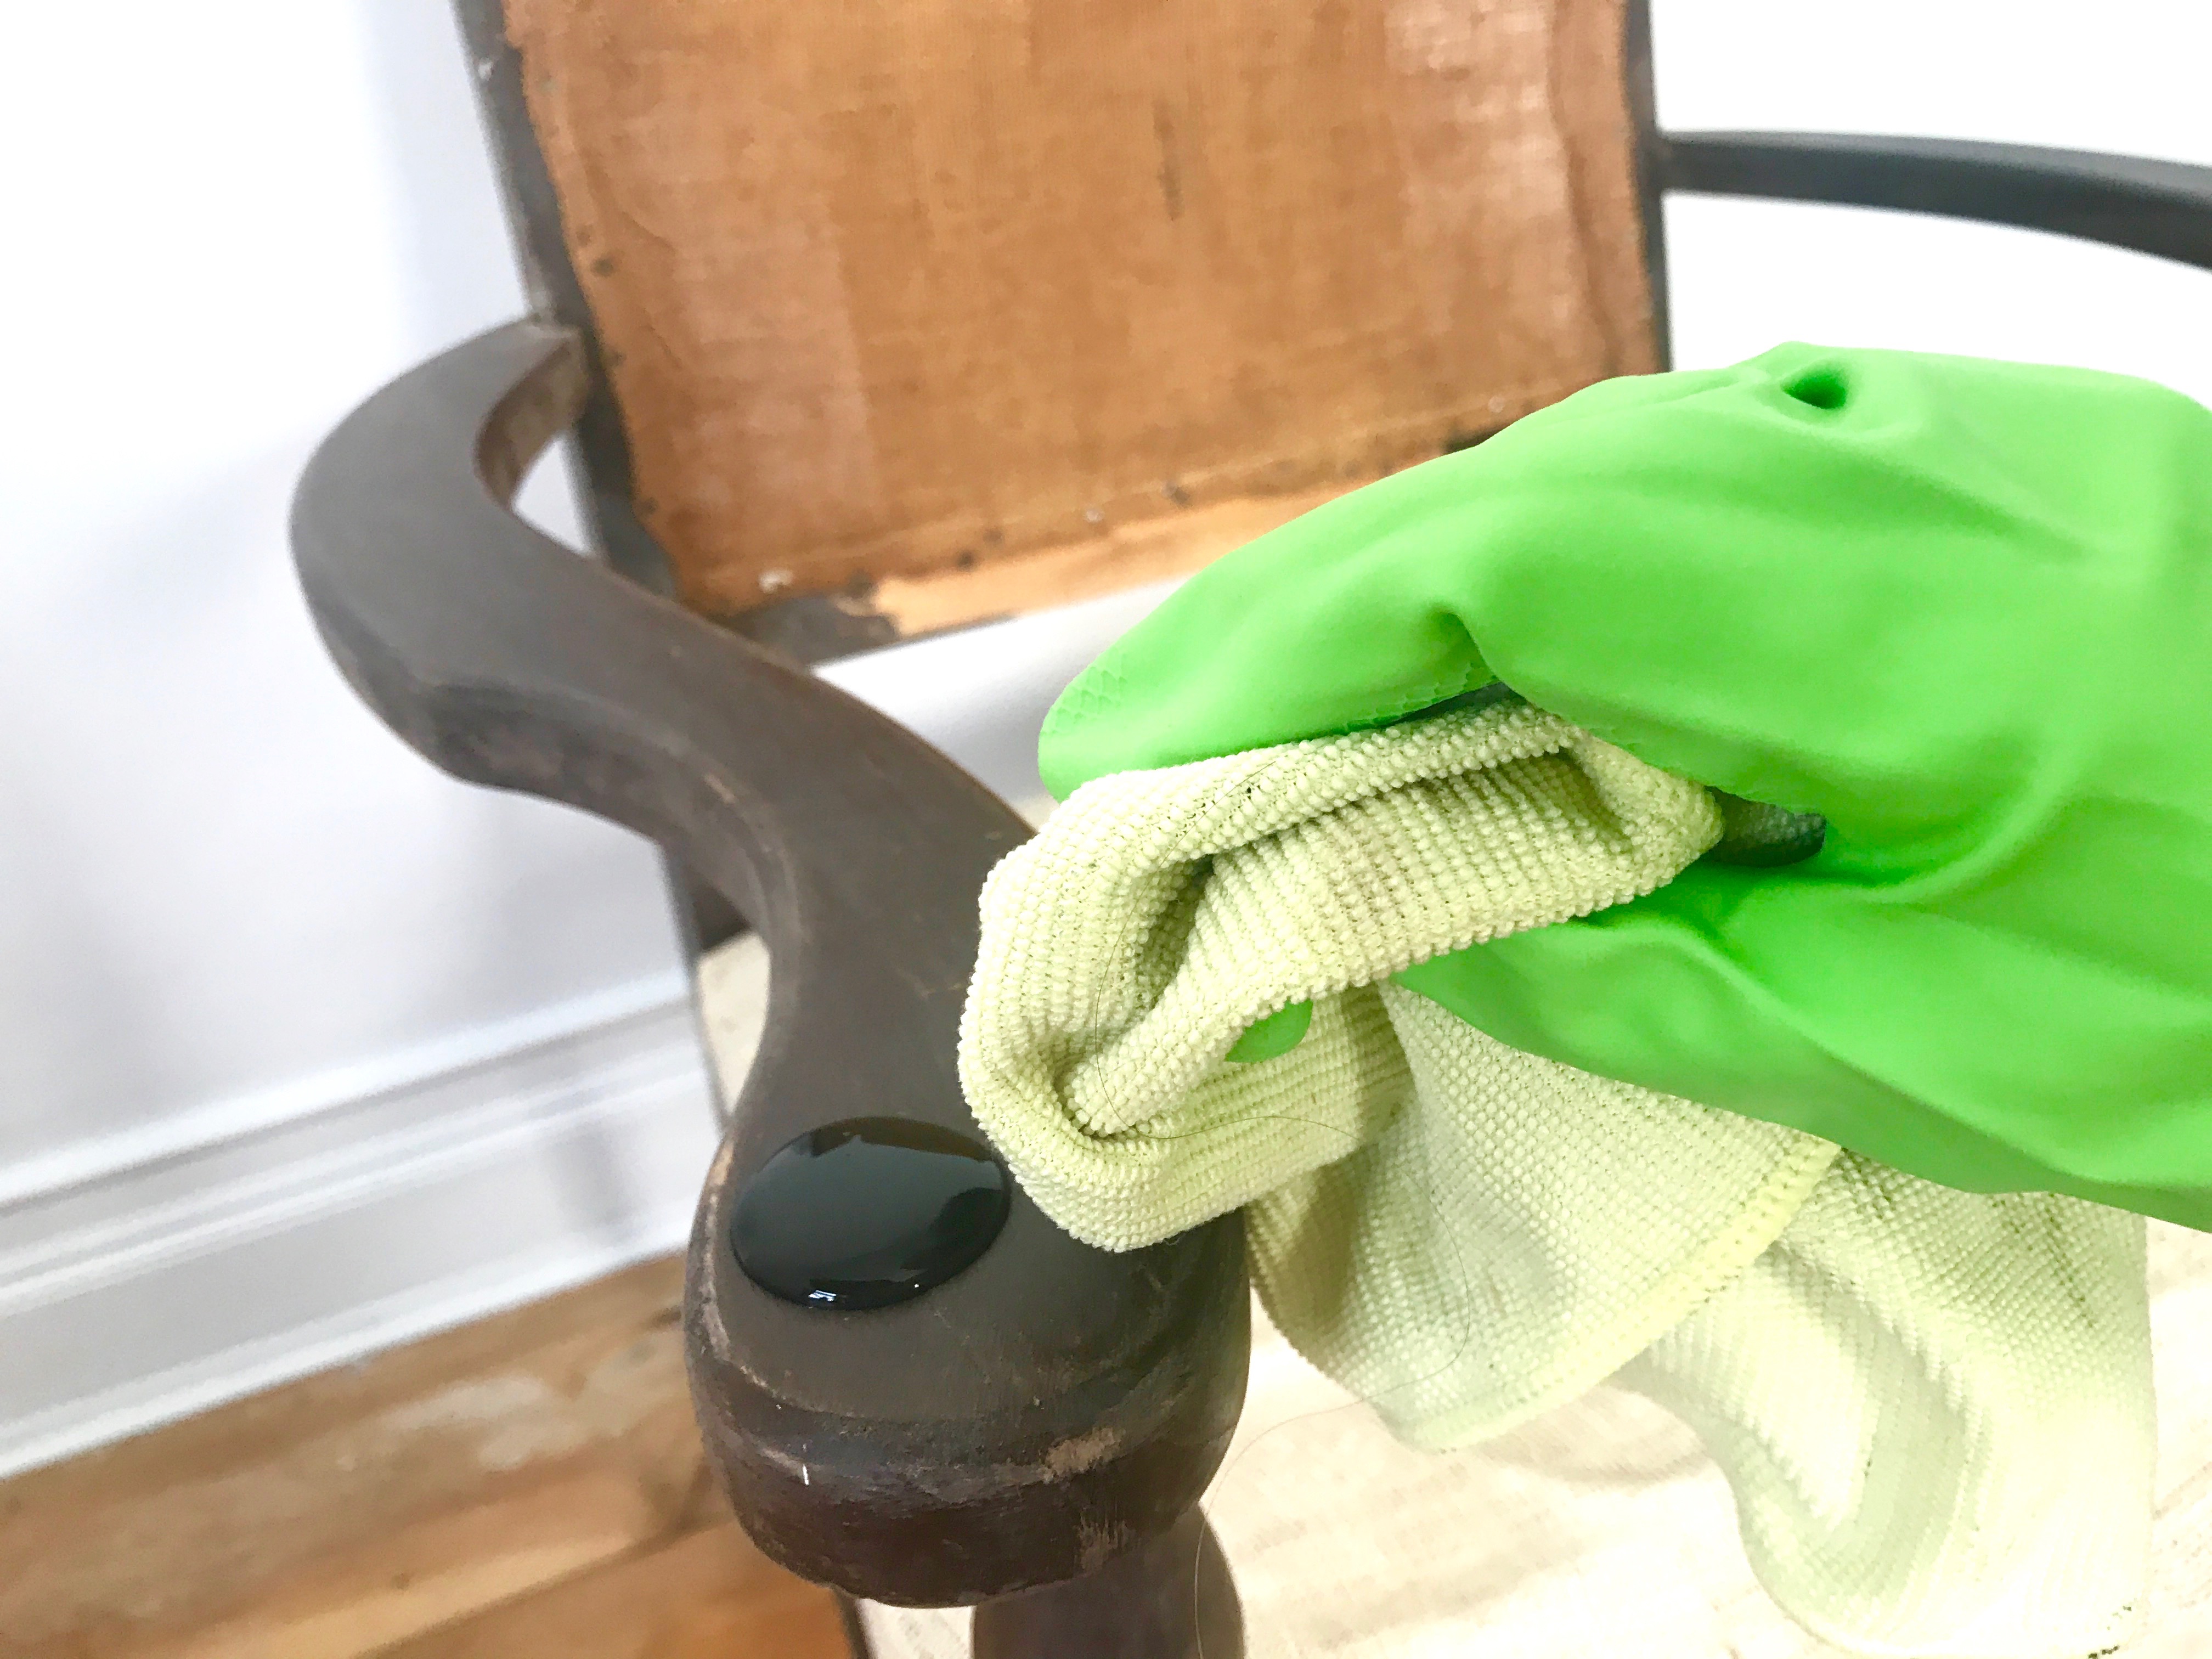


After squeezing out a dollop of stain, I rubbed the stain in the direction of the wood grain. While the tube looks like a toothpaste tube, keep in mind that it is less viscous than toothpaste. This means that the stain will come out faster, so be gentle when squeezing the tube.
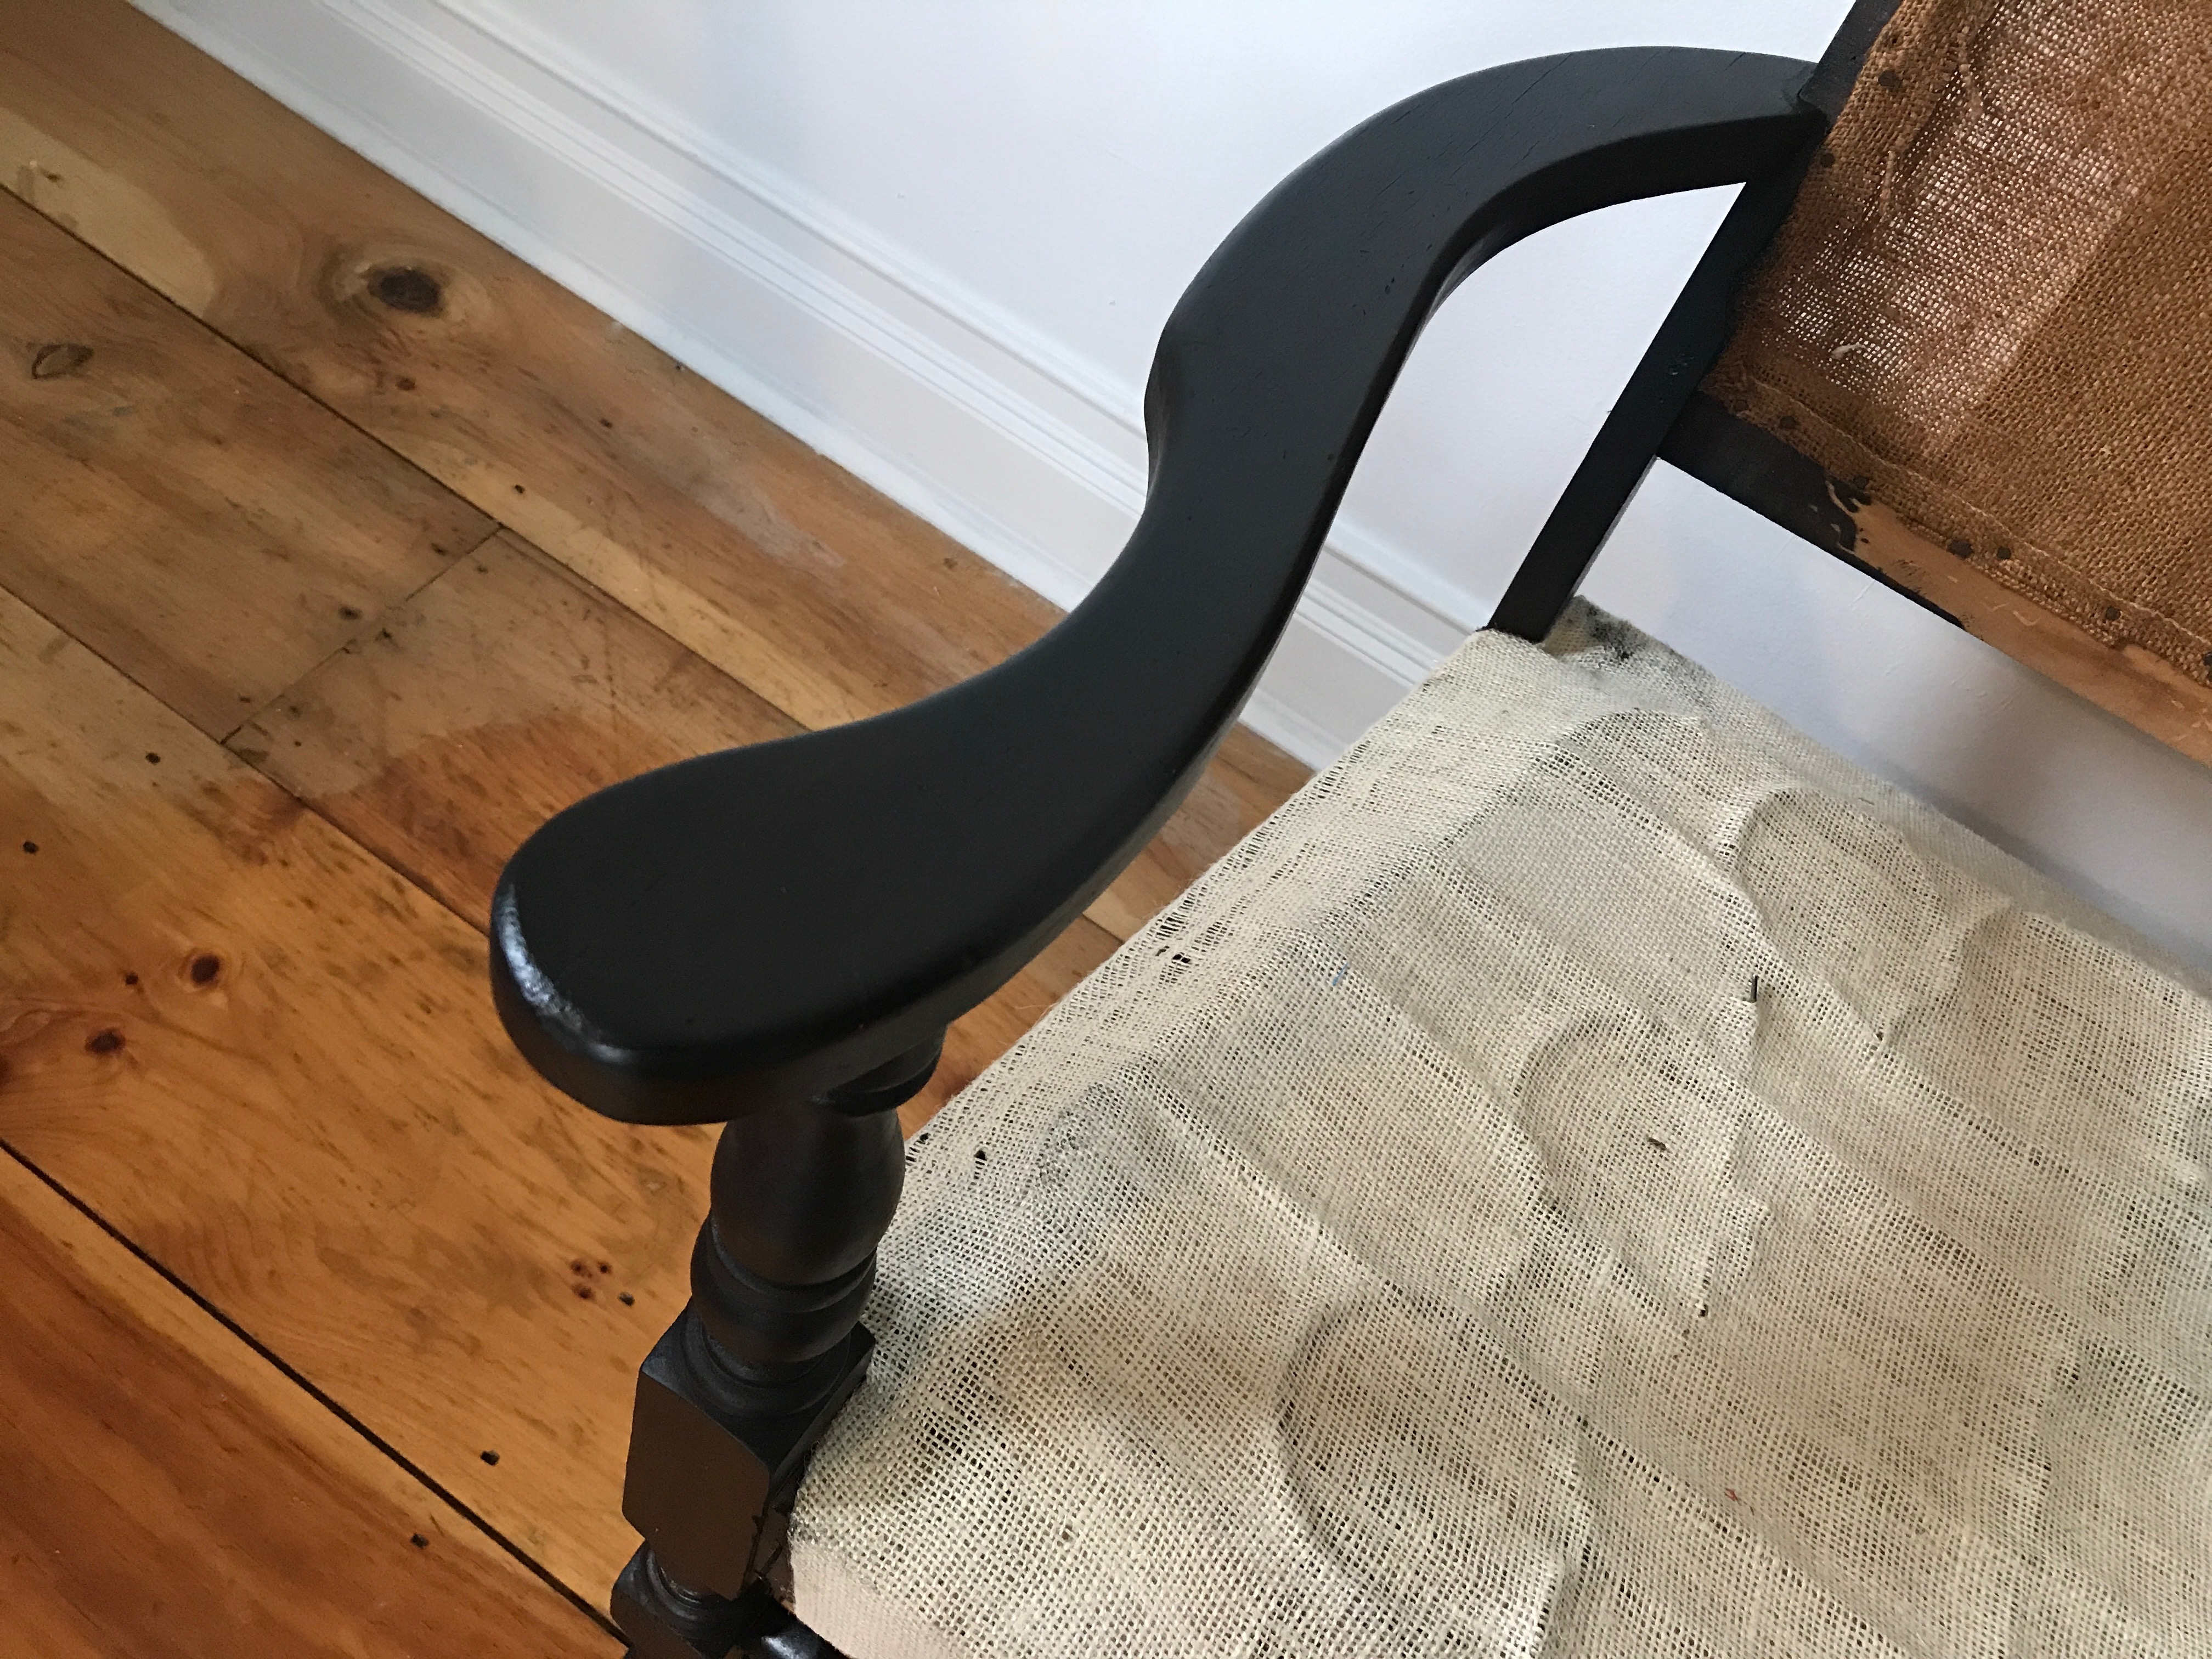


The armchair has two coats of Onyx stain. I let it dry overnight before touching it. Since it doesn’t have scratch-attractive fabric anymore, the cats left it alone, too. If it were comfortable in this condition, I may have stopped here on the chair makeover. Unfortunately, it’s not.
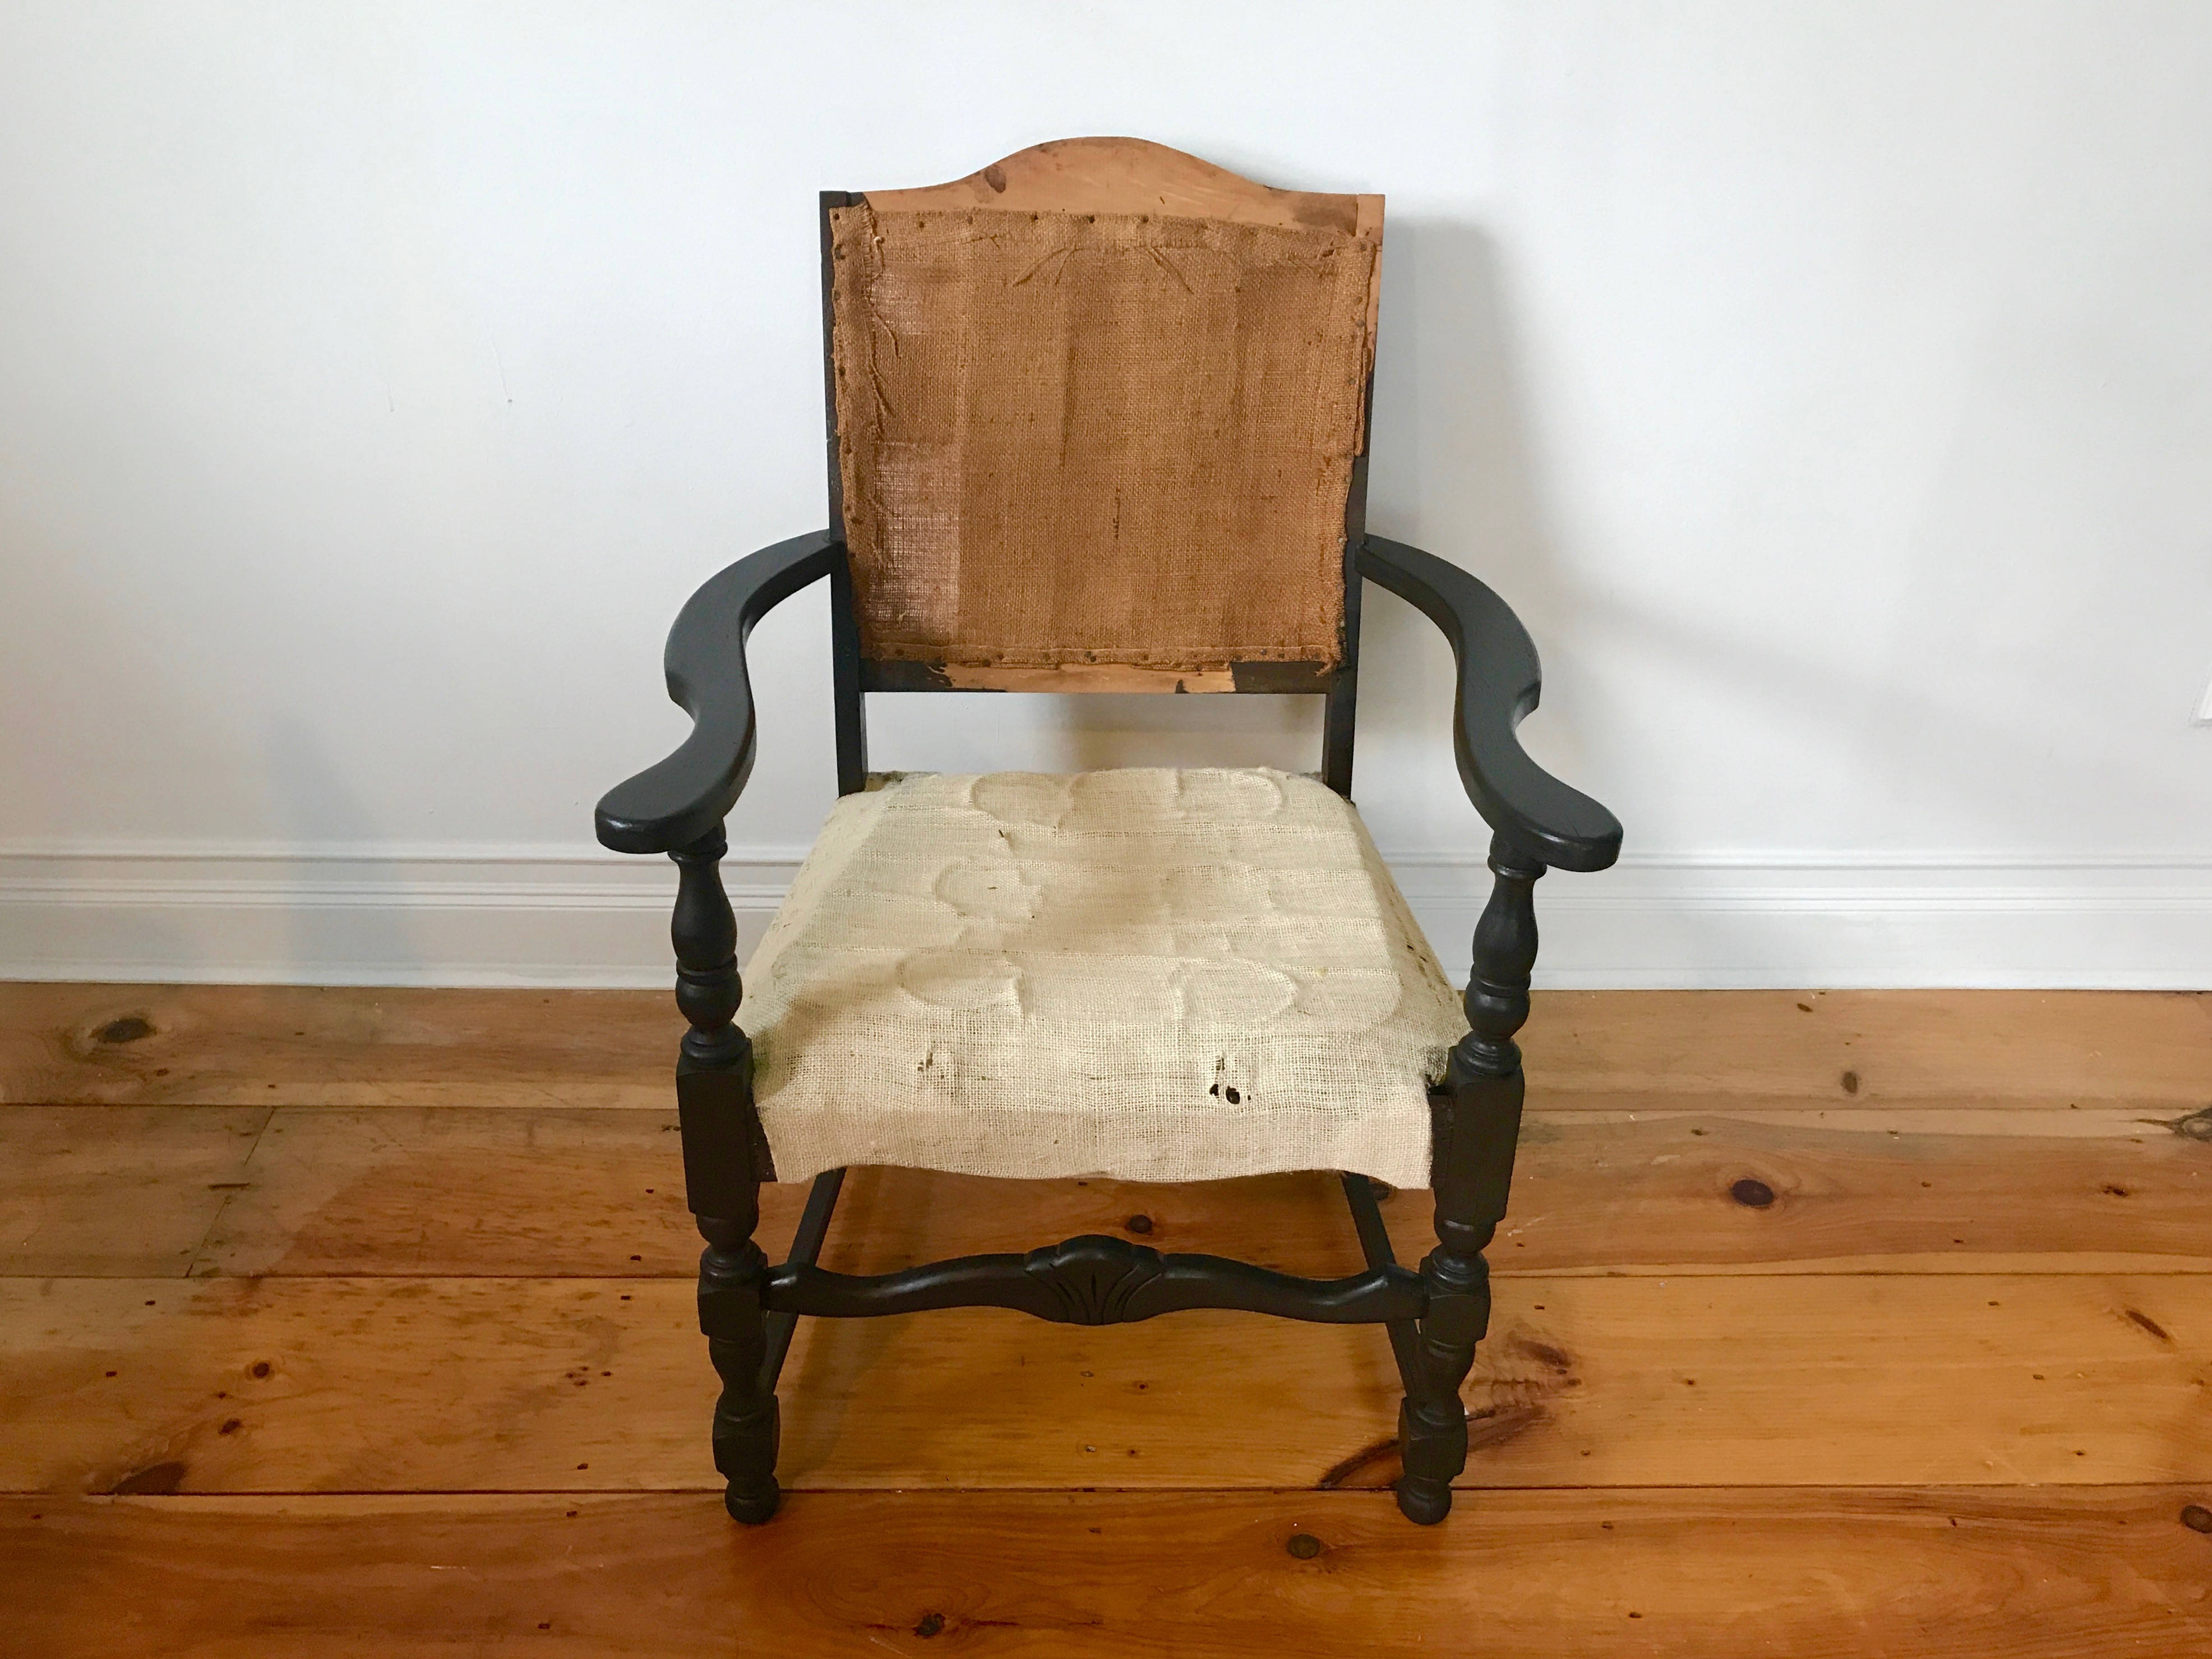


New cushioning
The chair is ready for new cushioning. I’m reusing the foam bottom, but I need a new back cushion to replace the hay and horsehair. I chose foam again for the cushion.
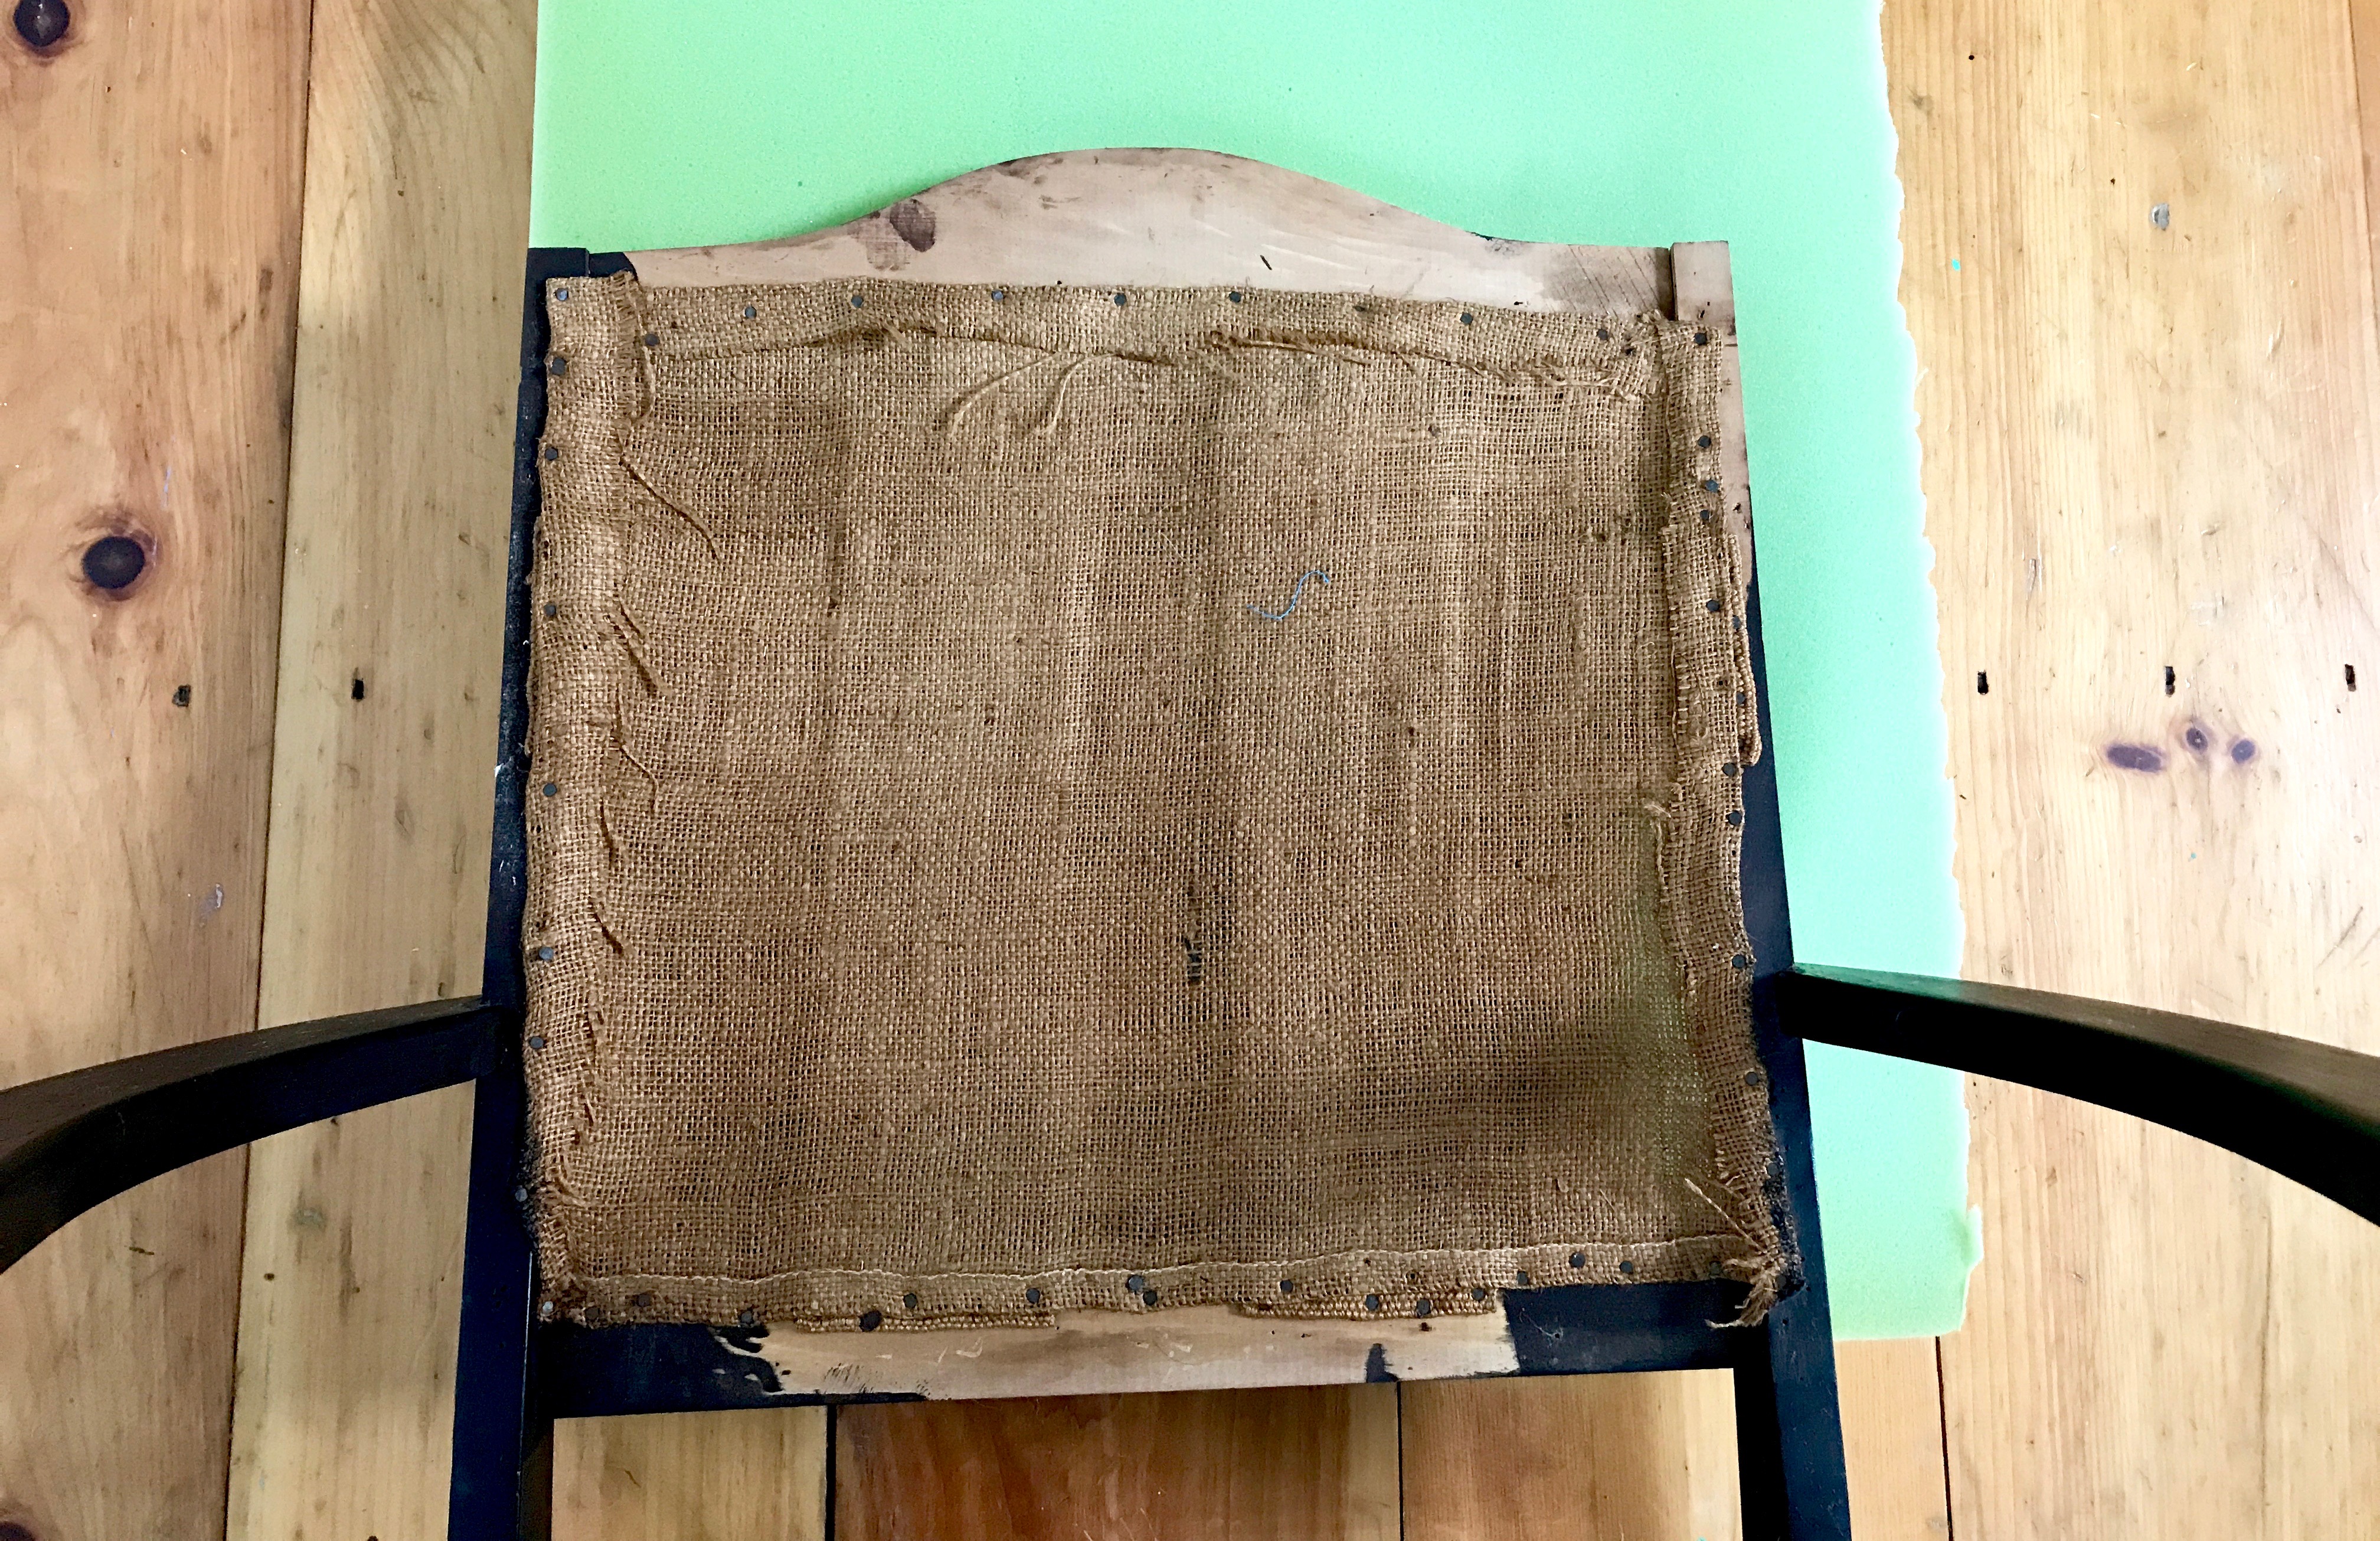


Using the chair as the template, I outlined the chair with chalk.
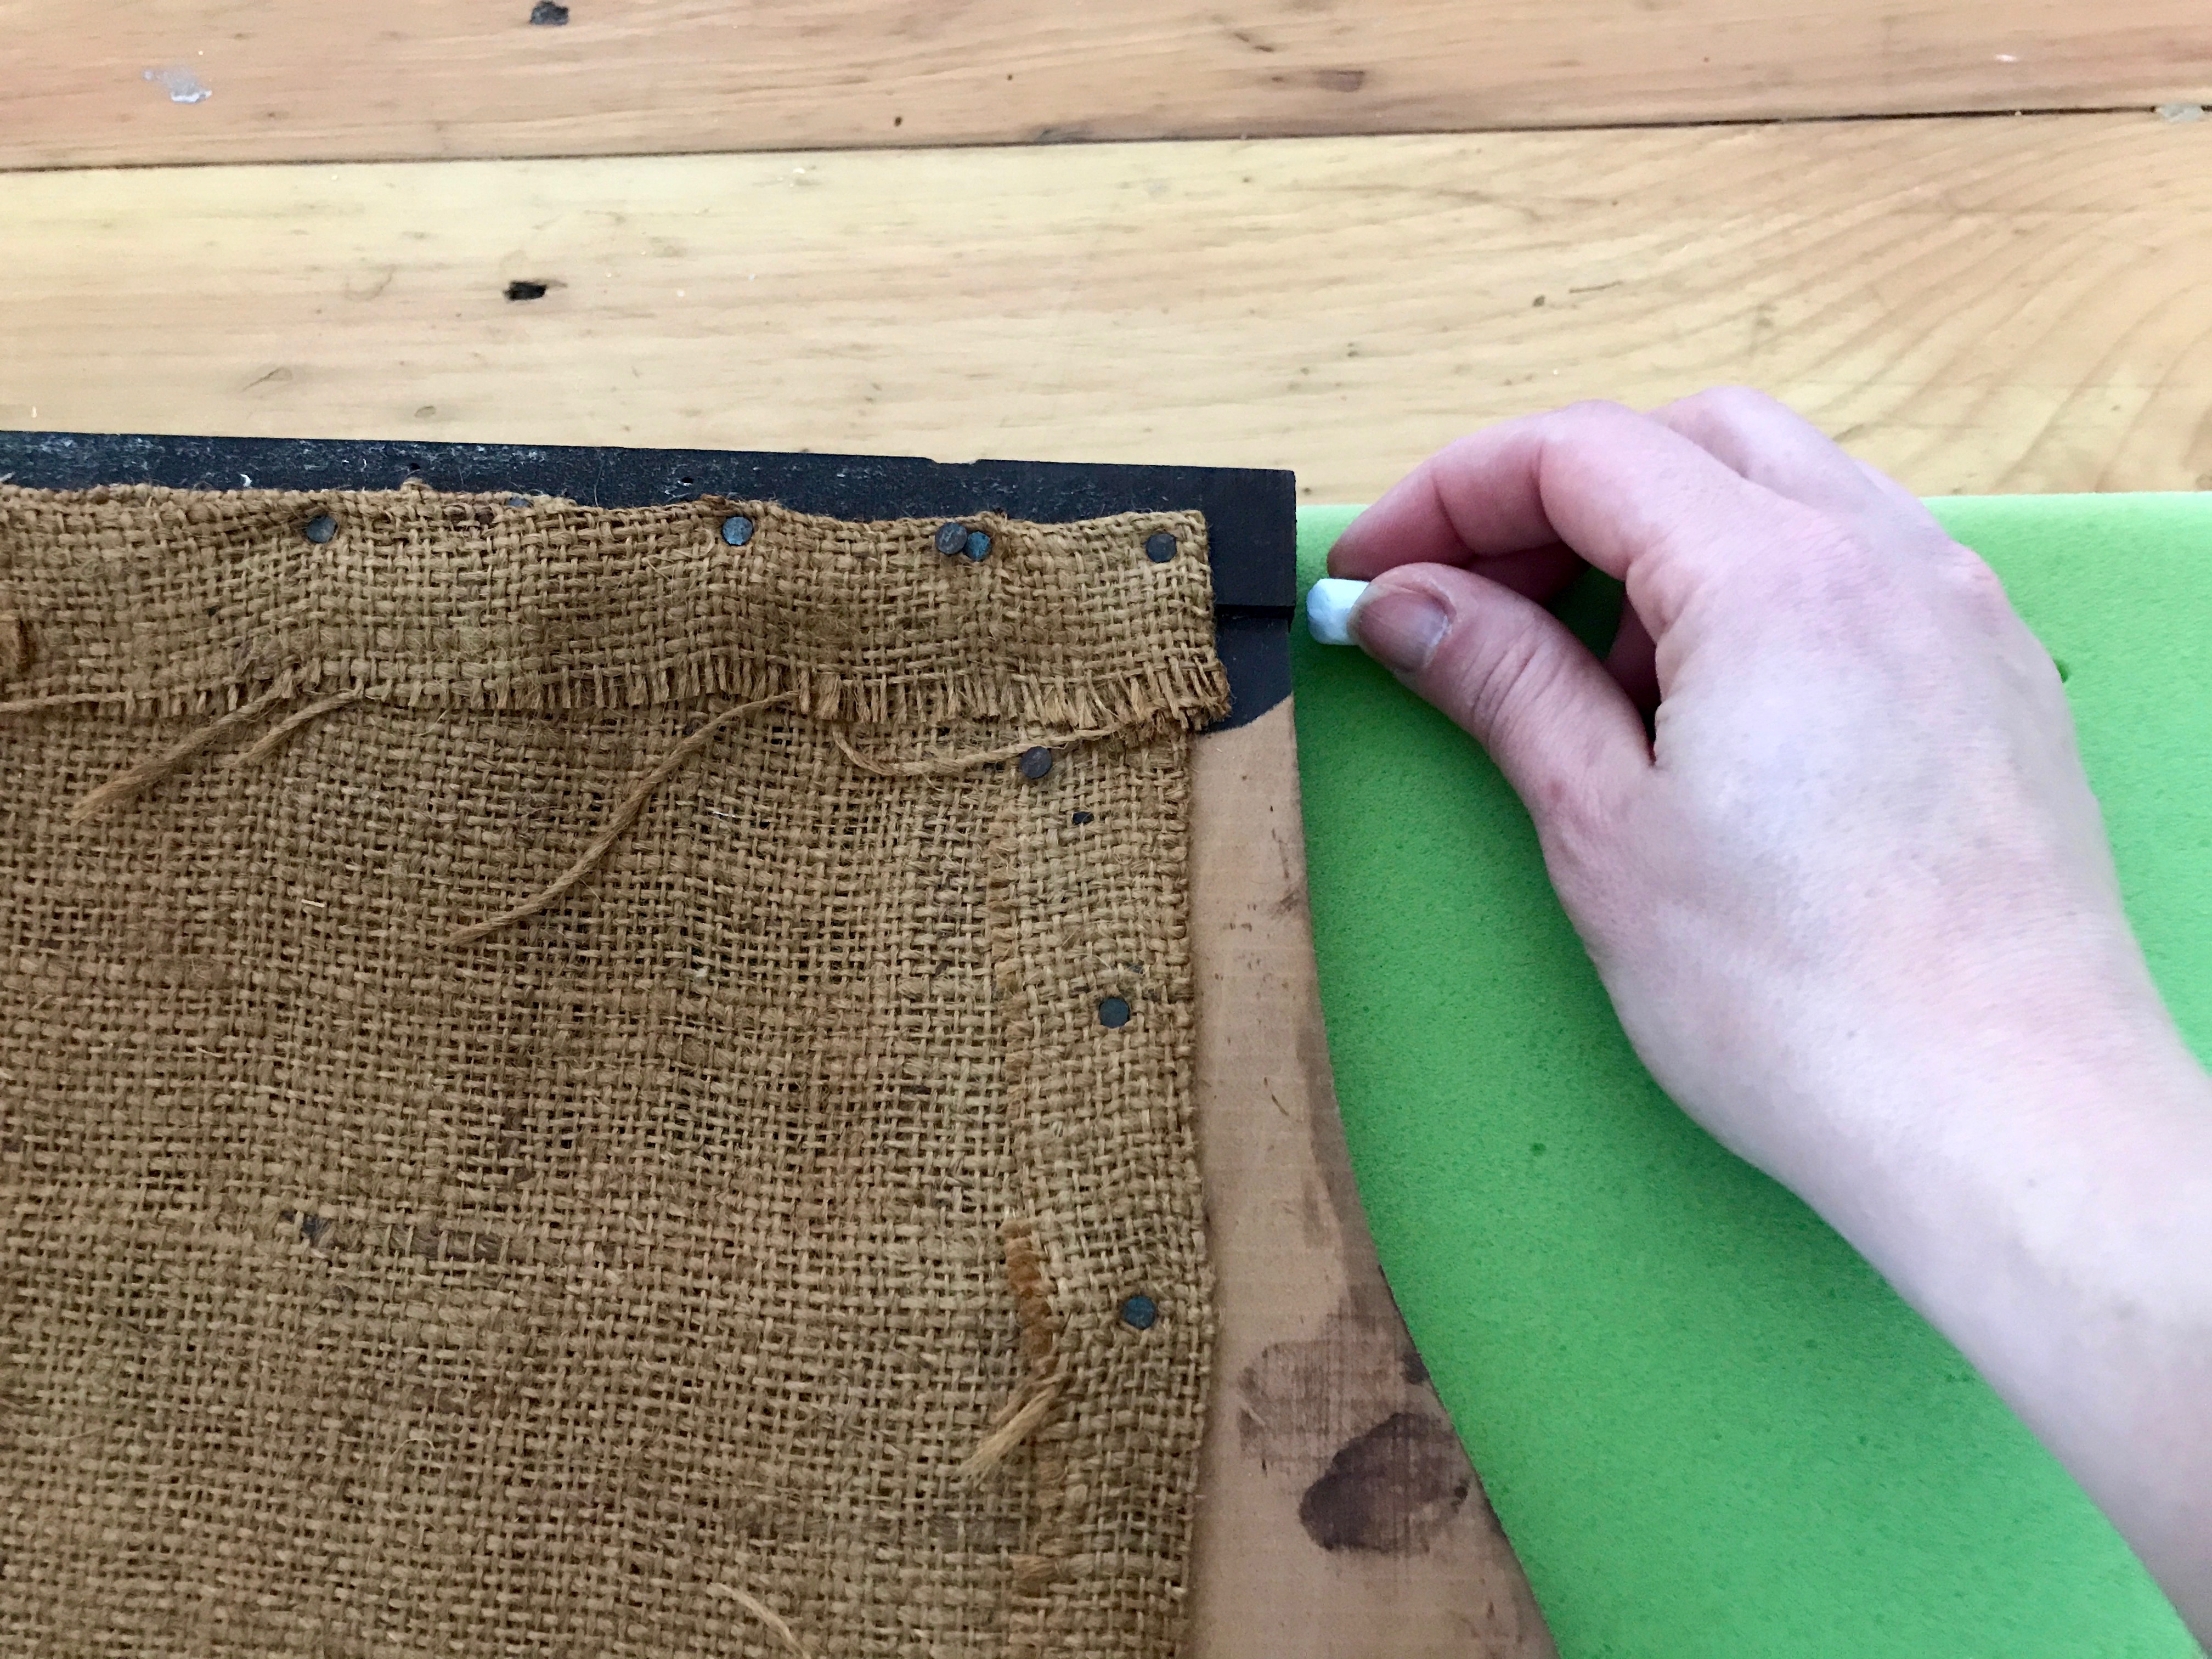


Then, cut the foam with high-quality scissors. If you are having trouble cutting foam or other thick material, try the multi-purpose scissors from Fiskars. I’ve never been frustrated with Fiskars.


Crochet the cover
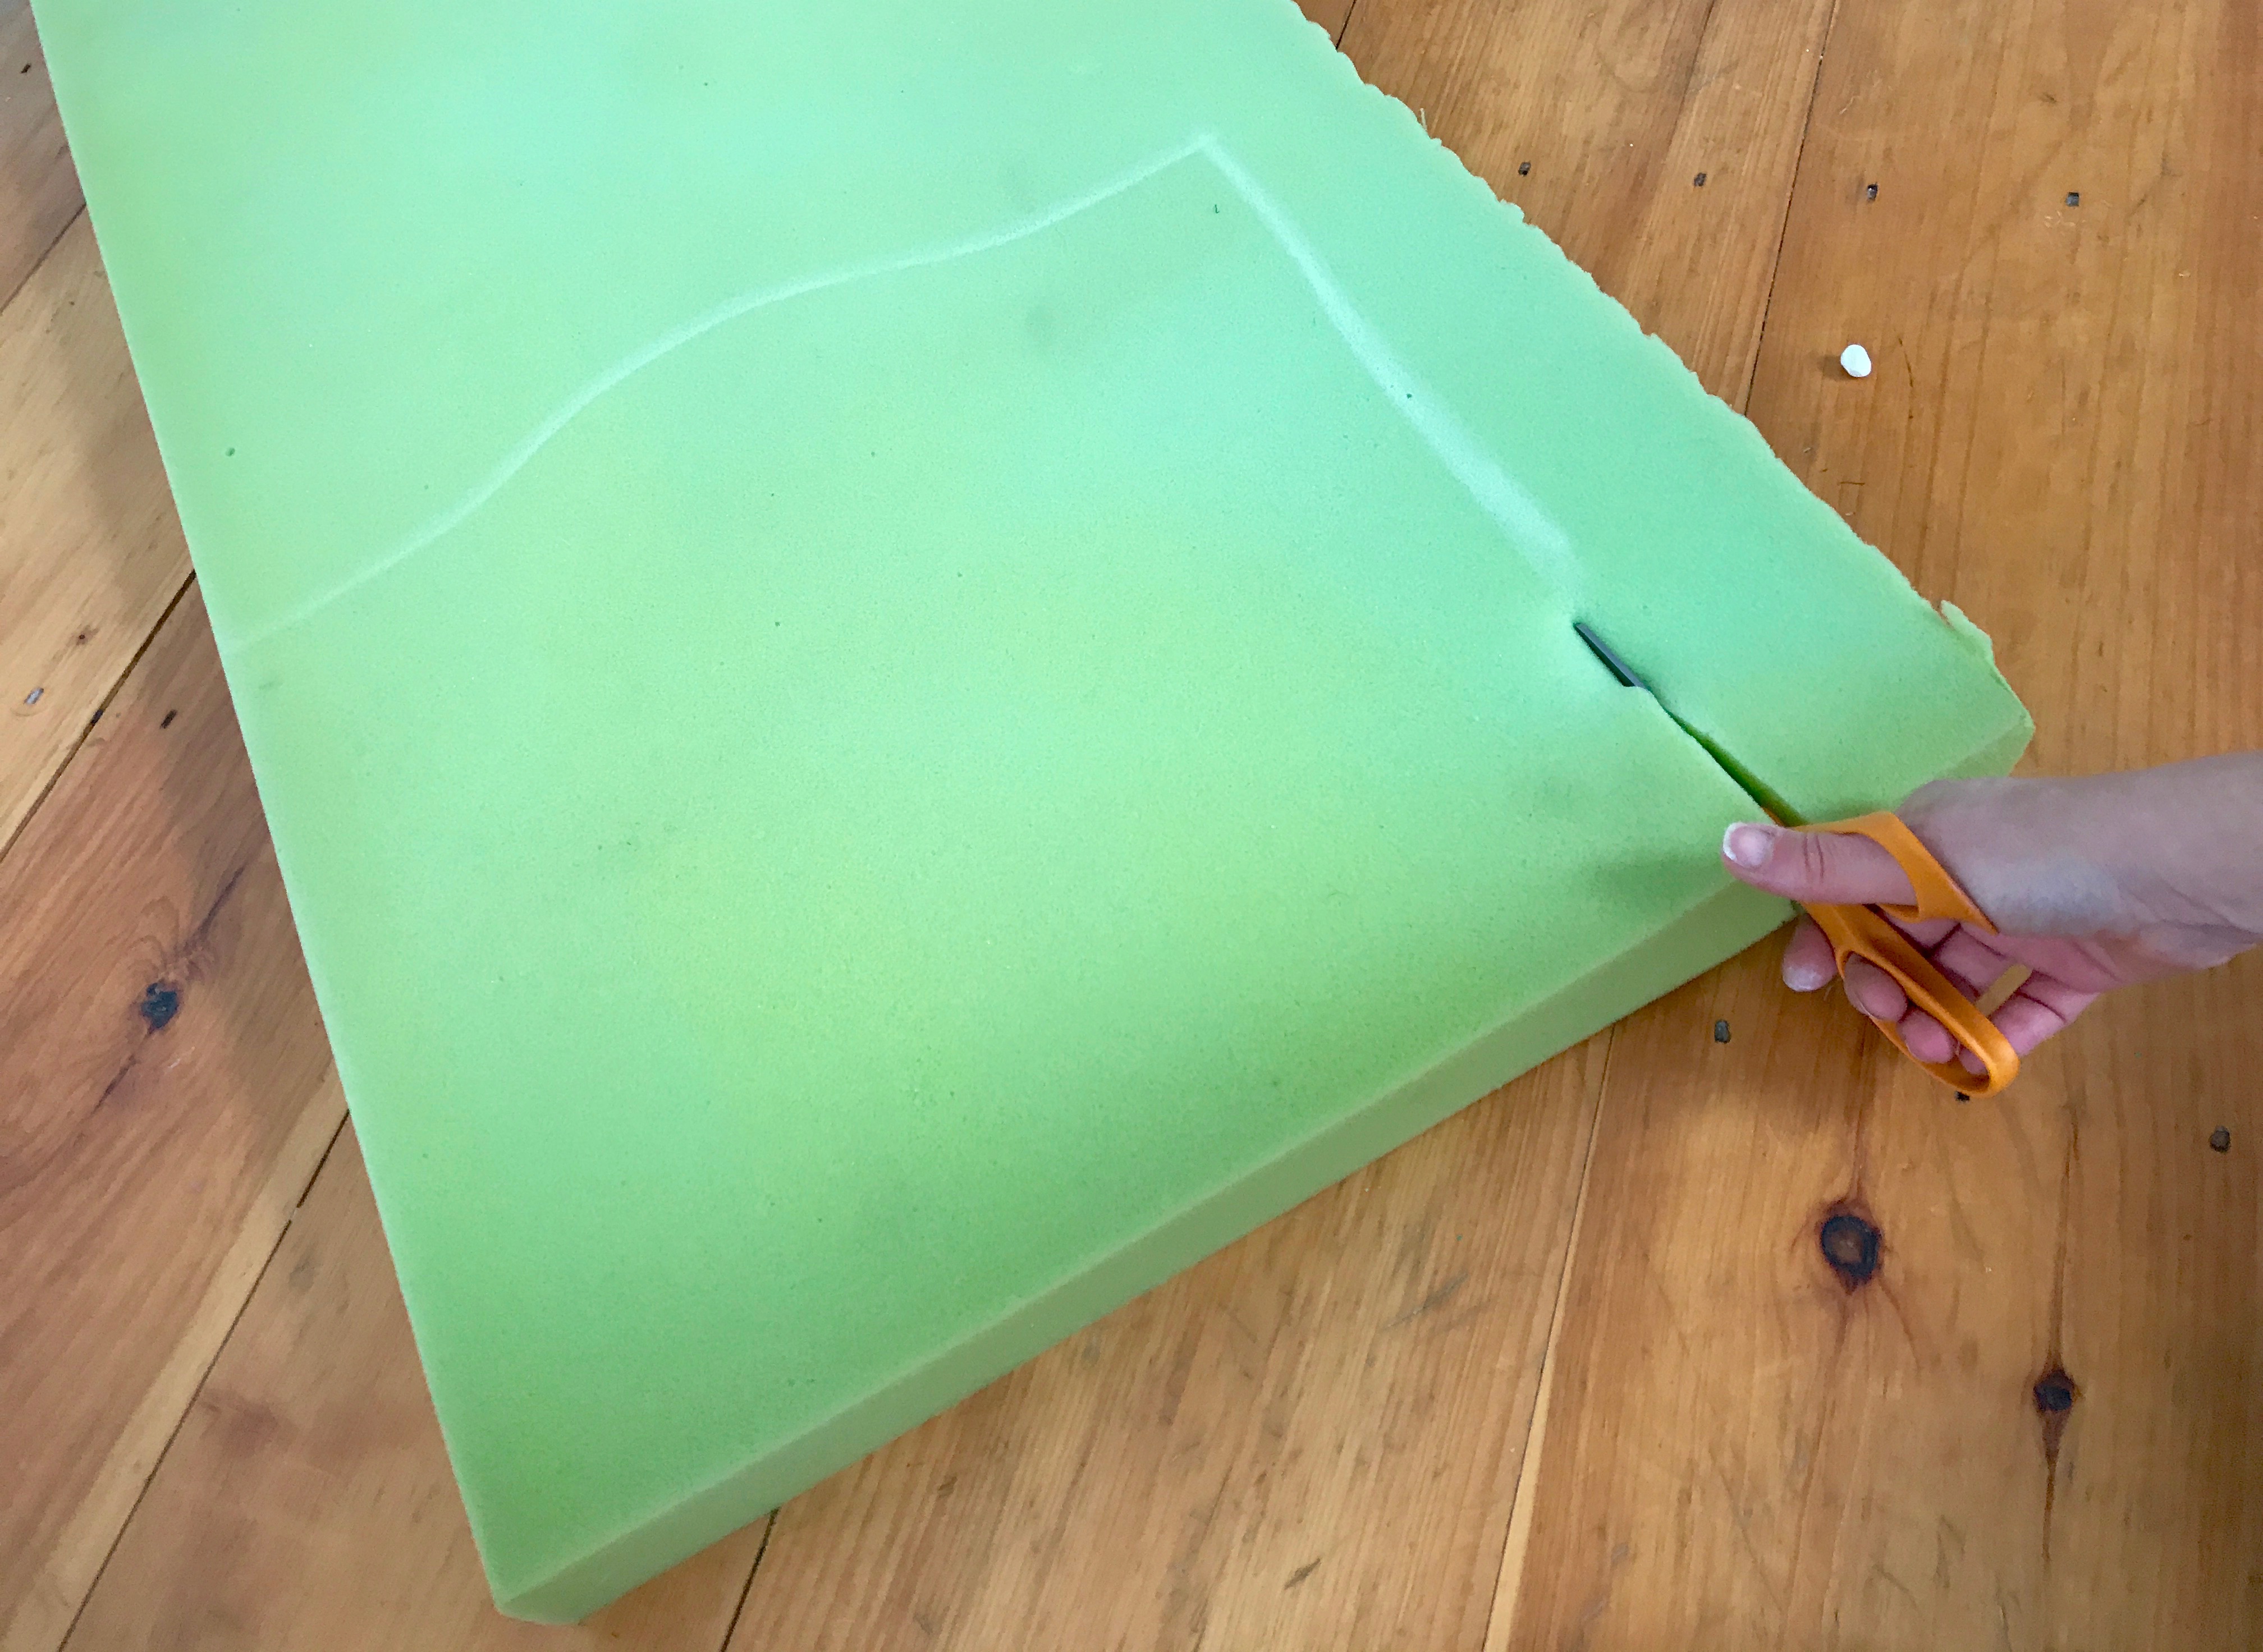
The cover of the chair is crocheted 3-ply twine. I’ve been obsessed with the star stitch lately, so I was more than happy to spend several hours for a few days crocheting this stitch for the armchair cover. After finishing the back, I decided to change up the seat, and use a mesh stitch for the seat top. It seemed a little much to have the entire chair in one stitch. And now I’m way into the mesh stitch, too.


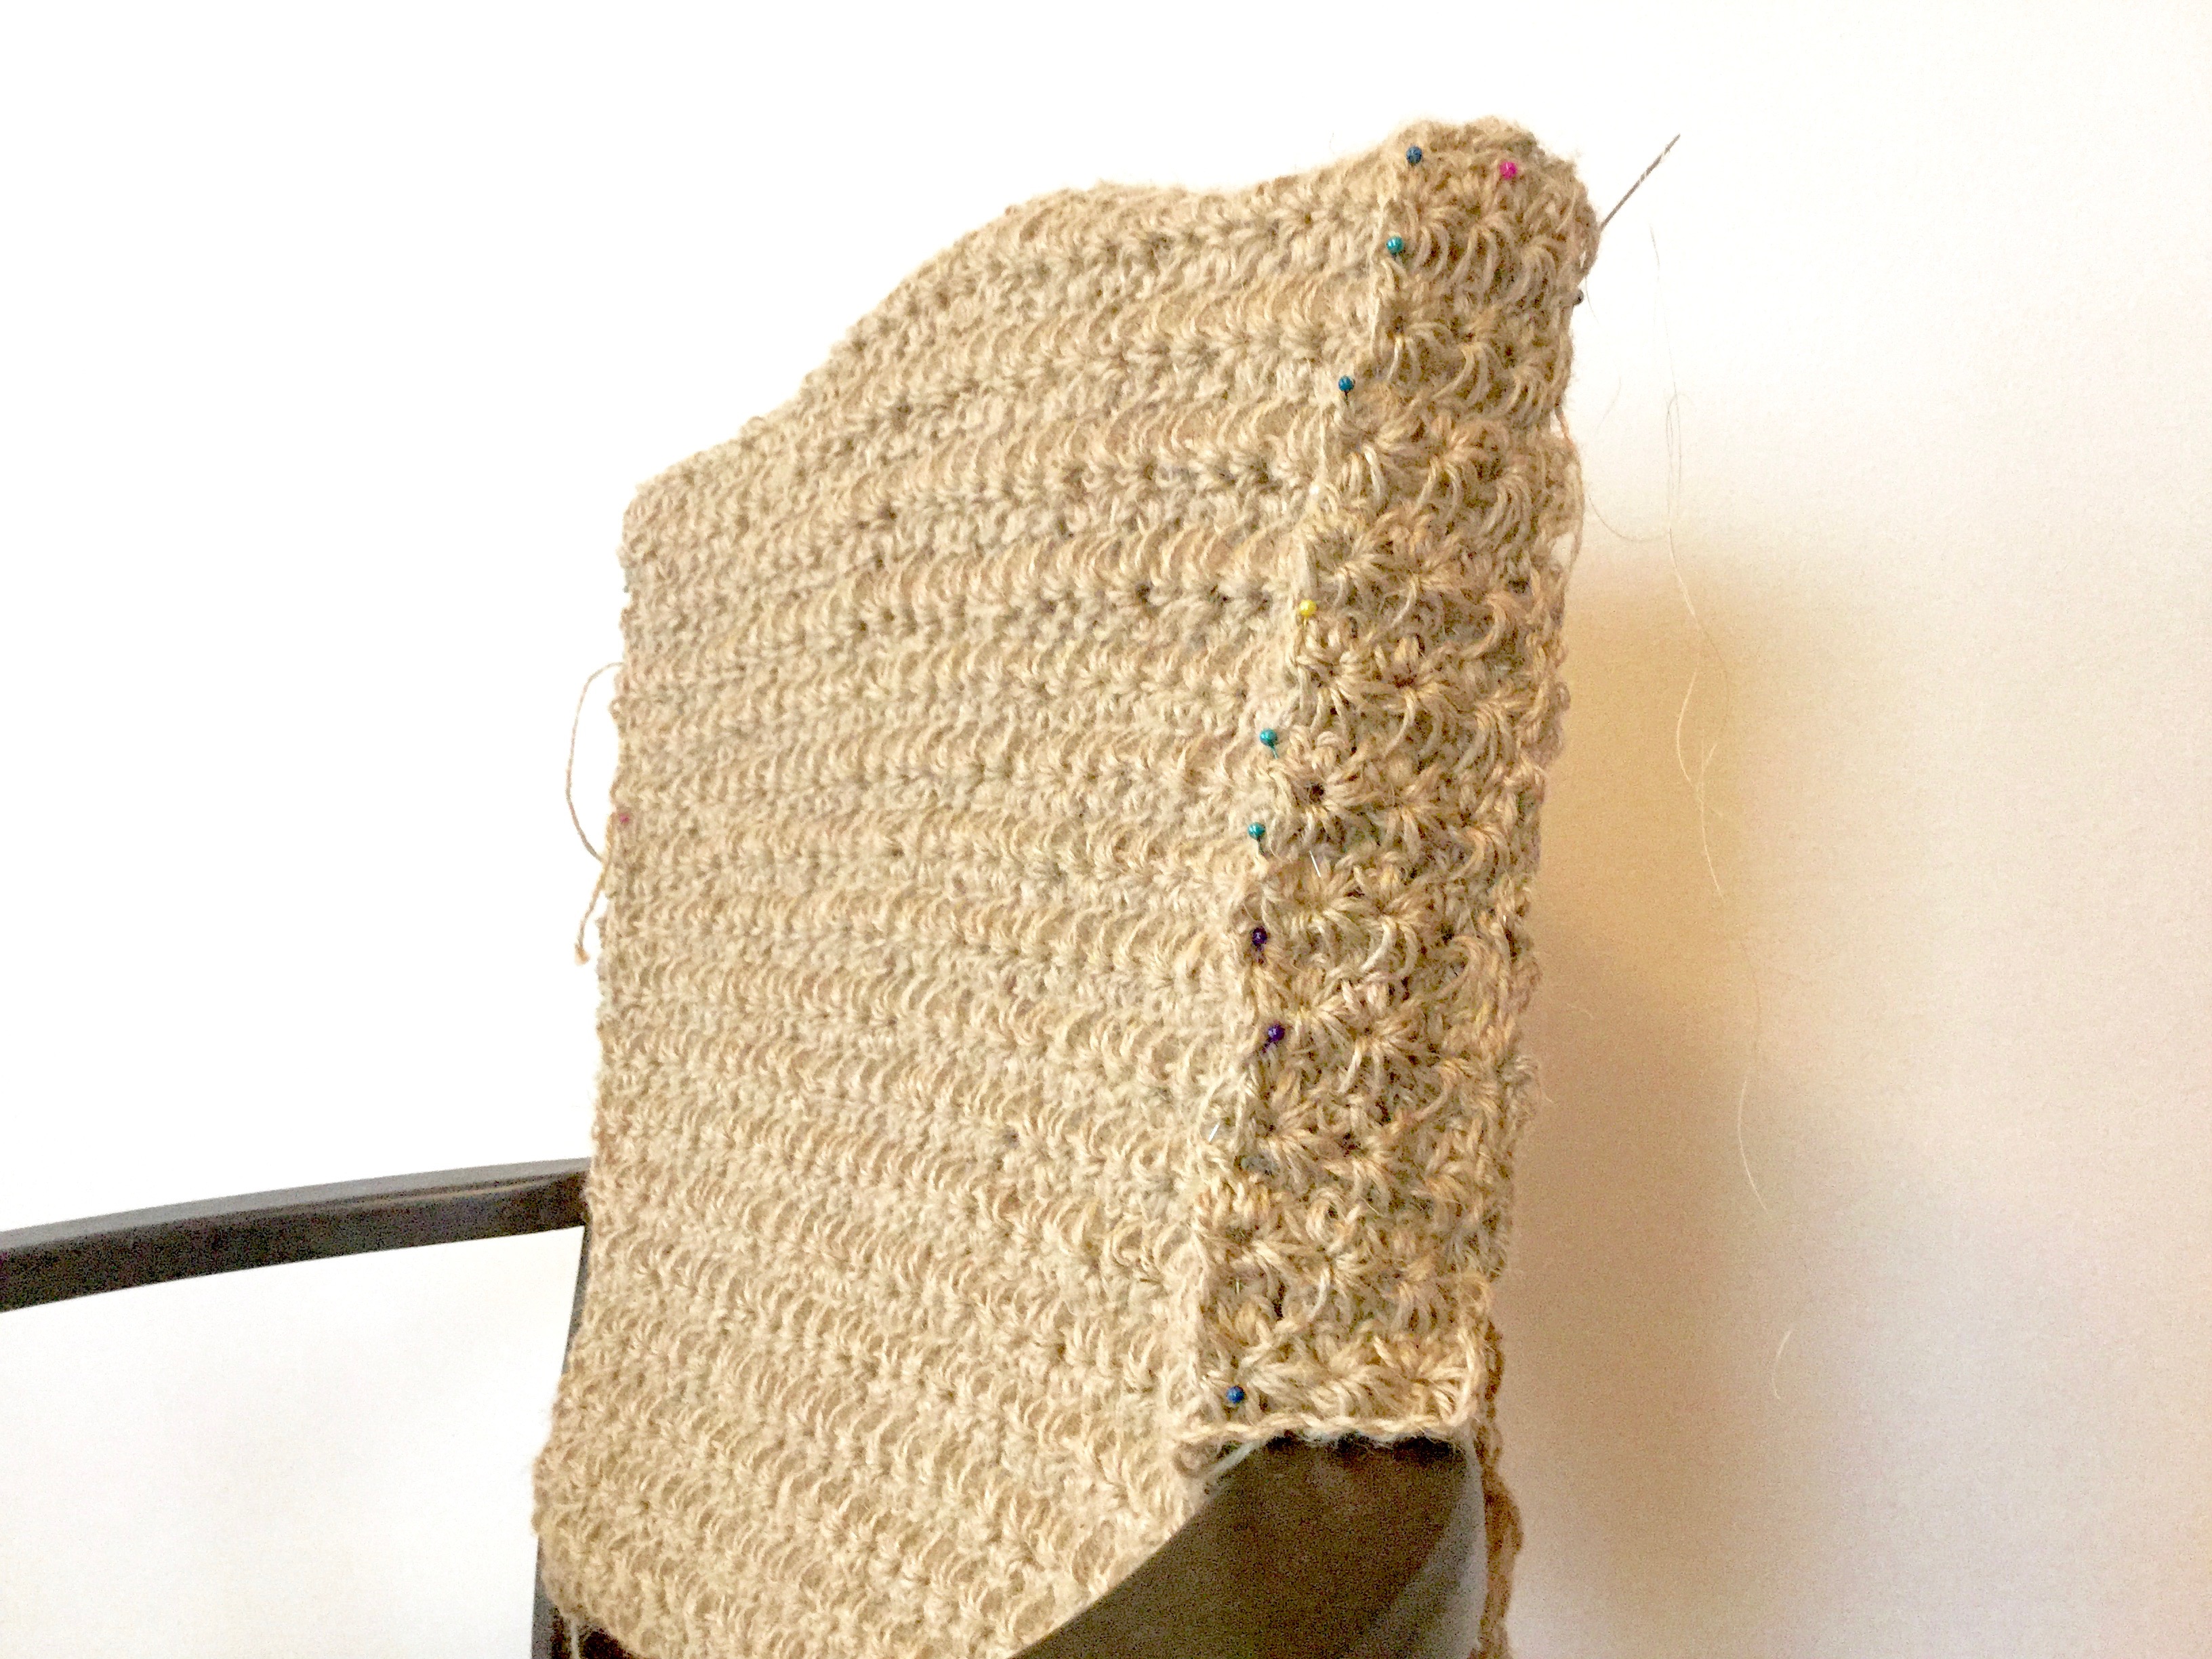
After crocheting the pieces for the back cover, I pinned it in place to see how it looked.


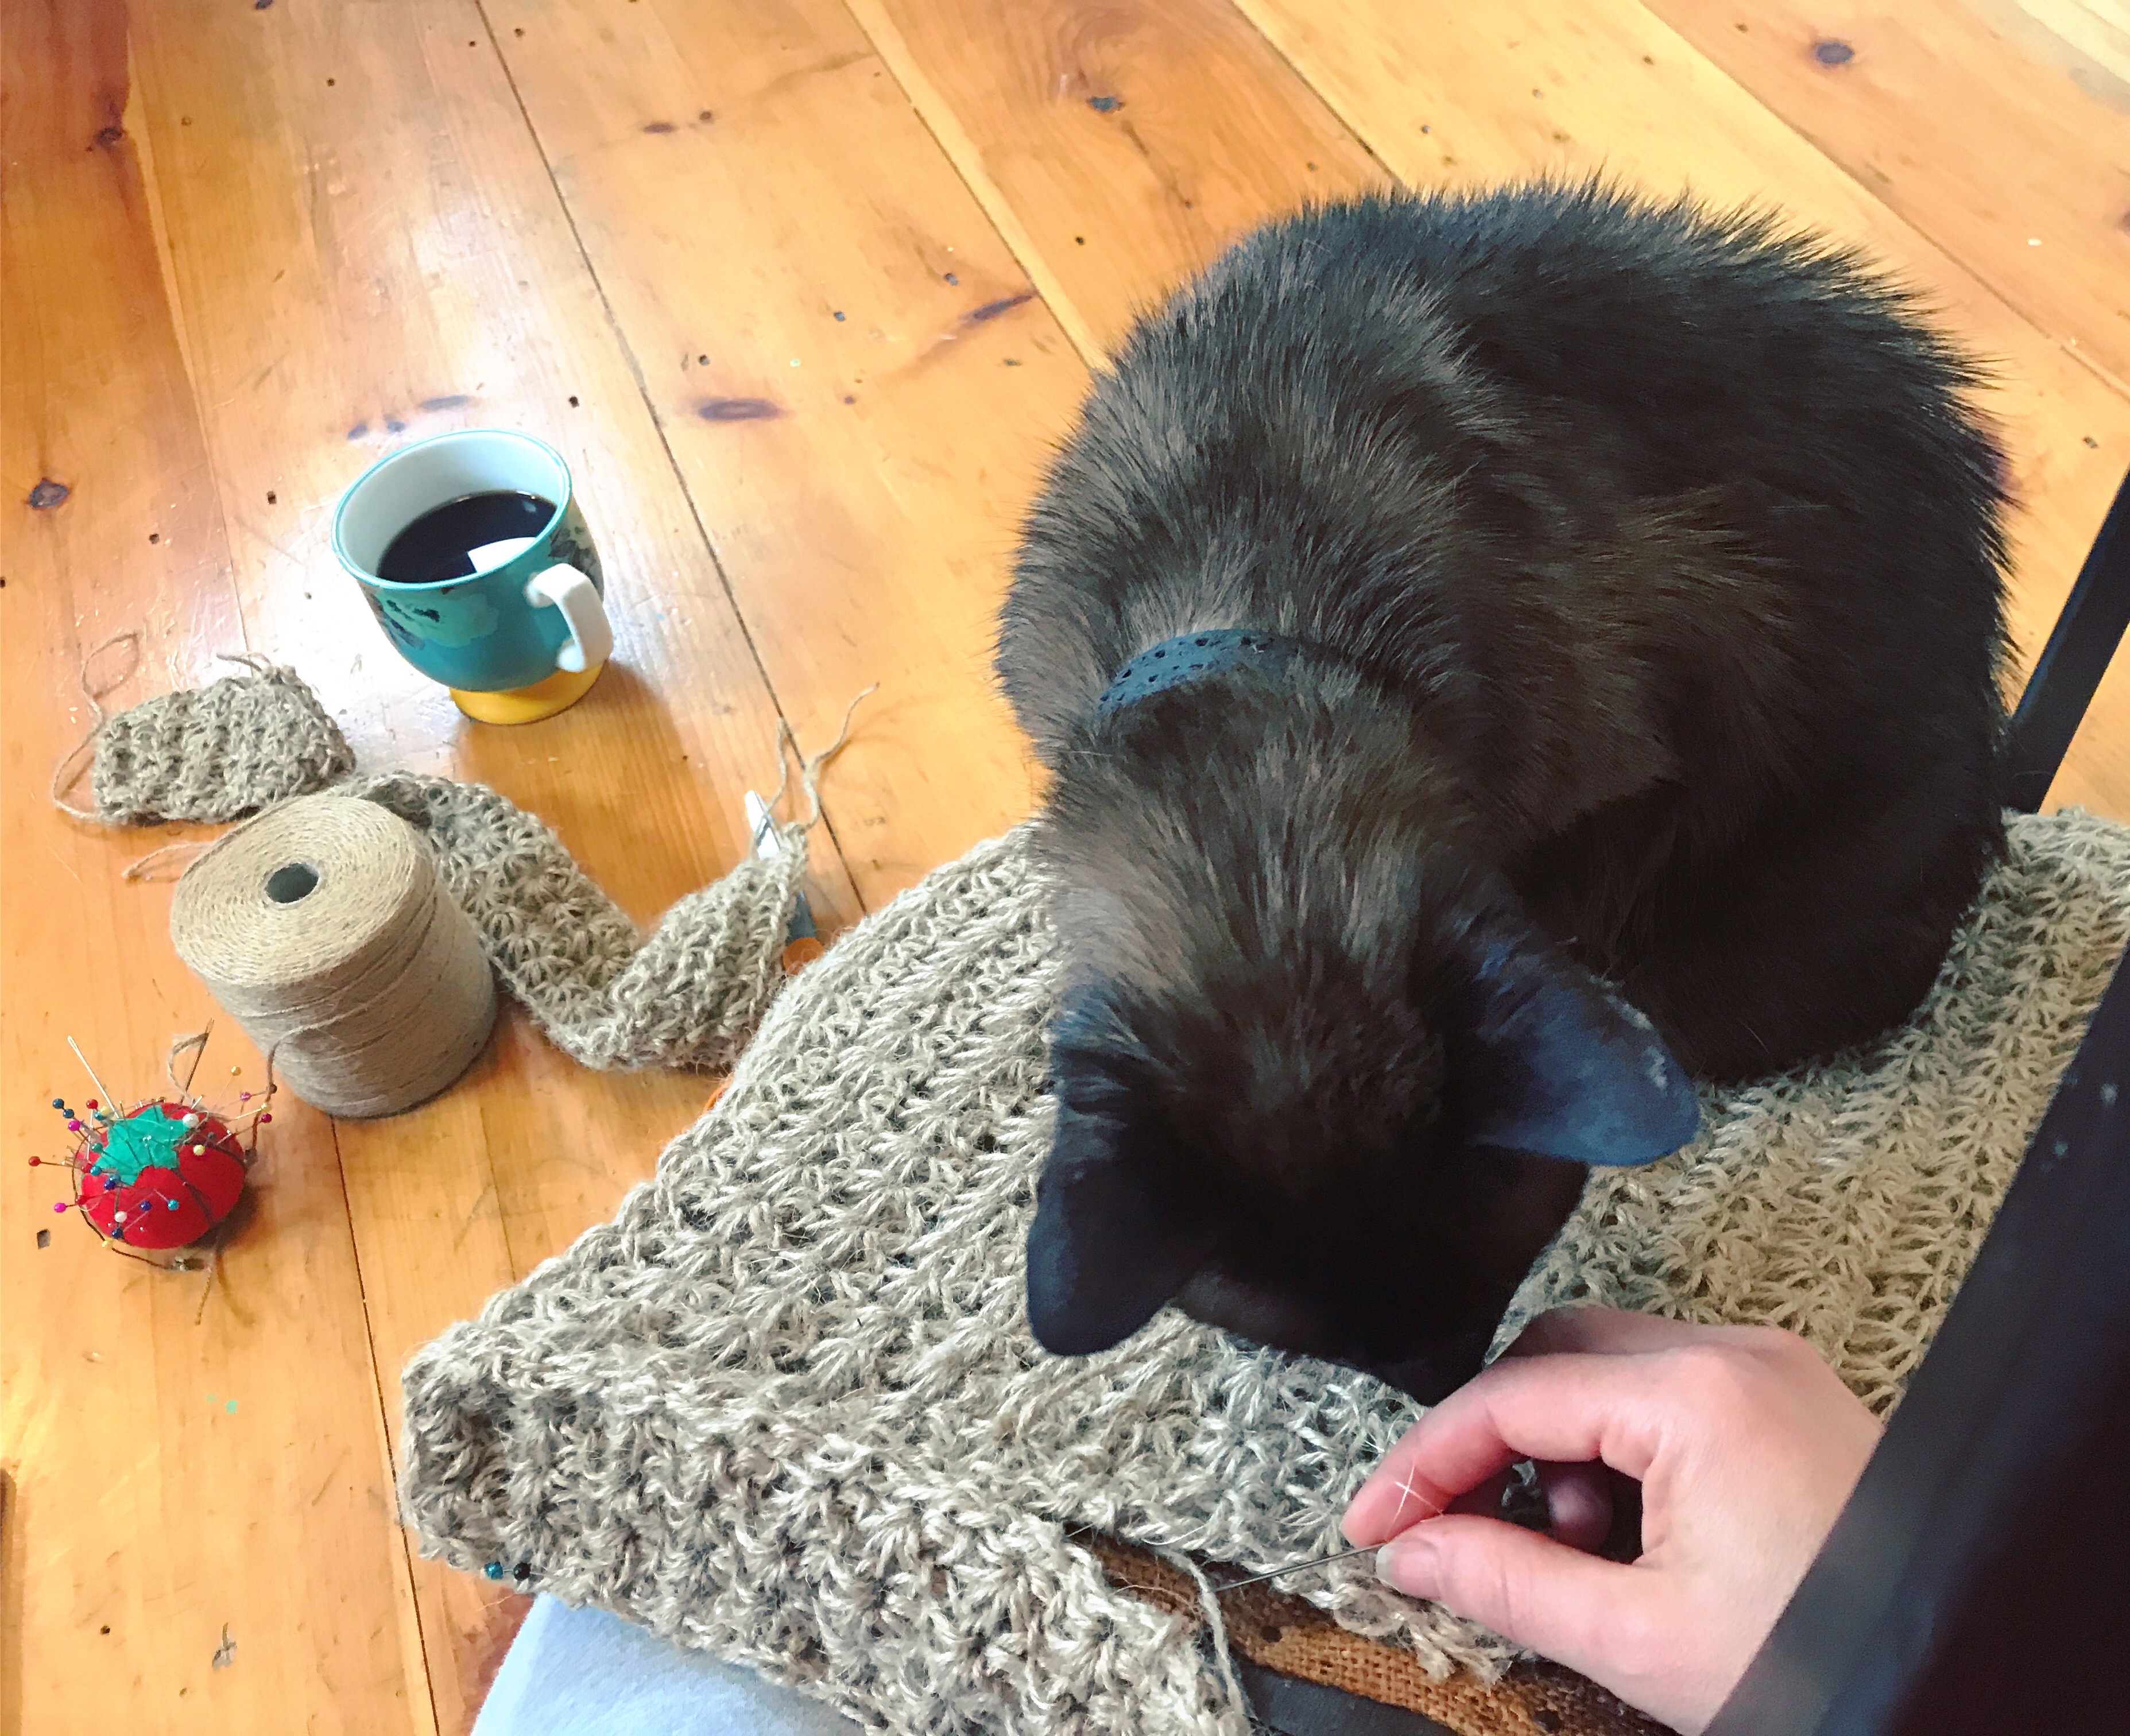
I was lucky to have one of my cats, Rowdee, ‘help’ me sew the chair cover. I realize that he thinks it’s his chair, so he needed to oversee my work.


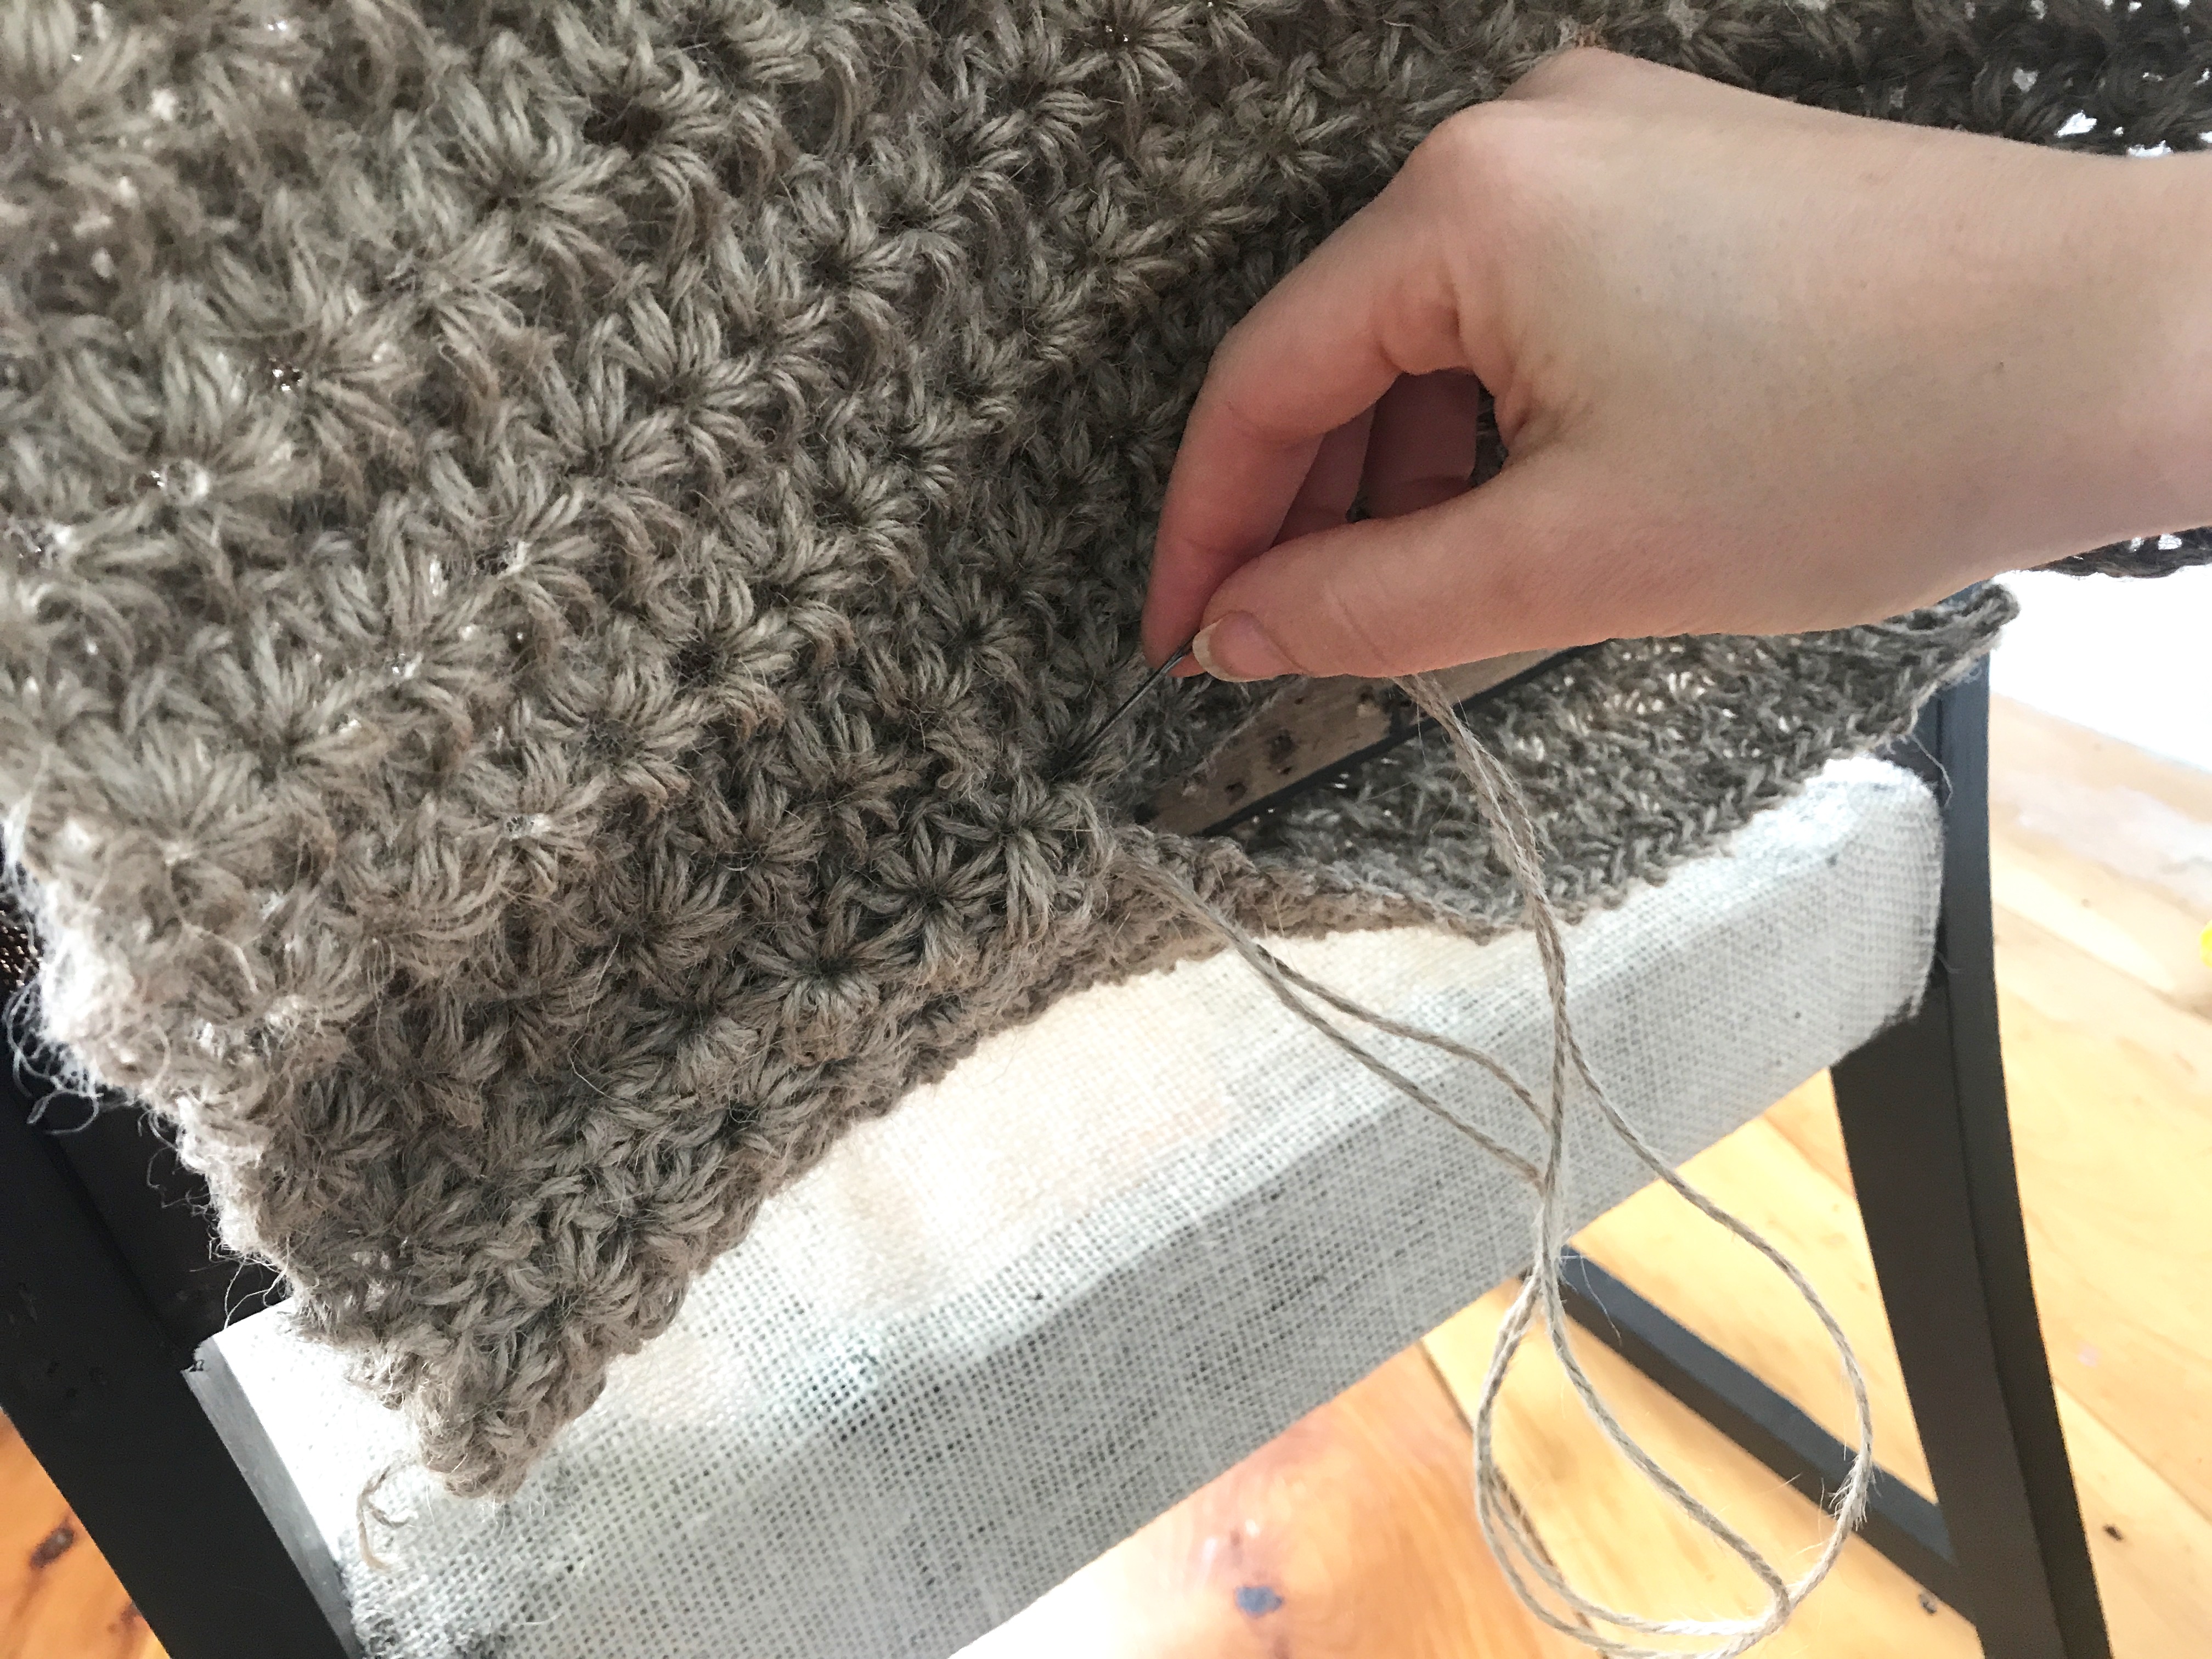
I decided to be a little adventurous and use a different color natural twine for a few rows at the bottom of the back of the chair, to give it a little extra personality stripe. The making process for me is also an exploration process. I like to take little twists when I’m inspired. Sometimes it’s amazing. Sometimes, it’s a learning spot.
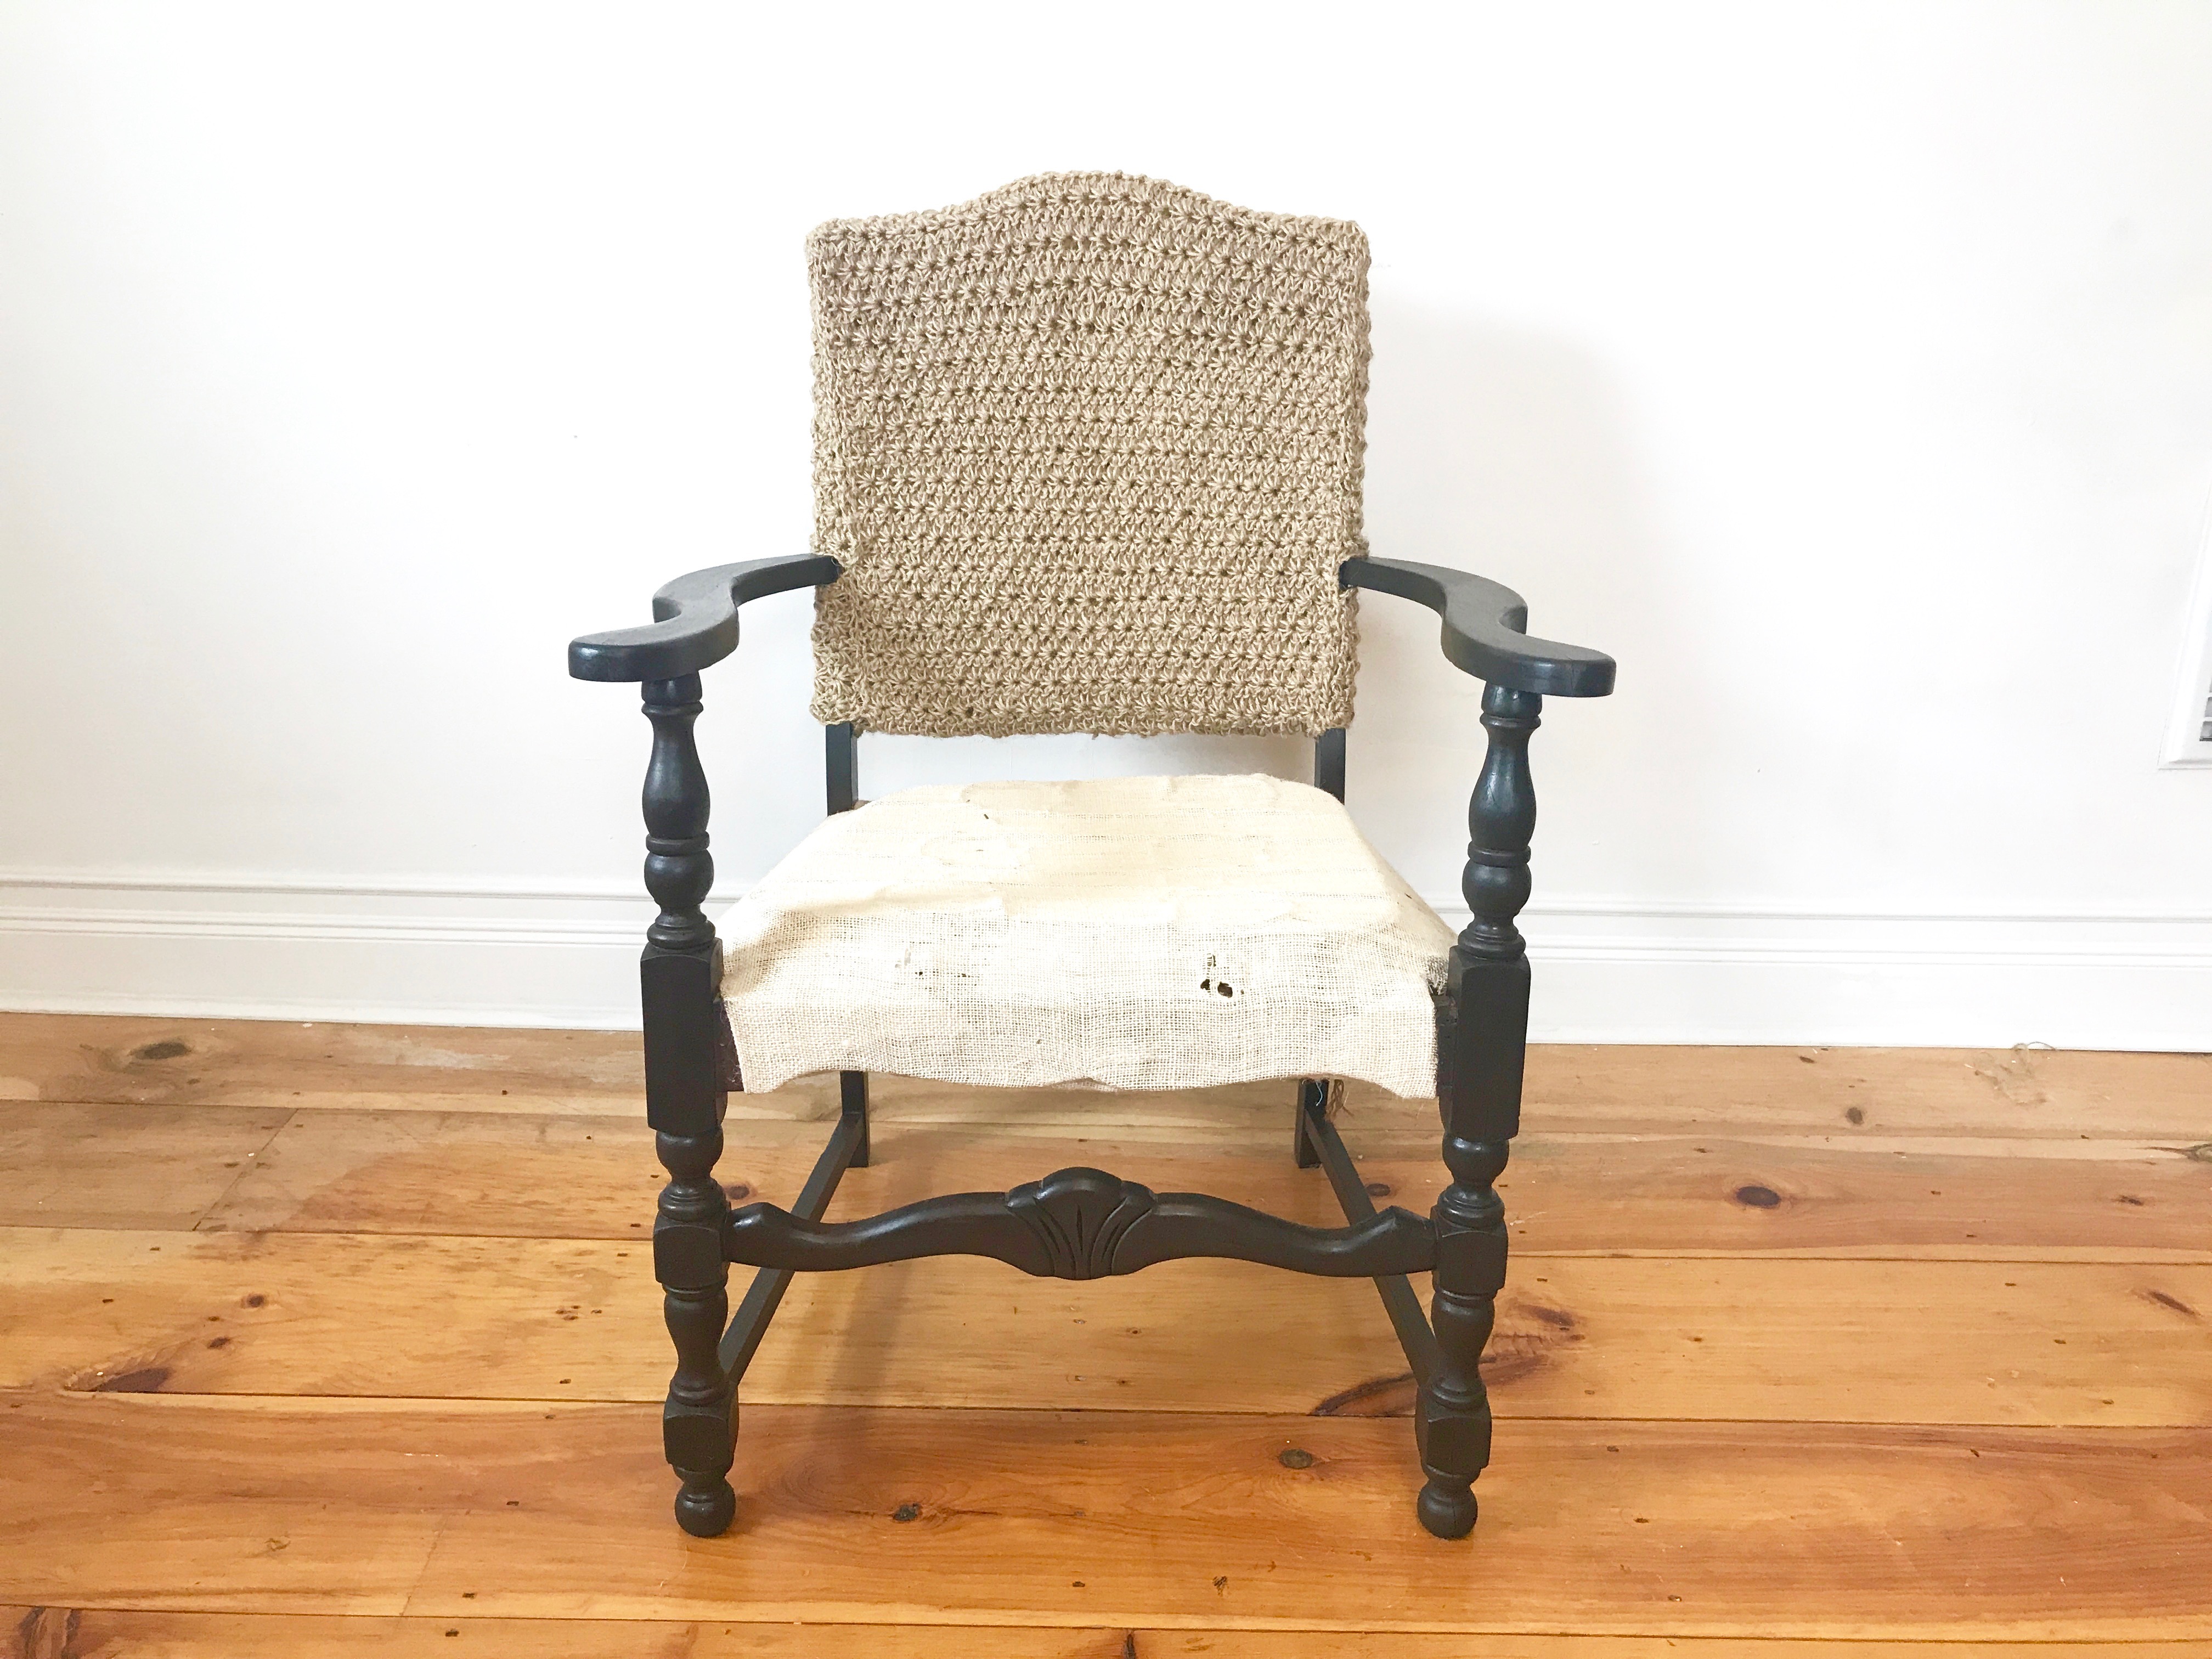
The back of the chair looks neat and ready, with all of the little twine stars in happy rows.


I repeated the same process for the bottom cover, pinning the pieces in place and then sewing the cover.
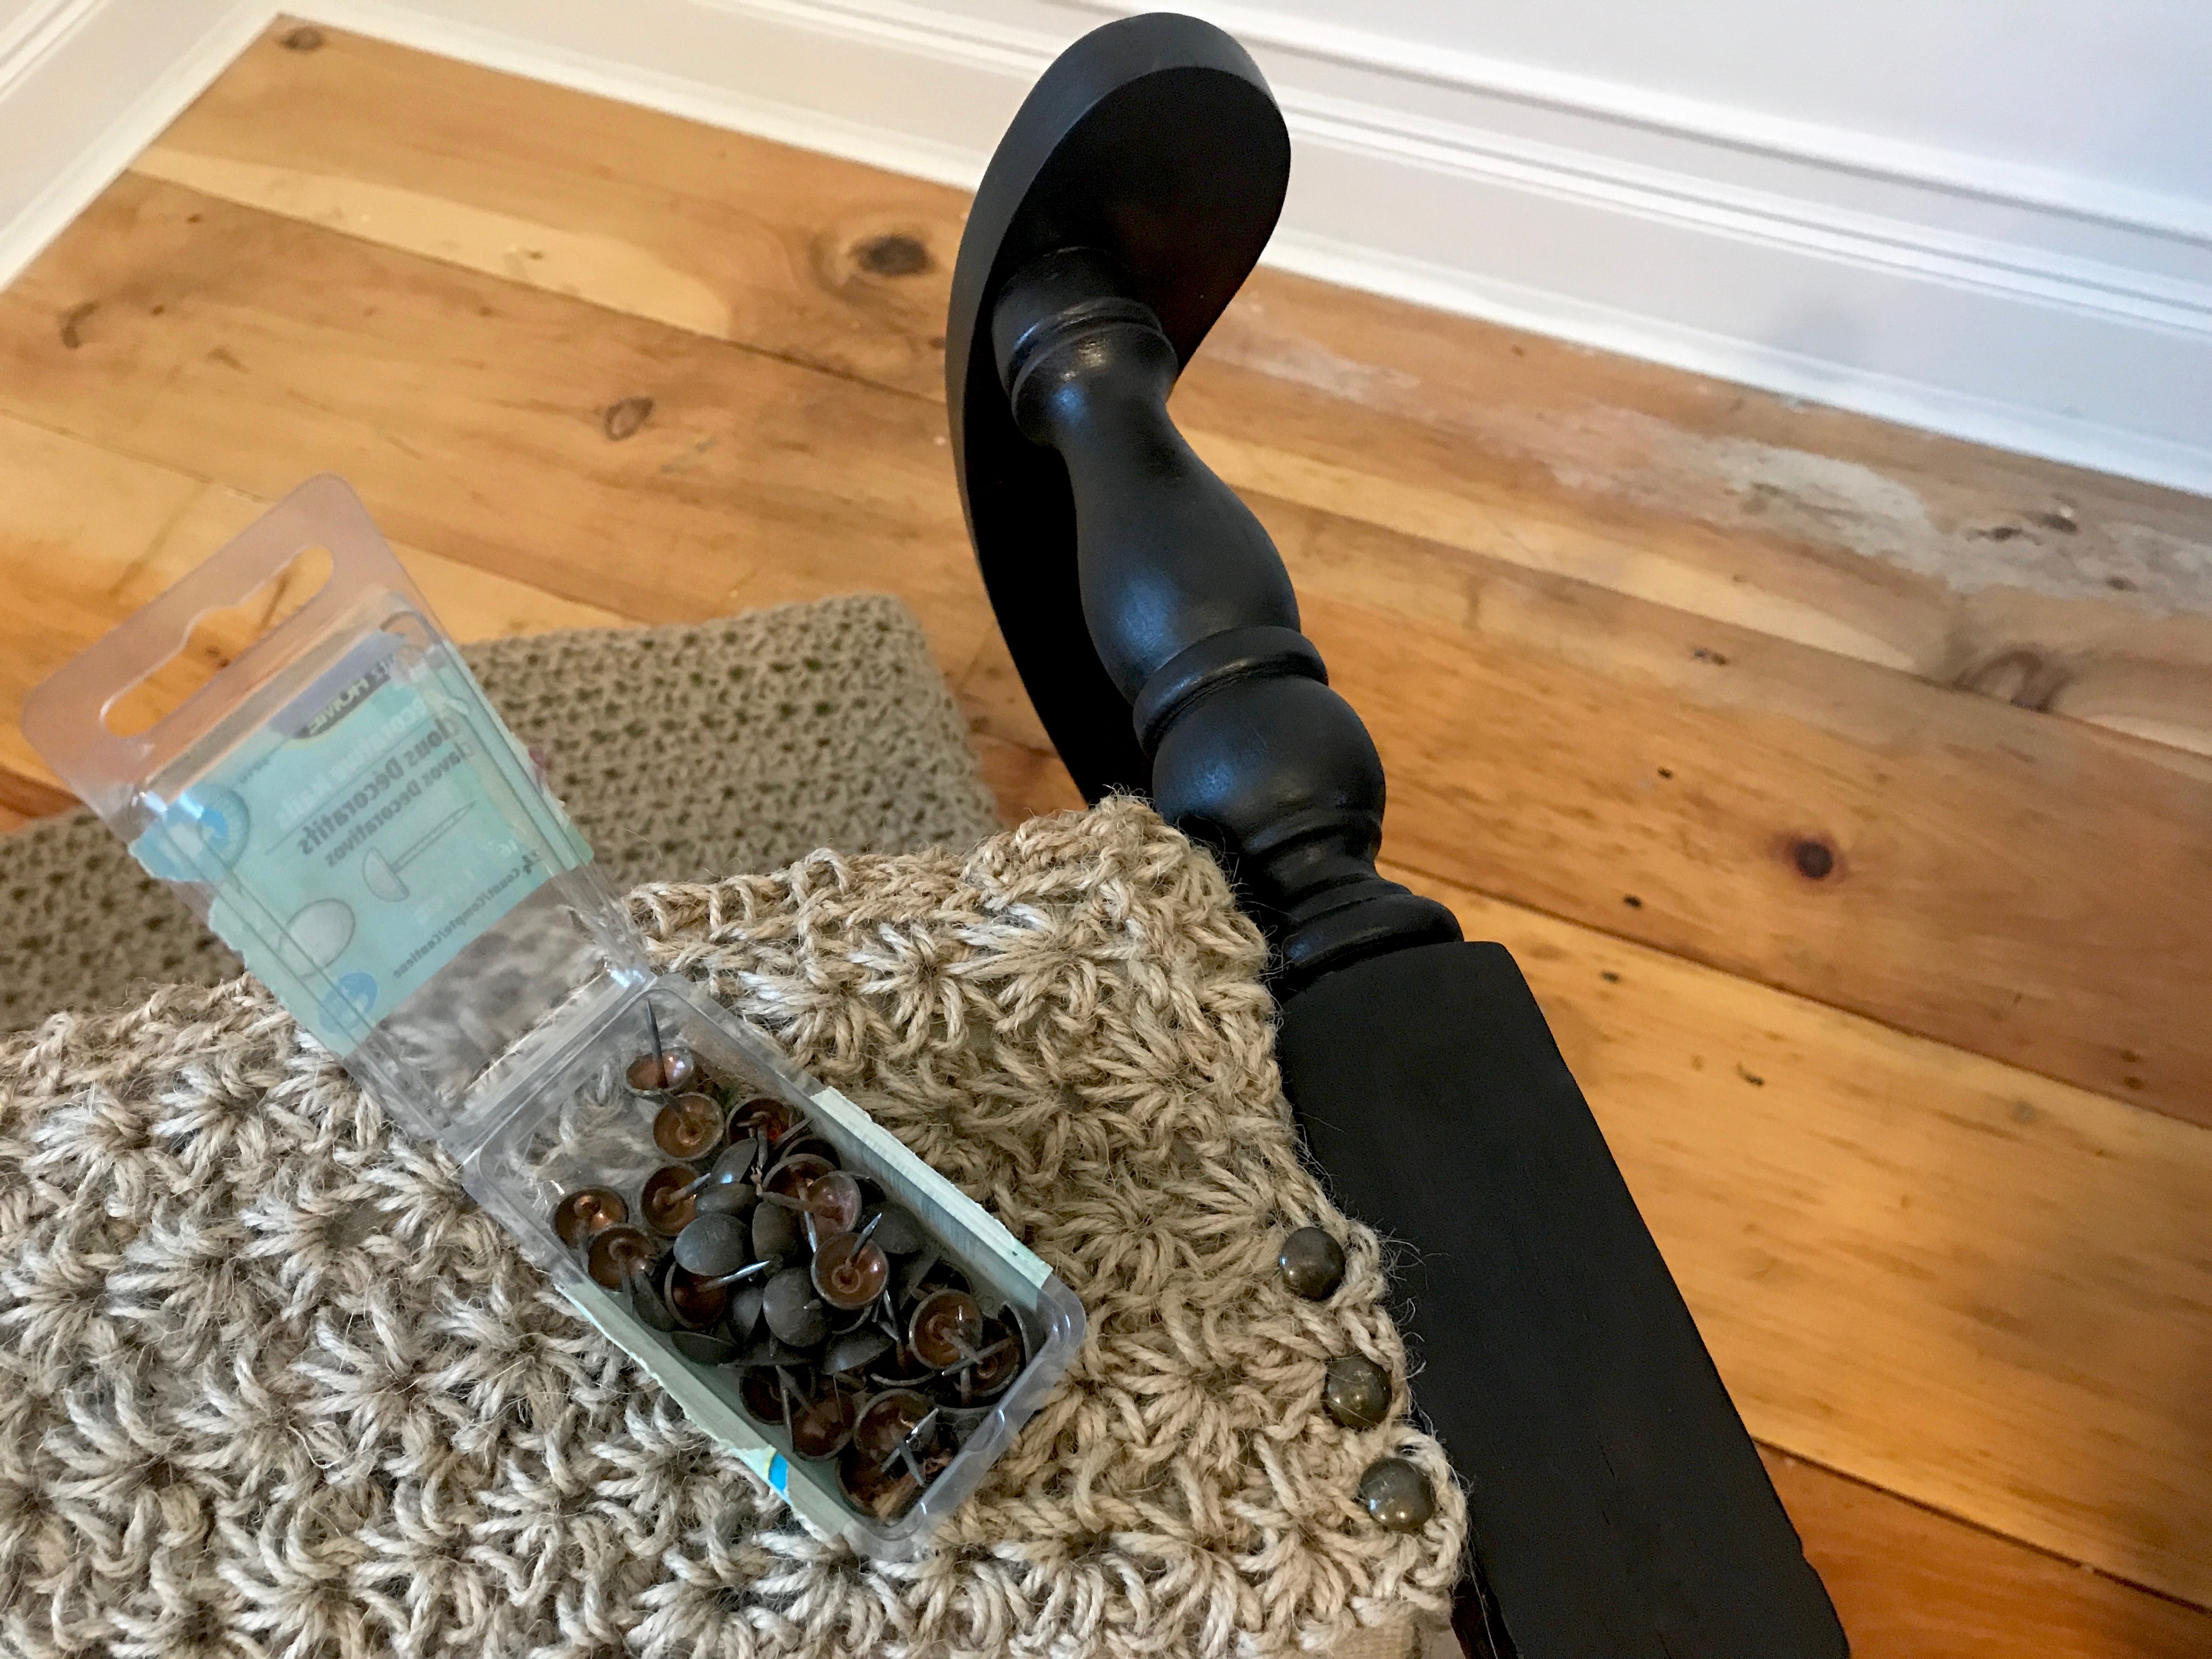


Nailhead trimming
Nailhead trim is fairly inexpensive, and easy to apply. It requires a hammer, and I choose an upholstery hammer. It has a padded face so that it a little gentler on the nail faces and lighter in weight.
The nails keep the crocheted twine in place, as I expect this chair to be well-loved by my cats.
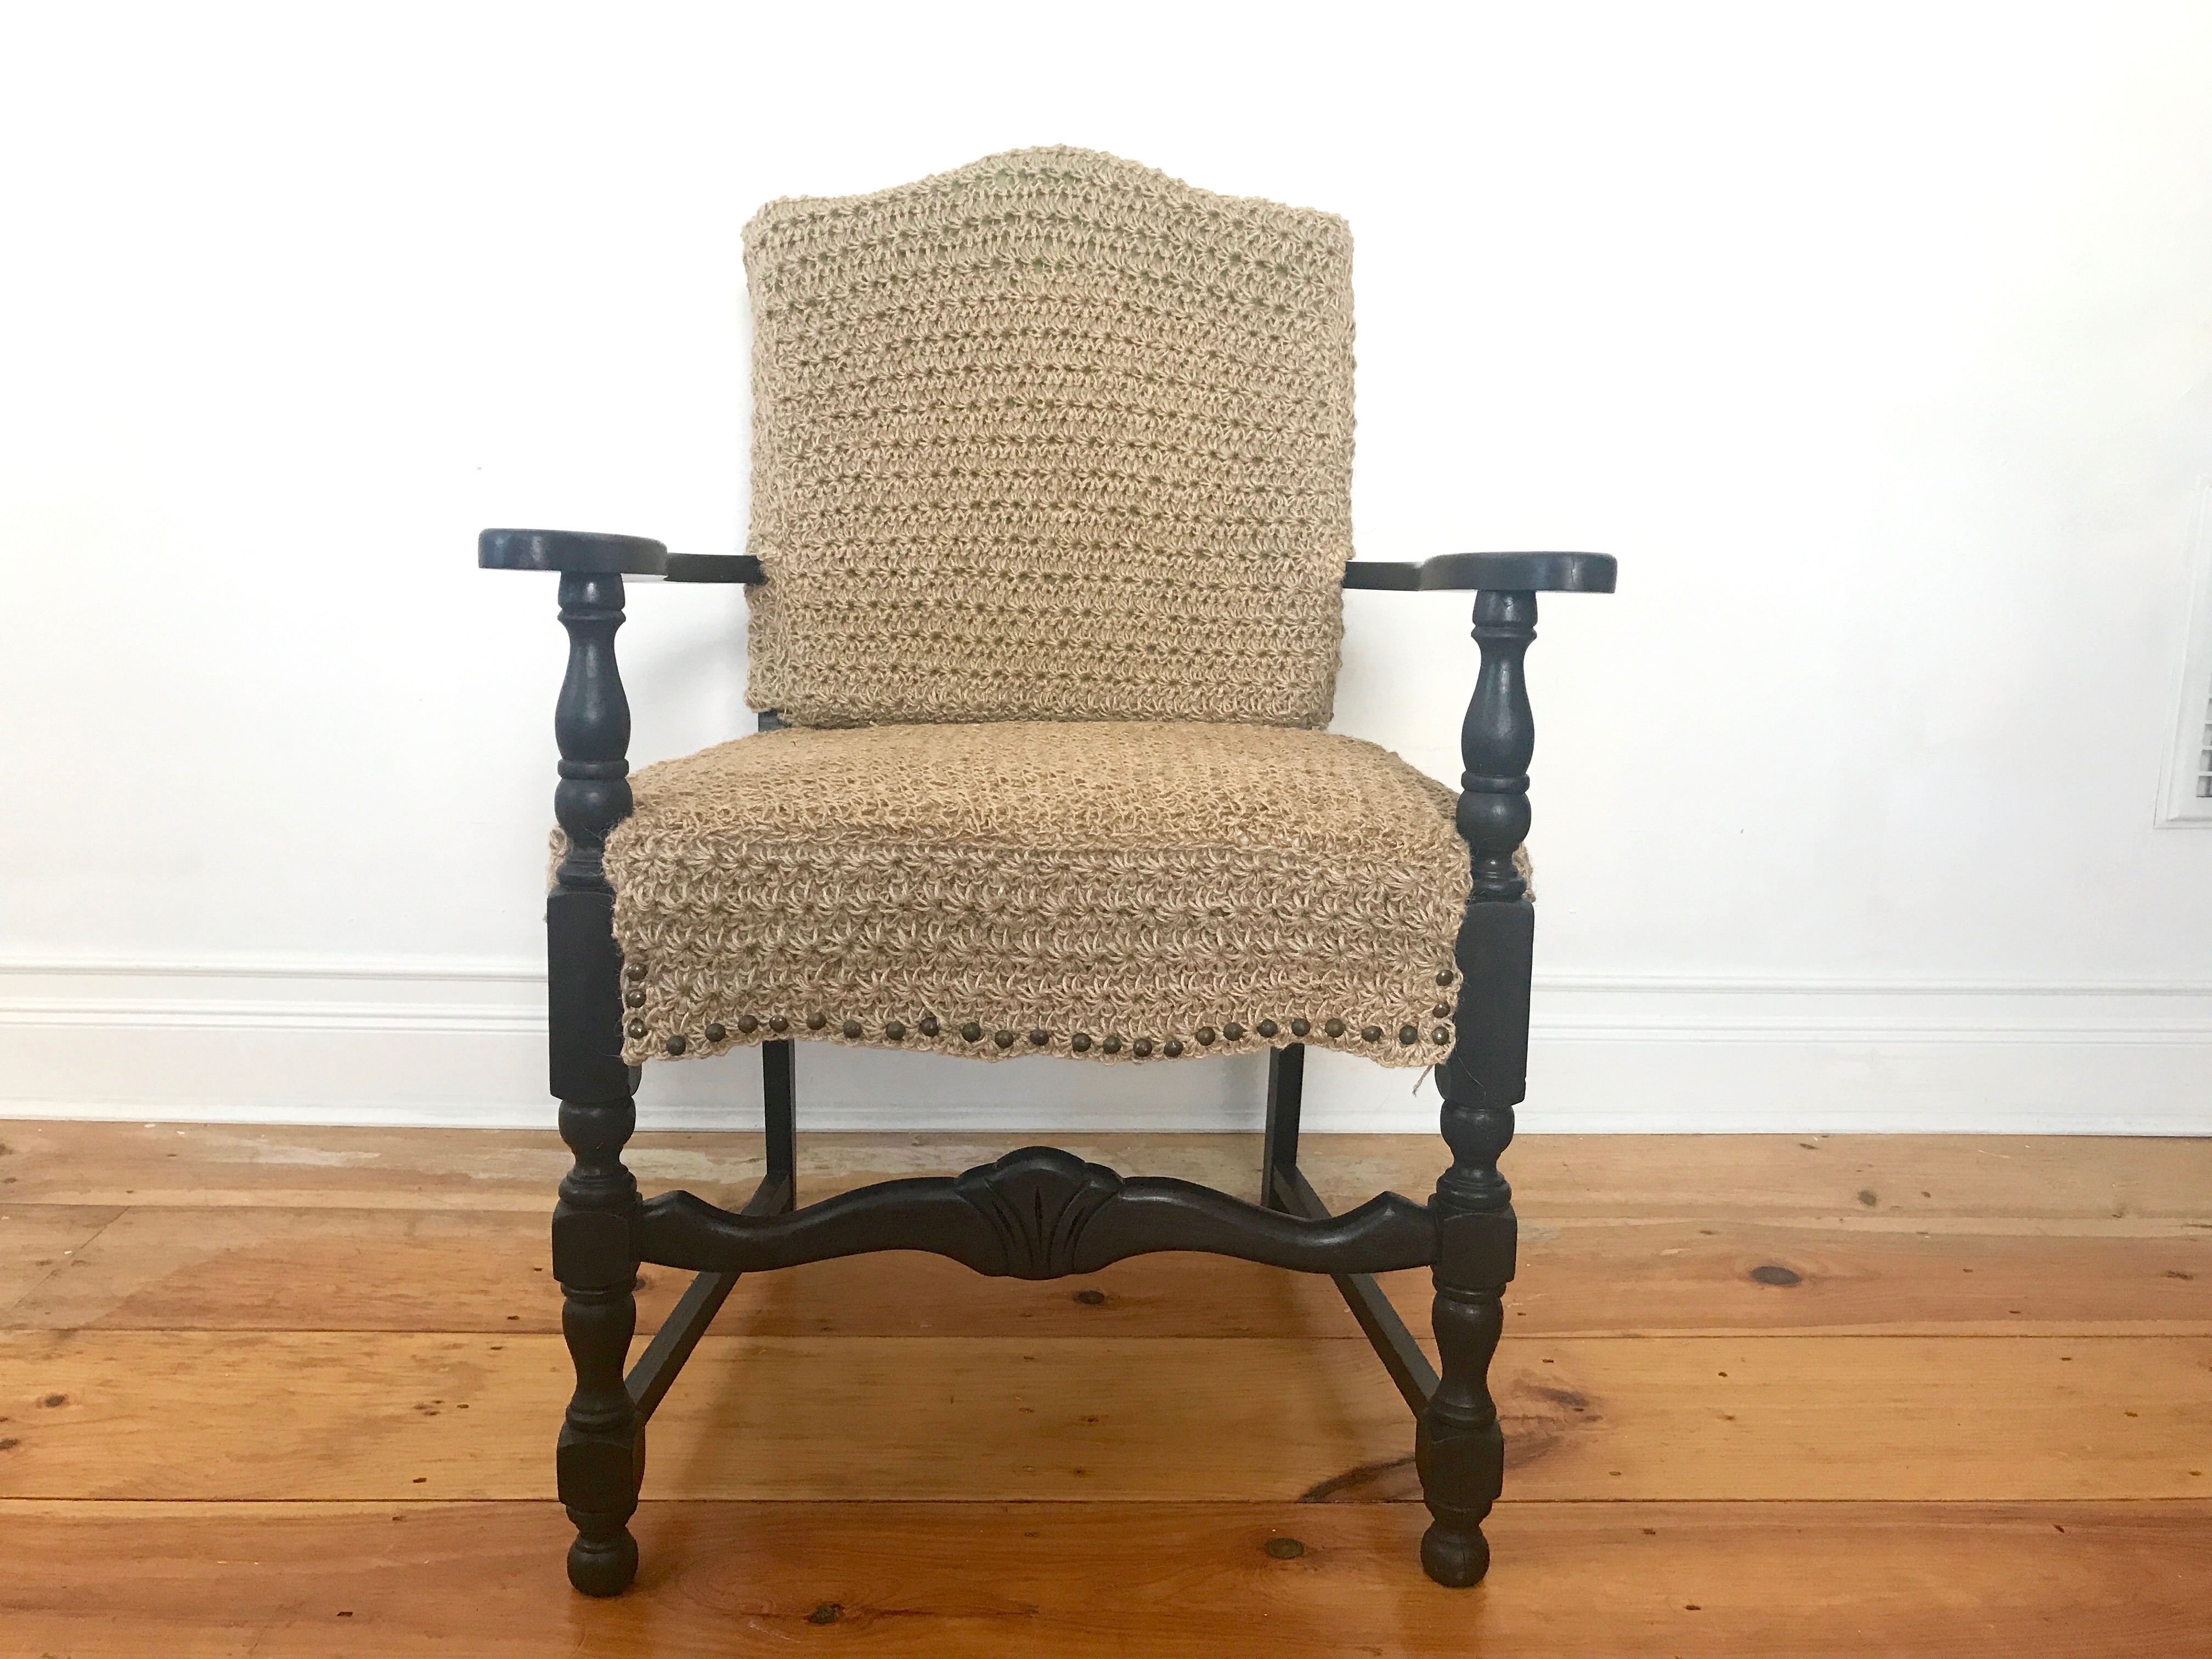


I’m so happy that my armchair has a fresh look of twine and a rich stain. I’m hoping that this chair makeover will last more than a decade this time. And I hope its previous owner, Mrs. Fabiani is happy about the new look, too.



Very Meow Post @Purrr
Stay Safe
Thanks for sharing:)