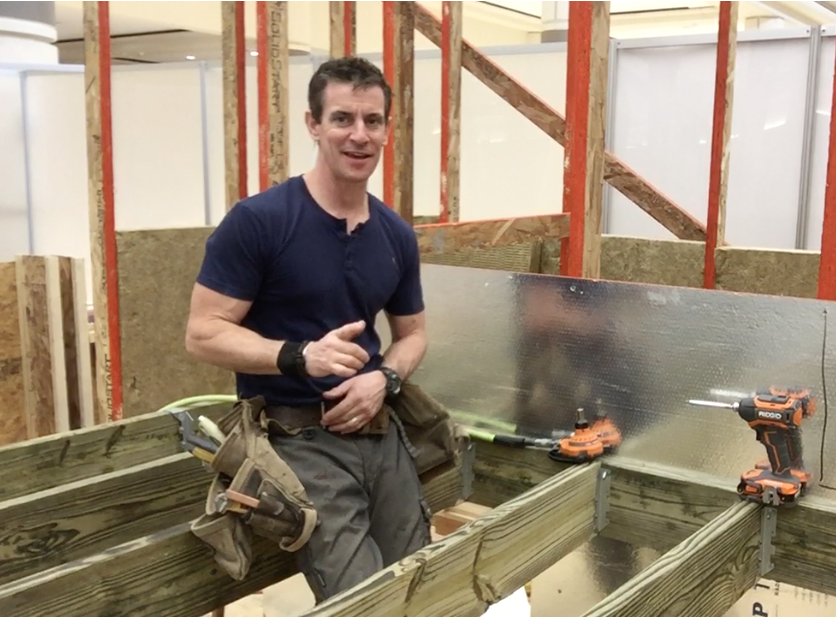
I loved making this raised garden bed. Want one for yourself? Here comes the how-to.

Note: We partnered with Wood It’s Real for this article. The design, how-to, 9-10 cubic yards of material moved the hard way…and the adventure…that’s entirely MyFixitUpLife.
This raised garden is made from ground-contact rated—and awesomely awesome to look at every day—pressure treated southern pine. It’s robust enough to live outside and to resist the forces of tons of dirt inside it. And, it is totally safe for growing food.

My client sent me a photo from her Facebook feed of a garden she liked: ‘I want this’. The inspo piece she sent wouldn’t work for her yard. Technically, it wouldn’t work for her yard’s deer population, so we modified it.
She really, really wants to grow some of her own food and get her Ninja Warrior-inspired daughter involved at the cucumber-roots level of eating right. The yard has plenty of room. So we settled on a design to pivot some grass into some growing room.
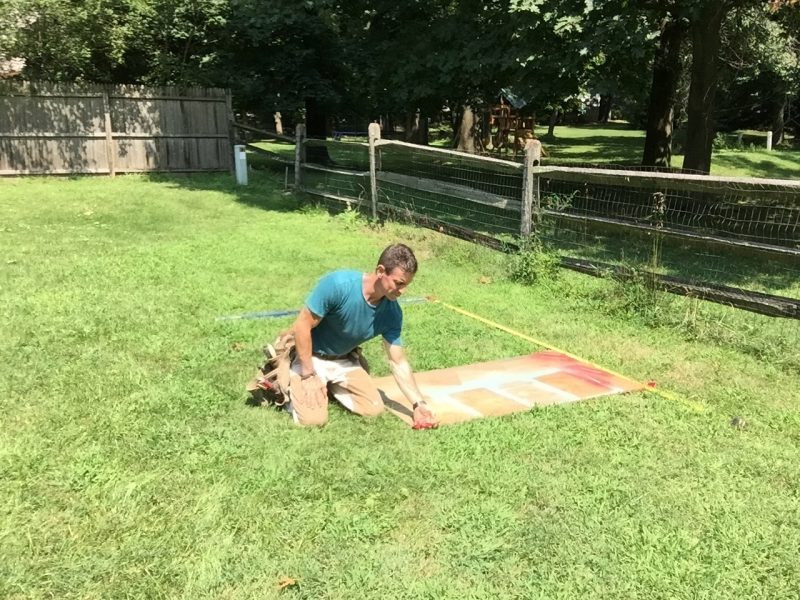


I try and follow the three cardinal rules of carpentry as much as possible: Plumb, Level and Square.
Doing that inside a house is hard enough. But on grass it can be frustrating. One trick is establishing your first straight line (I did that here by measuring off the fence 4-feet.) Then, because measuring a 3-4-5 triangle (it’s the way carpenters check if things are ‘square’) is near impossible, I used a giant thing that’s already square—plywood—to locate the outside corners at 90-degree angles.
Next, as a marker, I stick a screw through a piece of duct tape, then jam it in the ground so I can find it later.
Also, working on the ground like this after a few days of rain was like staring into an oven set at 375.
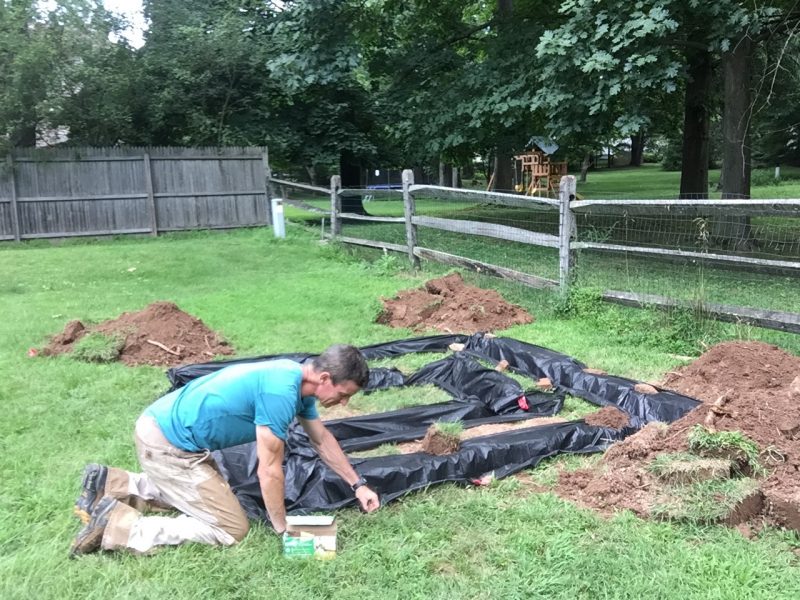


We have all the weather where I build. I wanted to give this raised garden bed a solid foundation that could survive 4-distinct seasons. So, I dug out the outline. The trench was 10-12-inches wide and a 12-16-inches deep, give or take.
Next, I layered it with landscape fabric, which I hold open with big screws called Spax PowerLags I press into the dirt. They also hold the sides on. We’ll do that later.
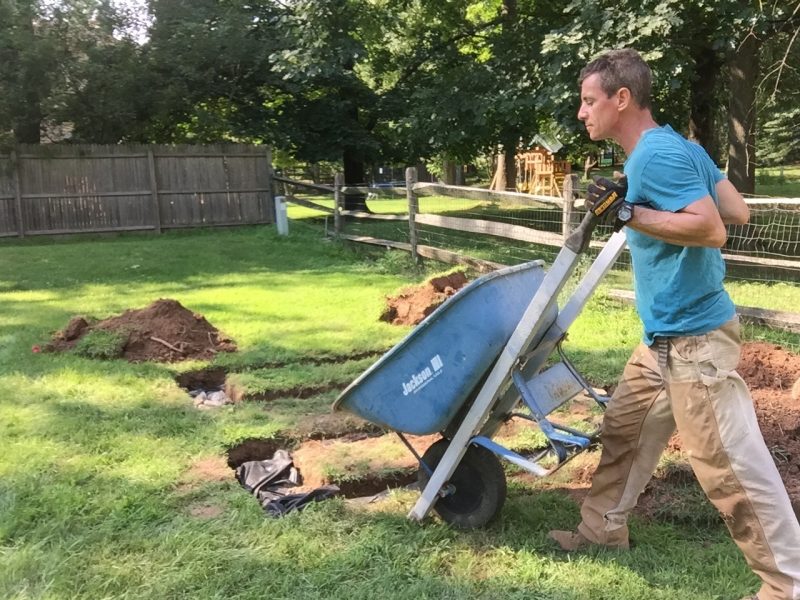


I had debris on another jobsite which I re-purposed here. I’d say in our 40-lineal feet of trench, I dropped at least a cubic yard, at least, of stone. After placing it, I wrapped WeedStop fabric around the channel of stone then buried it with more rocks and dirt.
The idea for this ‘drain tile’, aka French drain, is that it gives water a place to go underneath the structure. The fabric, ideally, keeps the spaces between the gravel from filling up with silt, but lets the water pass through into the openings between the rocks, releasing hydrostatic pressure. Then the water can drain away from the base of the structure. This should prevent everything from sinking in soggy soil to frost heaves when ground water or melted snow re-freezes.
That’s the plan, anyway.



If you DIY this project, there’s enough digging and dirt moving that making a plan to rent equipment might make sense. If I had it to do again, and the budget—sweat equity is smelly, but free—I’d get a mechanical helper. Instead, I did it the old fashioned way like that guy John Brown.
Wait, didn’t he die at the end?
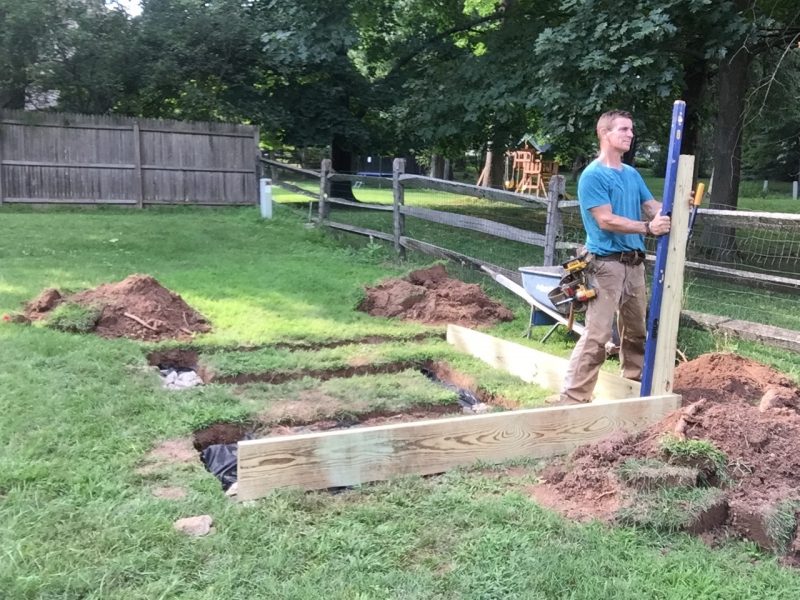


It seems that on outdoor projects—a wood fence for example, or this raised garden bed—starting at a corner makes the most sense. I used flat rocks under the ends of back and side boards to set them level, then got them at 90-degrees to each other (approximately the same degrees as the temperature during this build). Next, I set the first post making sure it was plumb (straight up and down) in both directions.
I use my favorite deck screws to sock everything together for now.
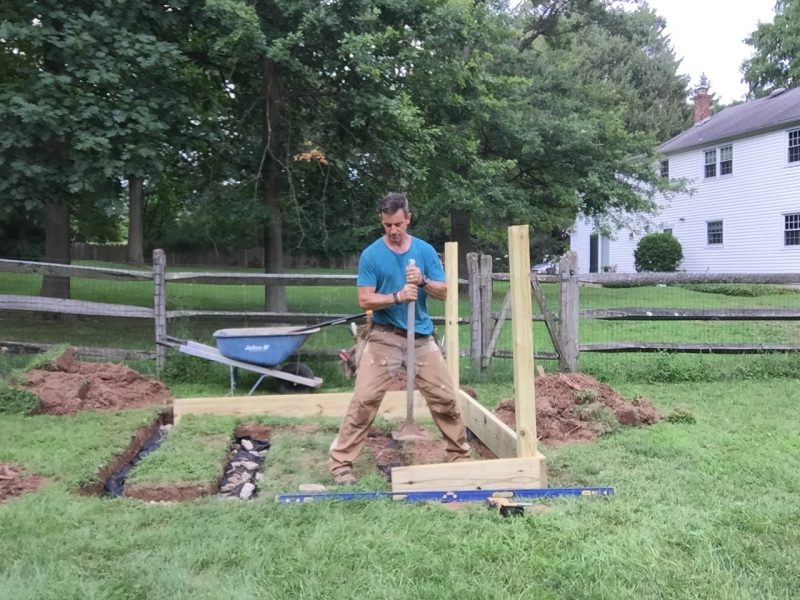


First, my clothes are like wearing a hot towel wrapped in hot towels while taking a sauna. Humidity is coming out of the ground and the sun seems to have sent a solar flare directly to this yard.
Anyway, when working with rocks like I had, a tamper—you could use a sledge too—makes compacting them easier.
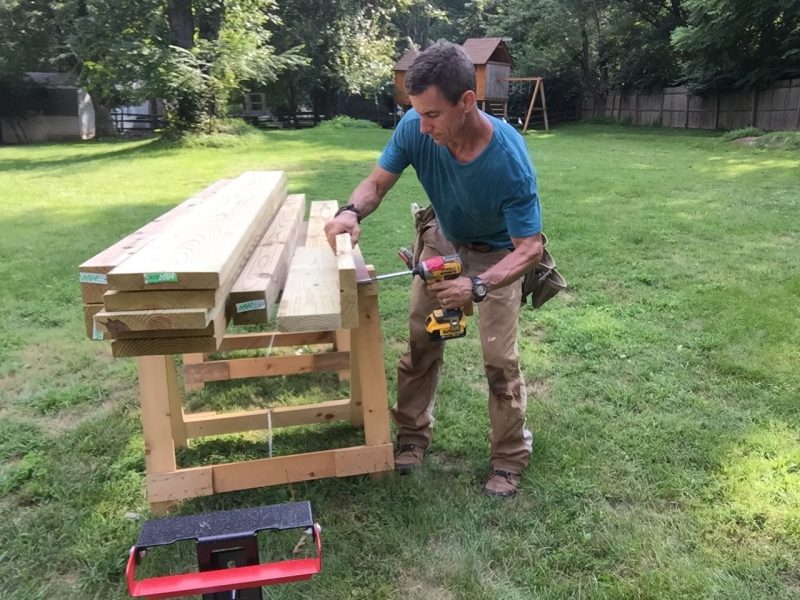


To hold the interior walls together and transition around the U shape, I made the corner posts actual corners: Two 2×6 fastened together in an L.
You simply can’t make custom pieces like this out of other materials. I love building stuff with wood, in part, because I can seize ah-ha moments and craft custom solutions as they’re needed or when even the best of plans (and I did plan the L-bracket) need real life assistance.
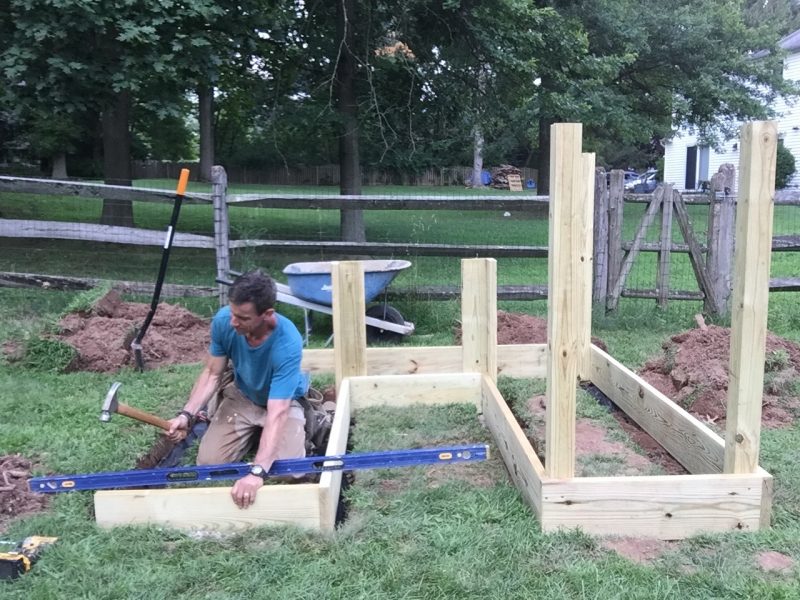


To vastly overstate a simple point, level matters. Besides the tamper and wedge rocks, simply tapping a board with your hammer to nudge it into place works sometimes too.
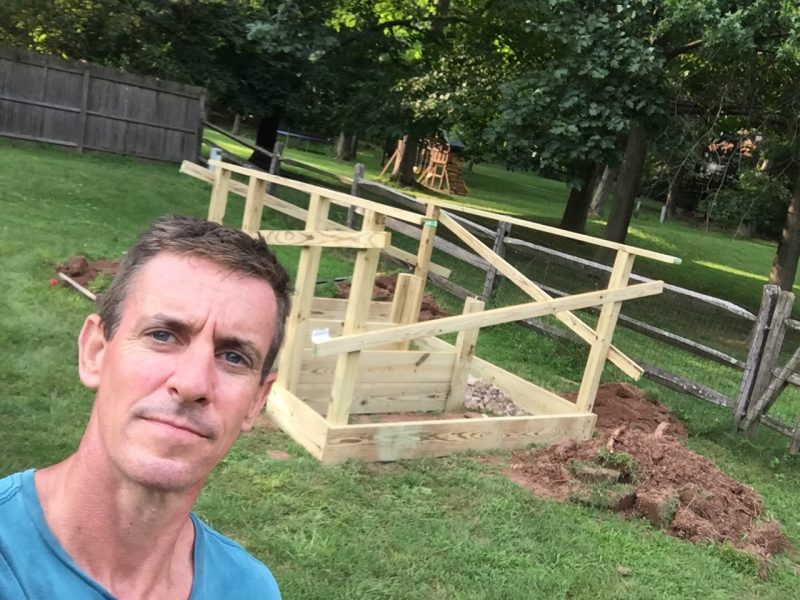


What’s really going on is this is the end of Day 1: I got a late start so I couldn’t do all the carpentry I wanted to.
It’s reasonable that—if your all your materials were delivered (my stone wasn’t; I delivered it…hence the late start)—it’s DIY-able to do the earth work one day and the carpentry a second day…as in over the weekend. My lumber was delivered by my favorite lumber yard, Neice Lumber. The reason I say this is, if you’re doing this DIY style, getting lumber delivered is easier than loading it yourself.
Since I was unable to finish the carpentry, I secured the unsupported lumber with 2×4 bracing to keep it straight overnight. I mention this so that if you have to leave your project or whatever, you know this is a smart move.
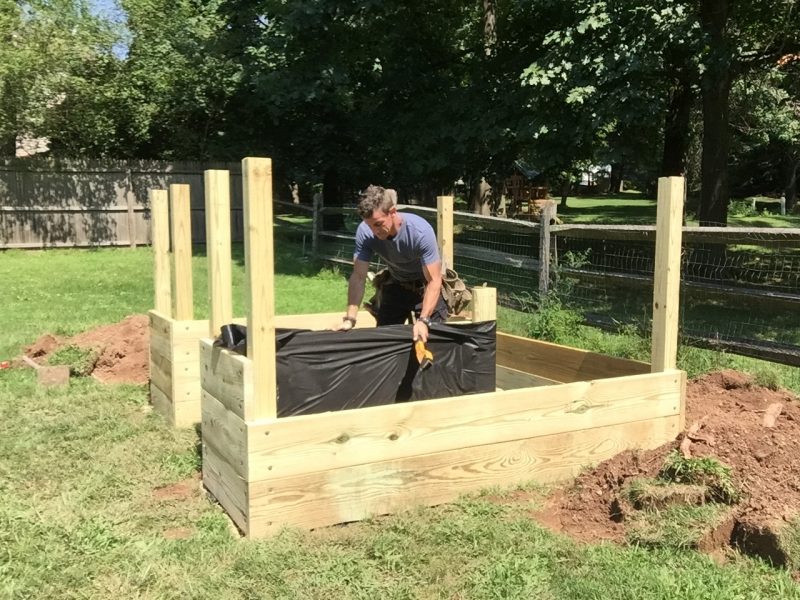


Let the water move without bringing dirt with it. I did the French drain routine on this wood retaining wall over a decade ago and it’s still standing strong.
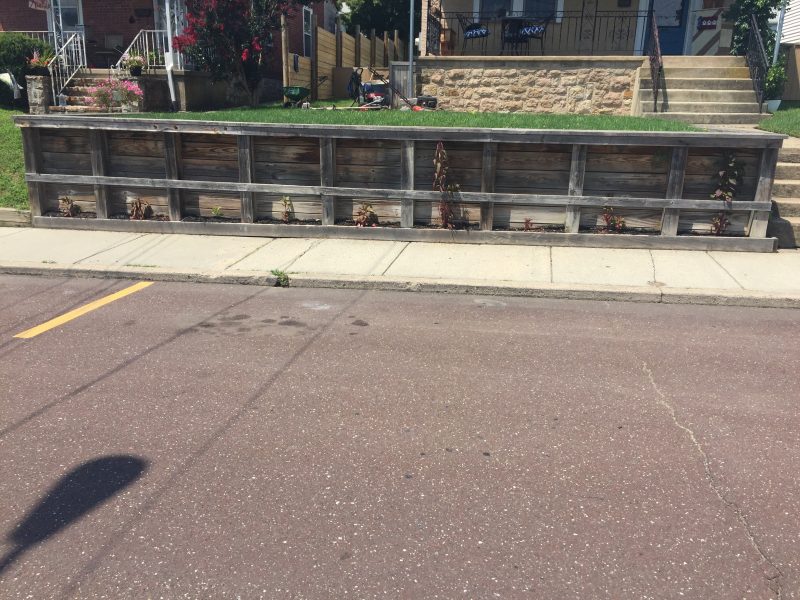


I had to share. I love this wall. Pressure treated southern pine, rated for ground contact. Tons of pressure behind it. Stock still.
The flowers, on the other hand, are anemic for the opposite reason the wall is stationary. I didn’t add fabric to the planter area along the sidewalk and the dirt drains out every year grain-by-grain. As I was replanting—again, this time with my fave, amaranth—I realized the issue.
OK, back to the raised garden bed.
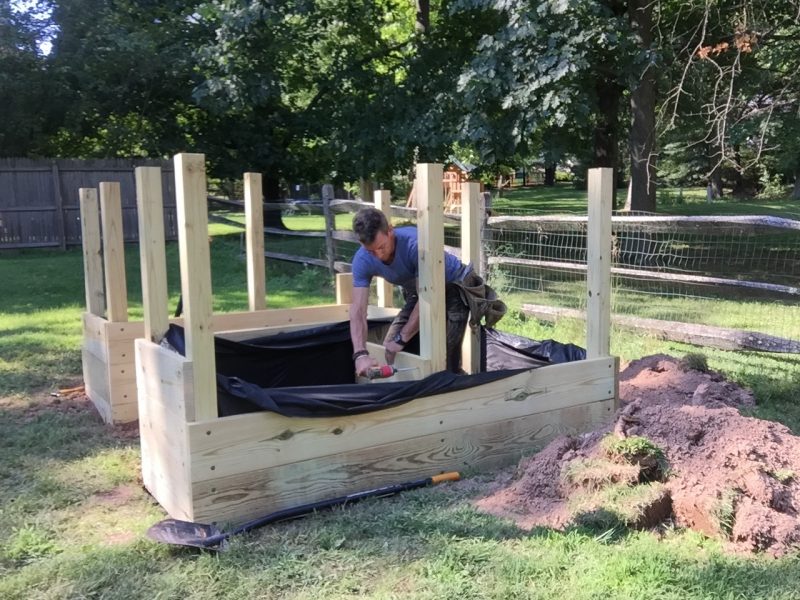


The weight of the dirt in here—about 7-tons if you can believe it—is exerting pressure in all directions when its inside the garden walls. The way to counter that is to tie everything together so the structure isn’t separate pieces but a single, stress-defying unit.
A 2×10 ‘stretcher’ to the center post (it’ll be buried once we have dirt in there) helps the center post stay put.


I’m no Grant Wood, but I have a shovel and sometimes I need a little diversion.
I hasten to add that a flat-blade shovel like this is extra-awesome for various digging tasks from scooping dirt from where it was delivered into a wheelbarrow to de-claying grass (see pile on right) and cleaning up the final small piles of dirt. It’s like the dust pan of shovels.
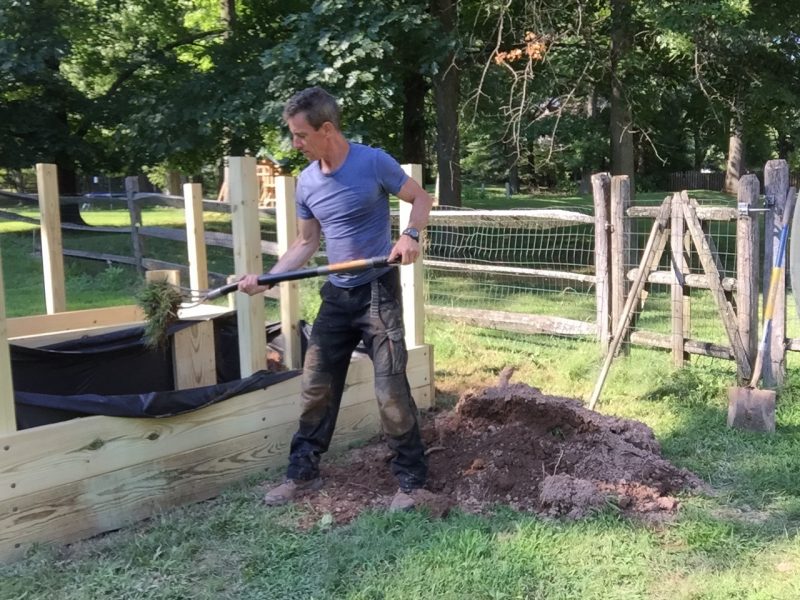


Because I am stubborn or cheap, I never bought a pitch fork. That was pretty much what’s called a mistake. For umpteen sod-management requirements in landscaping, I’m a big fan.
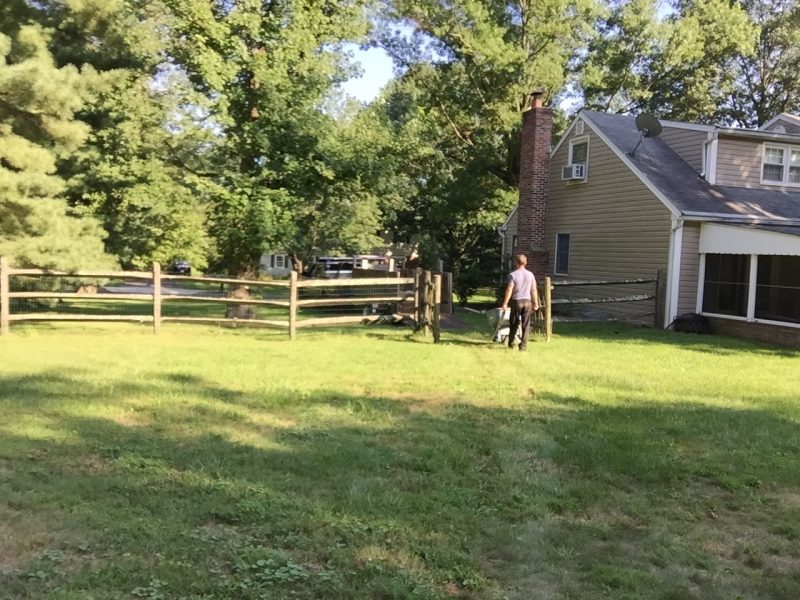


News item: Plants grow in dirt.
So for this raised garden bed—awesome for not having to bend over to harvest, weed, plant—the dirt that’s in it needs to get from A to B. And someone; or something + someone needs to bring it there. I hope I haven’t triggered you with facts. It’s work one way or the other, so plan your route. And drink lots of water. Eat healthy snacks.
You can barely see the track my wheelbarrow left. A subcompact loader scooping from a delivered pile of topsoil would be faster—and way more fun—but there’d also be a trail in the yard.
One’s not better than the other. It’s about making the right choice for your home and budget.
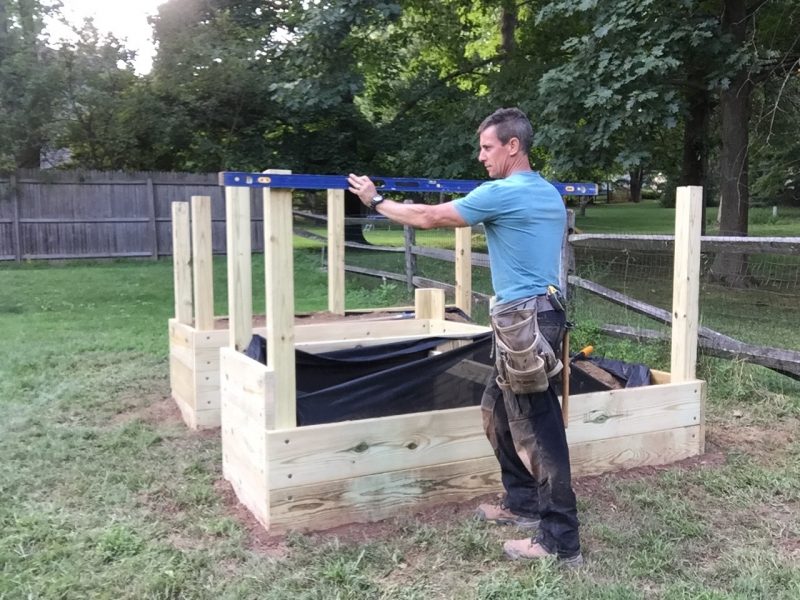


It’s a near impossibility to set the posts to the correct height. Instead, install them a few inches longer than what the finished height is supposed to be, then cut them all level to each other at once. A laser level would be even more accurate than a ‘6-foot whiskey’ (levels were called ‘whiskey sticks’ at one time because the vials had alcohol in them to keep them from freezing) but a whiskey works.
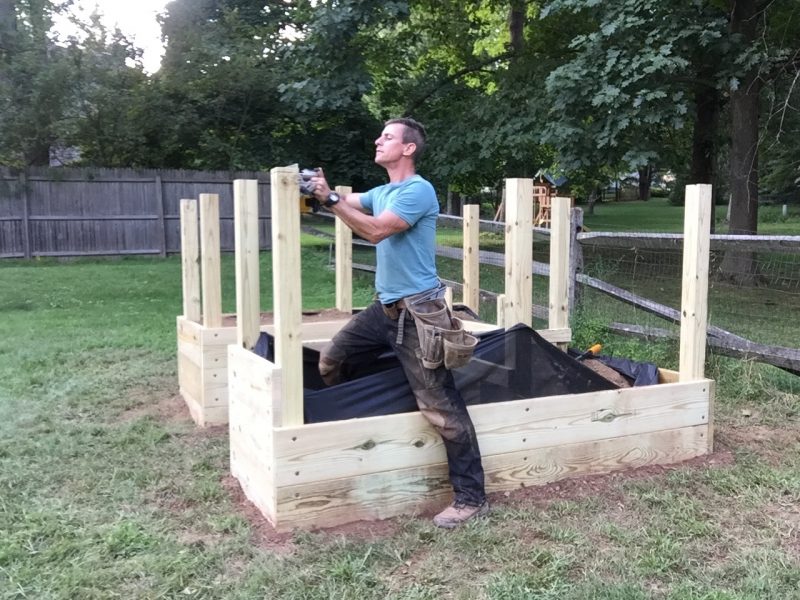


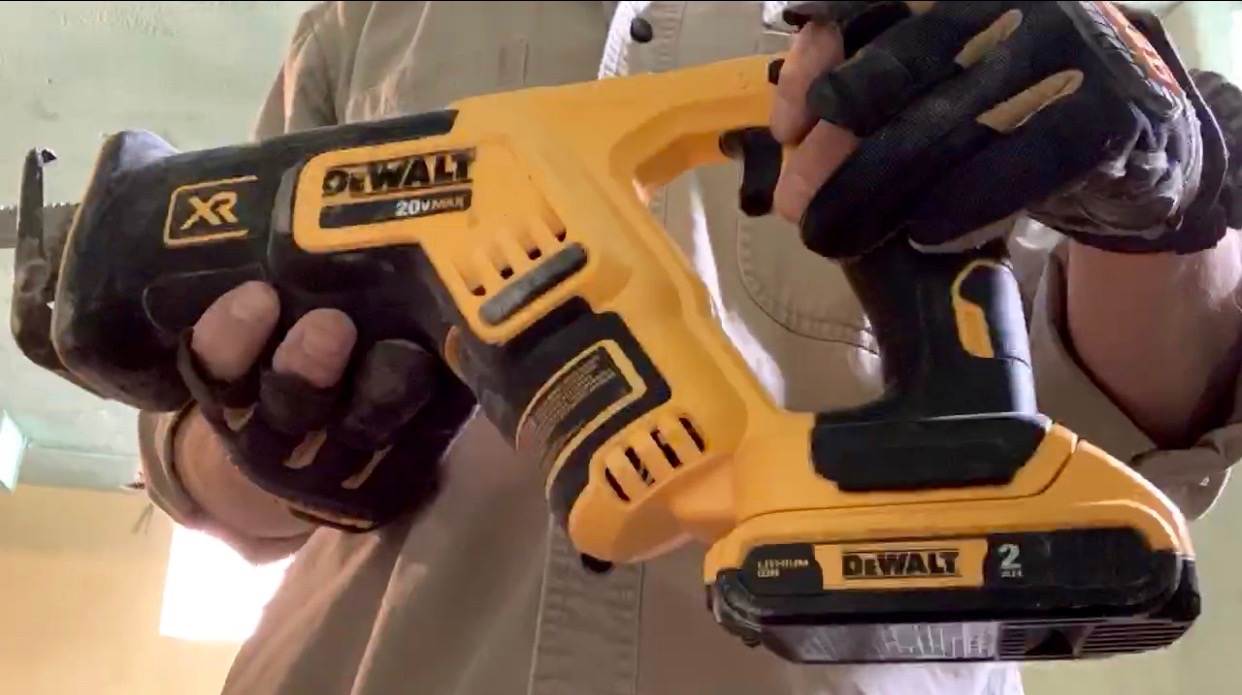
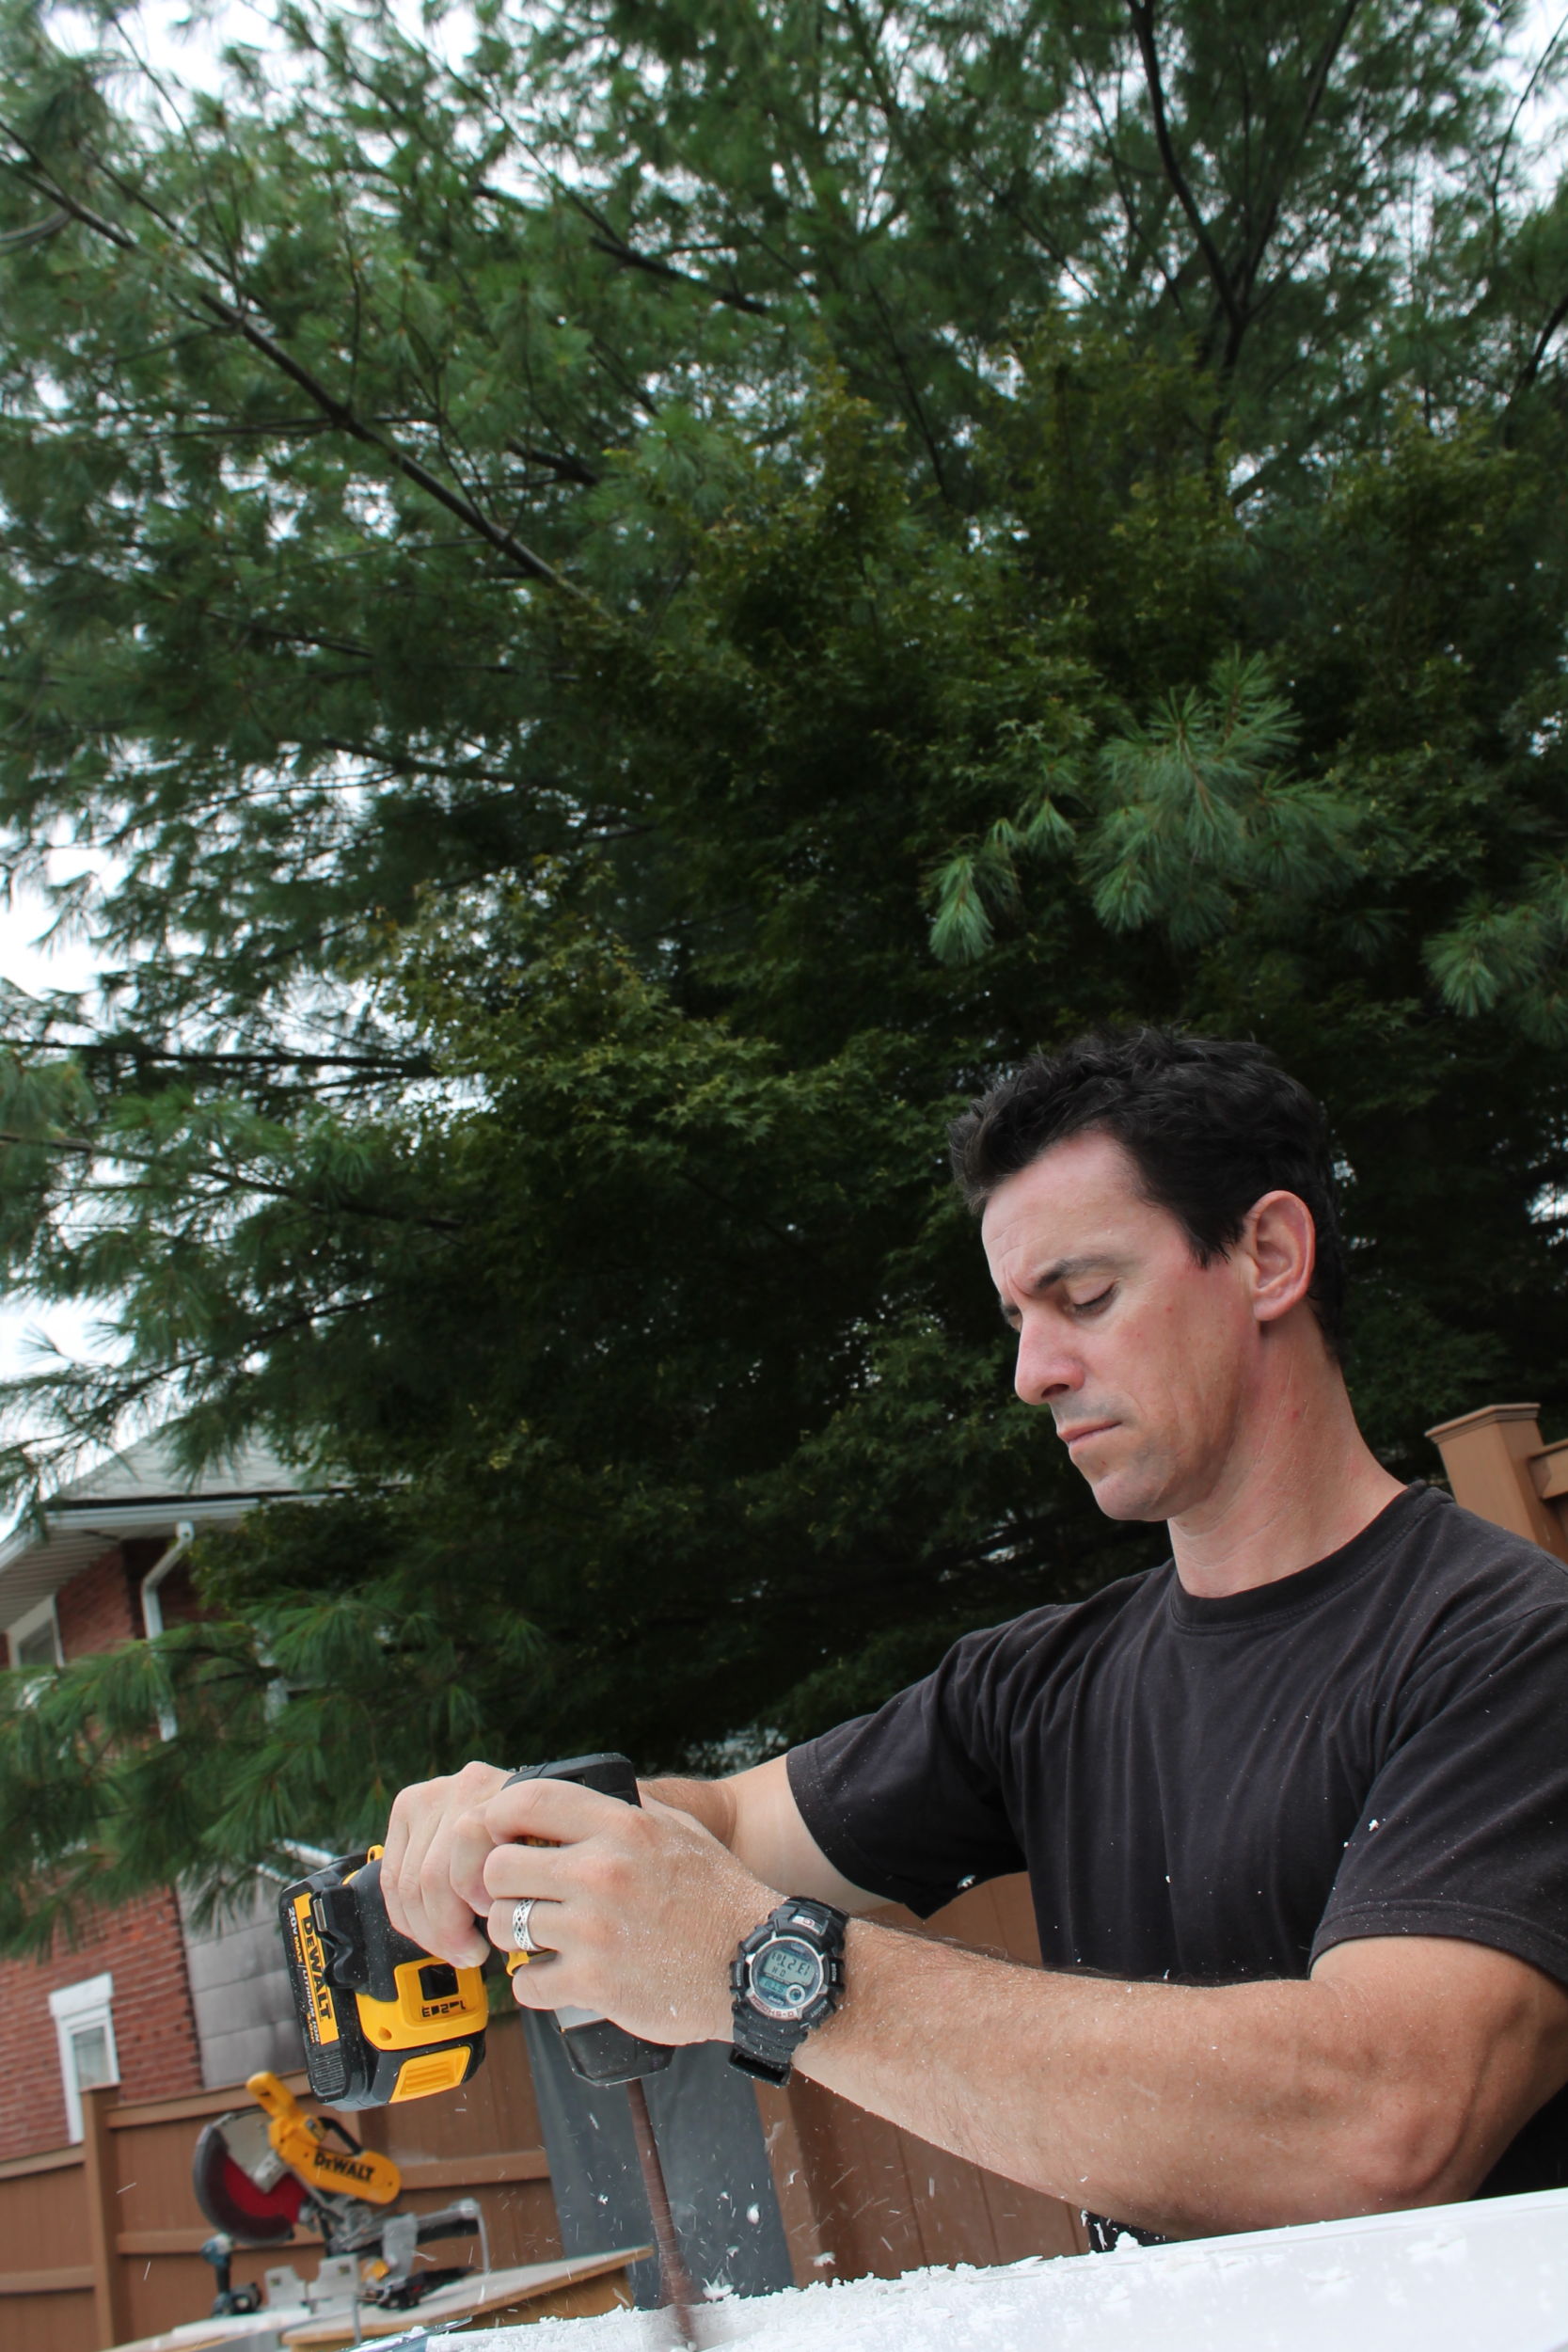
This is not the easiest cut in the world. Transfer lines carefully around the post with a layout square and try to cut on the same side of the line each time. I used a cordless saw—DeWalt’s 20-volt max DCS570, super sweet wood cutting ride—with a 7 1/4-inch blade and got great cuts. Make sure you can see your cut all the way through before you start cutting. I know it sounds obvious, but this is easy to miss.
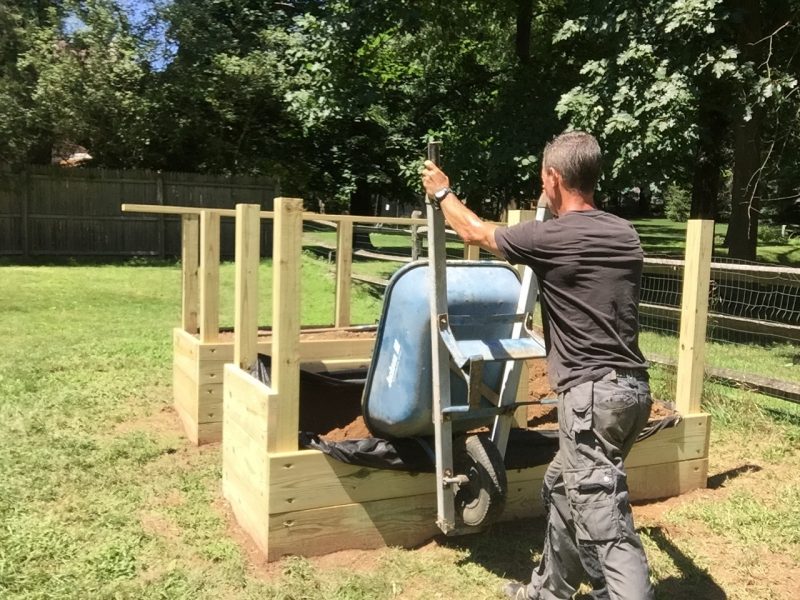


Step one is pretty easy. Until you have to pull the barrow out of a near-full pile.
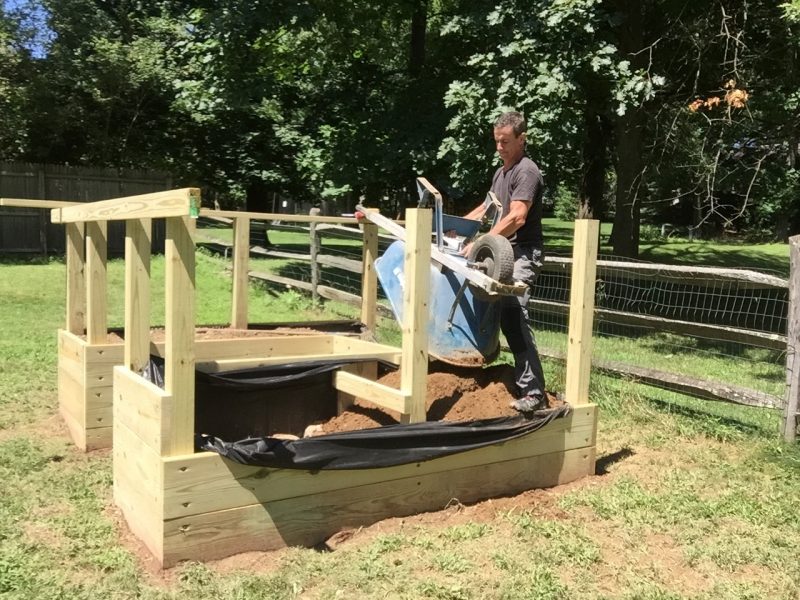


Step two is emptying it out without spilling dirt. I chose to pour most of it out, shown above, then lift the barrow out of the pile. Again, a machine would make sense here because you can pour and dump.
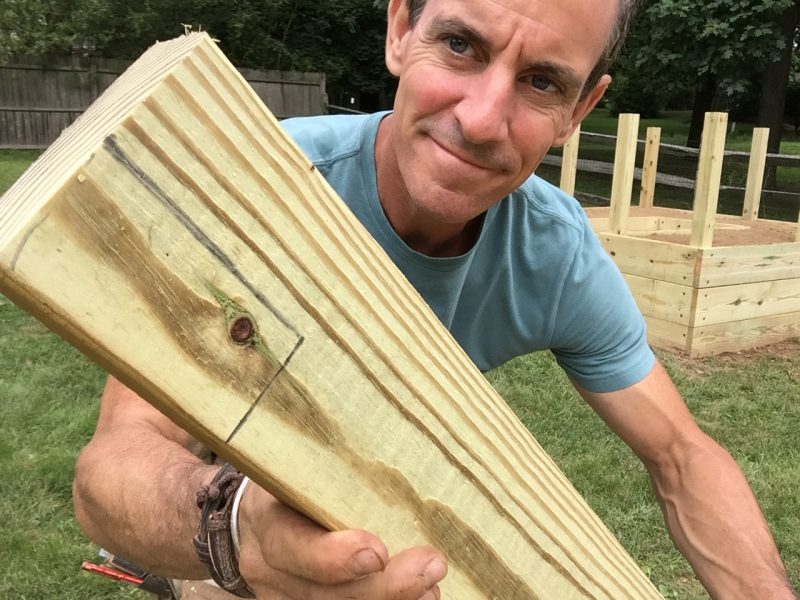


For 2-by lumber and outdoor applications, I like to avoid miters (cutting pieces at 45-degree angles, like a picture frame) whenever possible.
The swings in humidity and temperature just aren’t conducive to joining wood that way. Instead, I go for ‘butt joints’ (end-to-edge) whenever possible. The wood is essentially trapped doing it this way and the joints’ll stay closed better. Here, I’m going to use the table saw, miter saw and jigsaw—because I am a dweeb—to cut out the notch shown.
I use those tools because it is, in the long haul, easier and faster to get a primo notch cut.
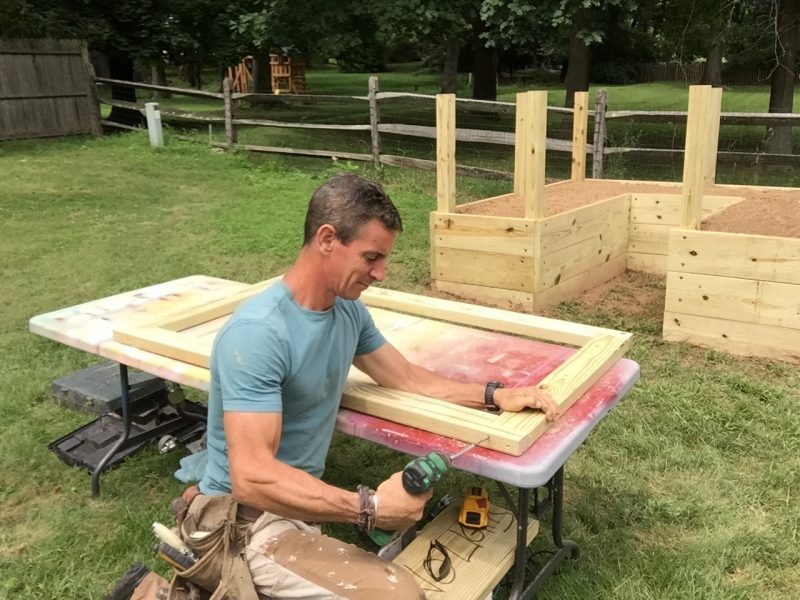


One reason this kind of joint stays tighter—and it’s worth spending a few extra minutes on—is that the entire joint is supported by fasteners—three-inch deckers. Locked and rocked.
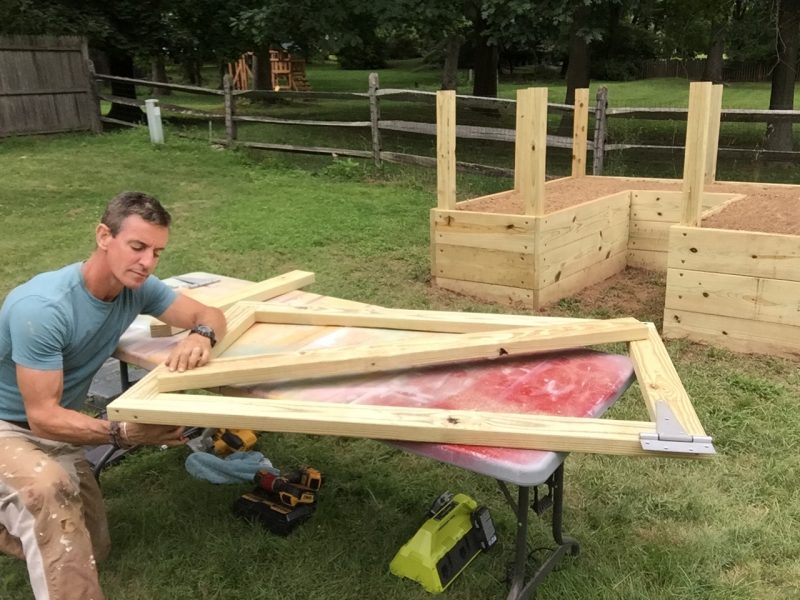


There is no way in the known universe to do the math for this angle. Neil DeGrasse Tyson tried it. Failed. Hawking won’t even look at it.
However, you can place a piece across the door frame and scribe it from underneath. You can’t see it, but there’s a pencil in my hand. Then, cut the piece a little long on the miter saw and test fit it. This is a tricky piece, I think, but it’s just as easy to get right as to get wrong.
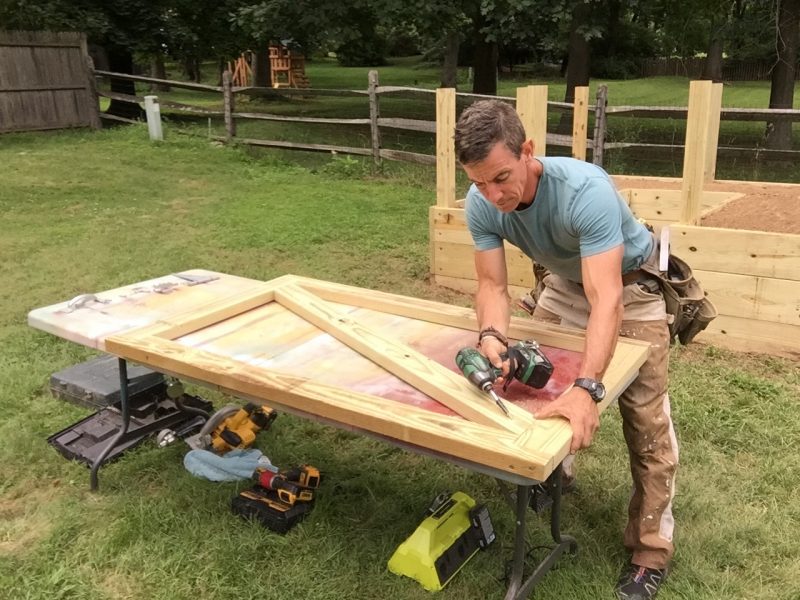


This is kind of a hybrid technique I picked up somewhere along the way. I use my countersink to drill pilot holes and ‘pockets’ then send the screws in at an angle. More detail in this blog. Once again, locked and rocked. This is also one of those times, where you simply can’t do this with other materials. The wood is structure, trim, and solutions to gravity all in one simple 2×4.
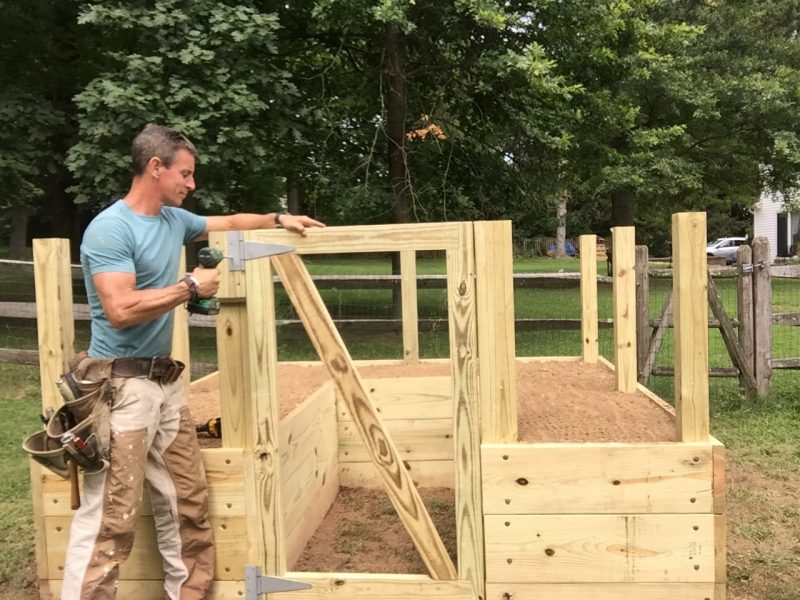


Add a small block to the gate post. I clipped a little miter off the bottom for a finished look.
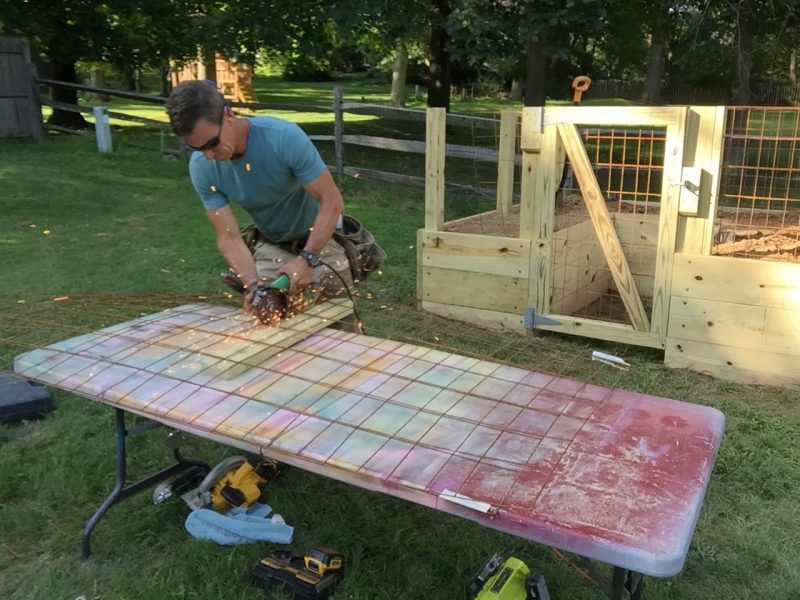


This ‘mesh’ is typically for use in concrete. The more I looked at it, though, the more I knew it wanted to be home on this raised garden project. It’s untreated so it’s going to rust. I love it.
The openings—6 x 6-inches—seemed too wide and a deer could get stuck in there. So, I cut two pieces (client’s idea….love it) and offset them. It took some figgerin’ to figure out how to offset it and, I may have mentioned how hot it was, so I forgot.
The offset requires cutting one piece to size, then centering the second piece on top of the first piece such that you have to cut three sides off it to make it the same size. It’s easy to get turned around on this one. Especially if it’s hot.
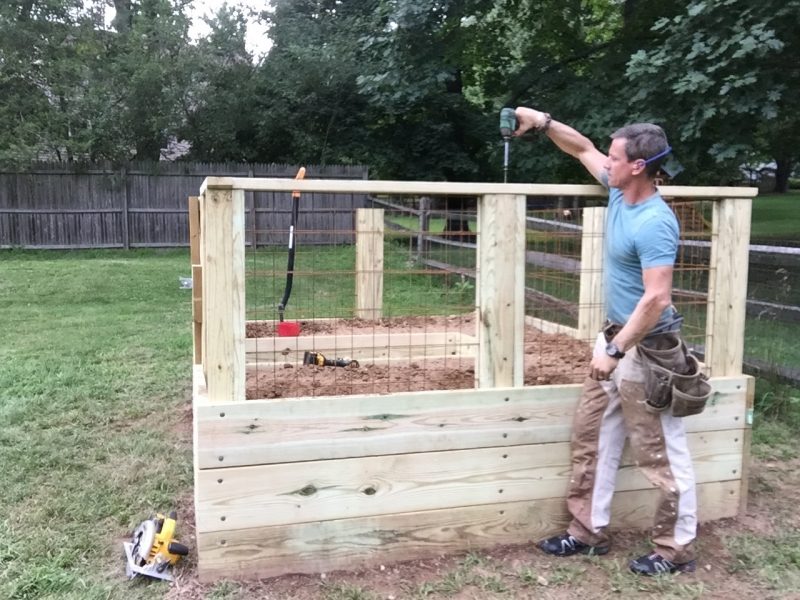


A few details to look at here. I ripped 2×4 down to 1 1/2 x 1 1/2-inches and screwed them to the 4×5 pressure treated pine posts. This traps the fencing. Then I installed the top cap—2×4—butt joining it at the corners.
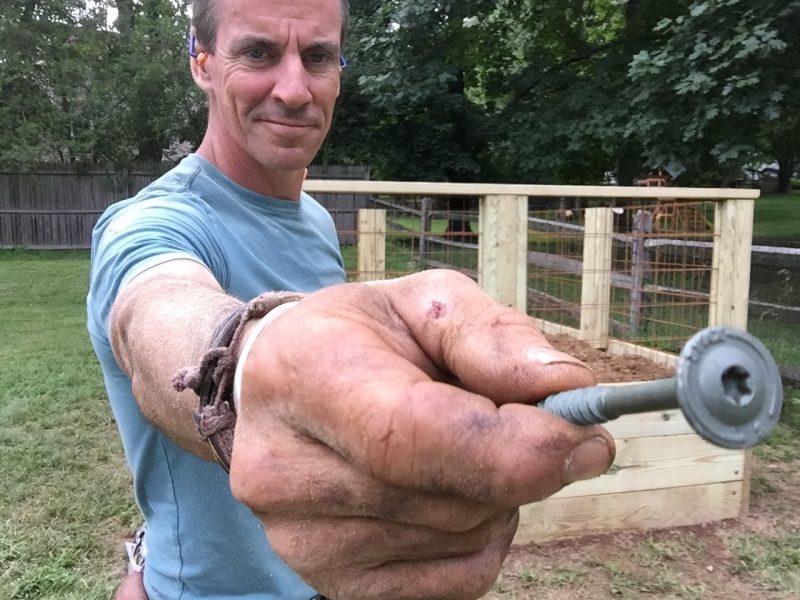


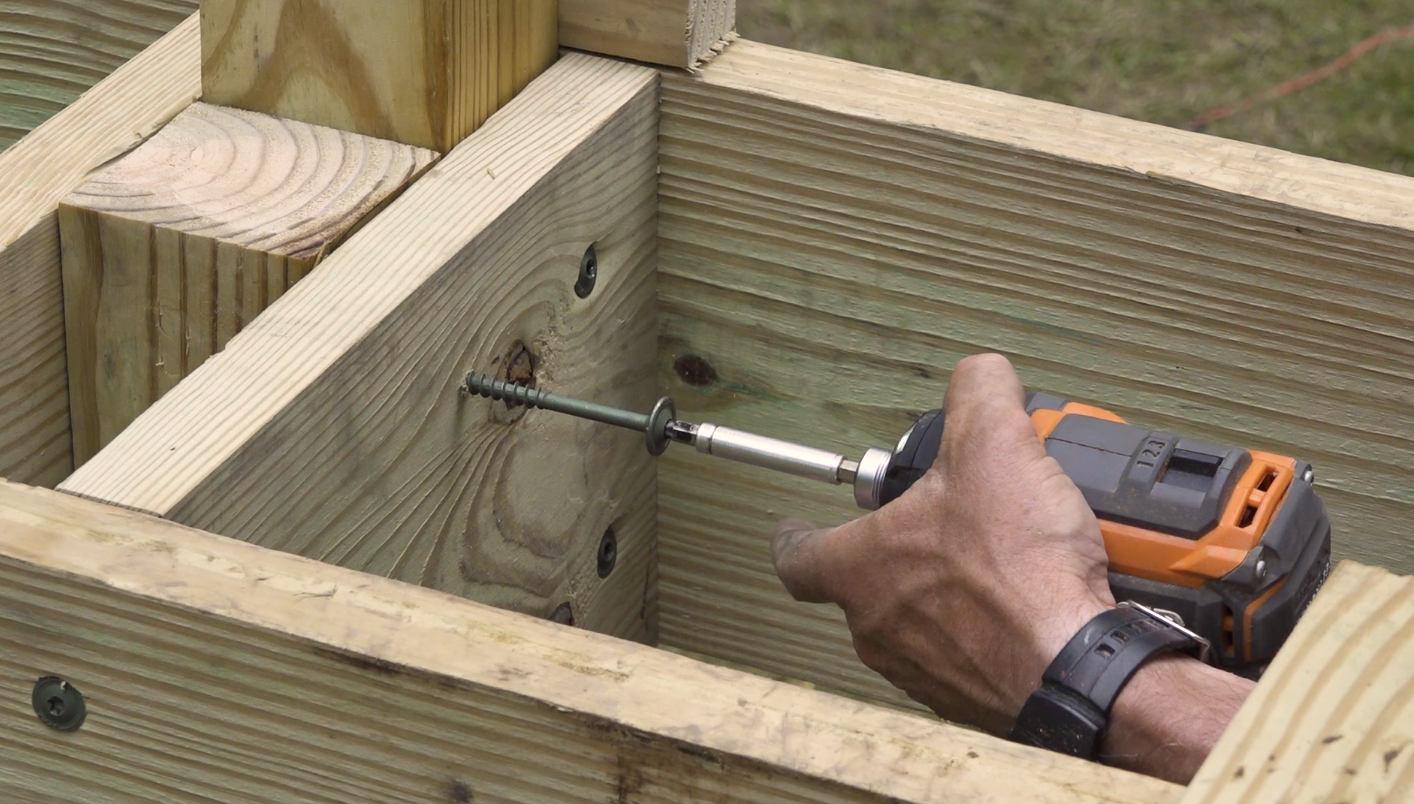
There is a lot of outward pressure from the soil into the wood connections so I upped the ante with a structural screw. These are suitable for holding decks to houses and I think are the right choice here.
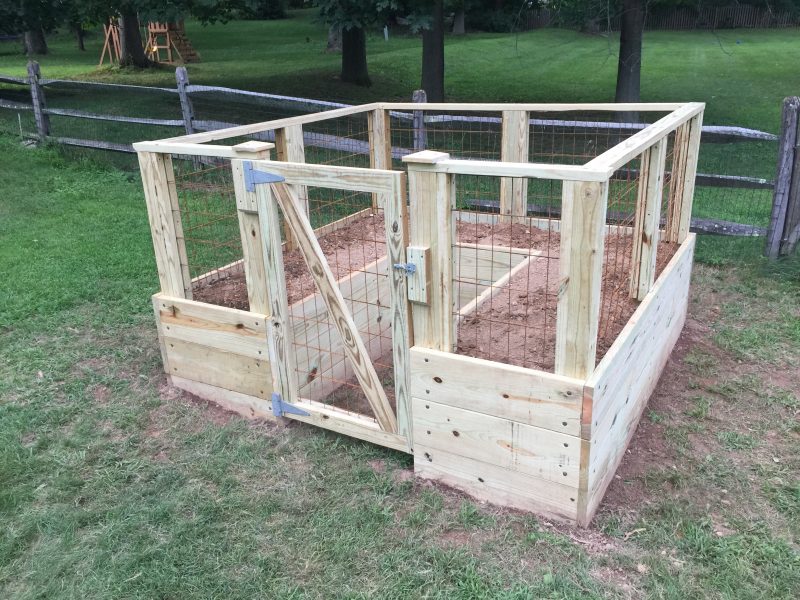


Sometimes the final few details speak volumes about how the rest of the entire job went. I think the little things matter as much as the big ones sometimes. They’re what you end up interfacing with every day, not the rocks underneath the raised garden—unless they don’t do their job, or they didn’t get put in, then you notice
It’s stuff like the gate latch. I made a nice little block with a miter off the bottom to set the latch.
And, probably because I am incapable of leaving well-enough alone, the left and right post tops looked lonely to me. So I made some post caps for them and, man, am I glad I did. You can see all the steps on how to make post caps in this video.
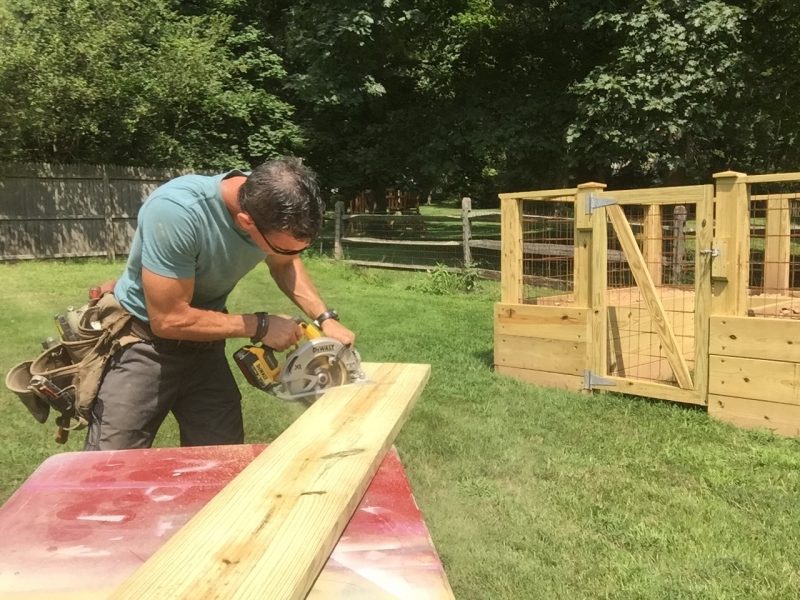


Last thing I did was reinforce the corners. I got to thinking about it and—unlike the other three sides, the gate side isn’t interlocked with another side. So I came back with my circular saw and fashioned some corner braces. Just a 24-inc diagonal across the corner with a strut running perpendicular to it to take up stress, if any, on that side.
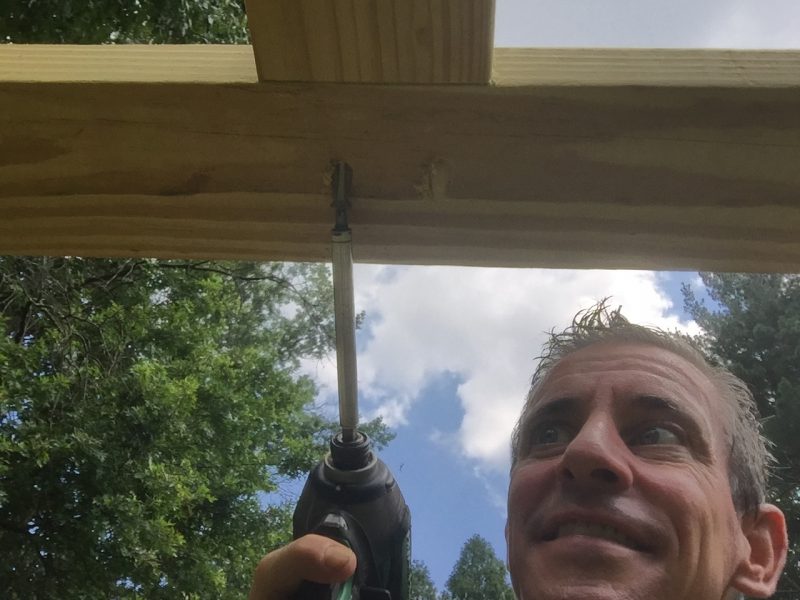


I fastened the strut from beneath using my patented ‘toe-screwing’ technique.
In the meantime, I’m interested to know what you’d plant in your raised garden.
For more projects, ideas, inspiration, please visit Wood It’s Real.


