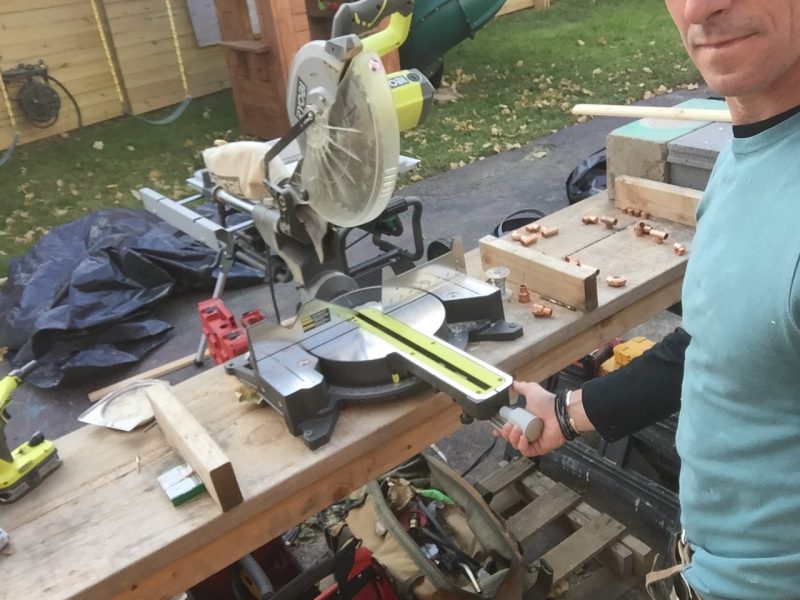
Two-sentence tool review of this Ryobi miter saw:
I find it hard to believe I’m about to say this about a Ryobi miter saw, as the sawdust-in-my-veins pro that I am.
This is a unit whose quality outpaces its price tag by a triple-jump.
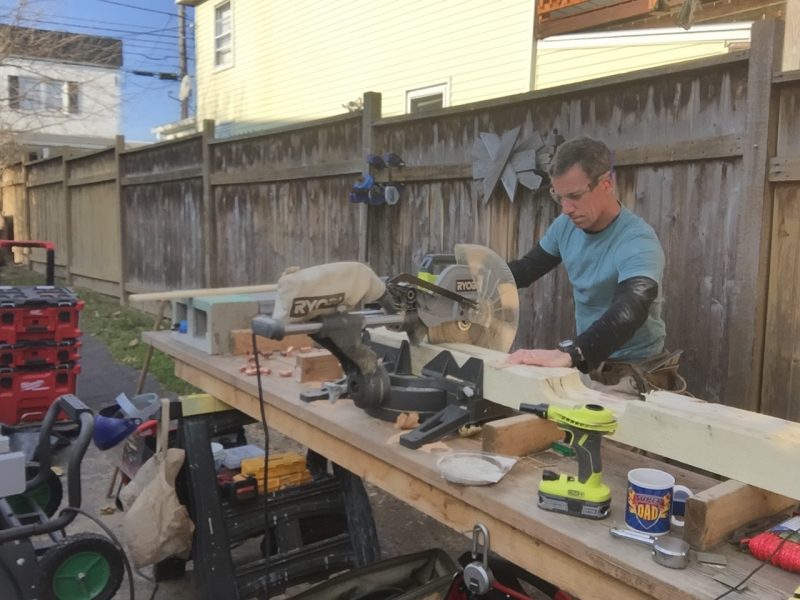
Pro vs. DIY tools
I learned a lot during this tool review. Most notably, how truly uphill the battle is many people have to slog to get DIY projects done.
Many of the projects that I do are for clients. In other words, the projects are scaleable for people of various skill levels, and with professional efficiency, speed, and—usually—power tools.
Without a doubt, big green is positioned as a DIY brand and not something I’d typically have on my client job sites.
However, this hunk of 12-inch-sliding compound cutting iron is taking cues from pro tools and in many cases its hard to tell the difference. I’ll also get back to the DIY thing in a minute.
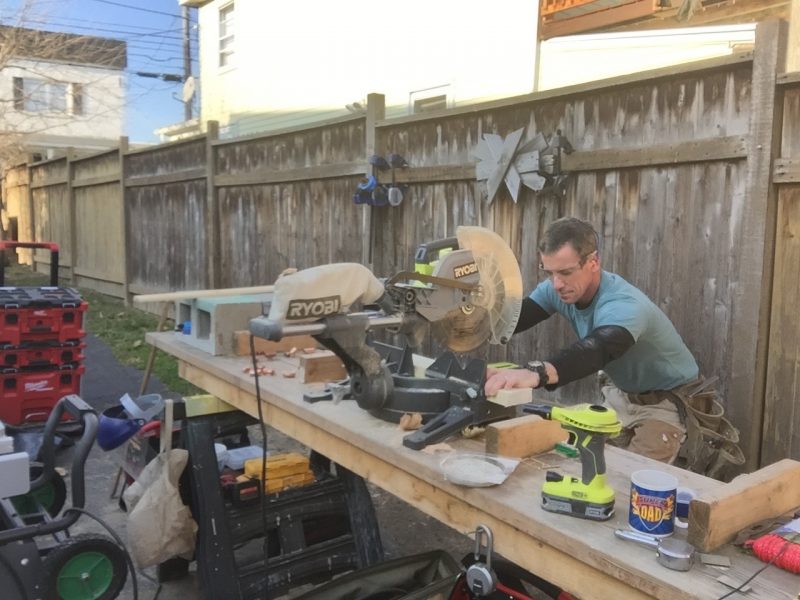


Line of site
This saw feels good in my hands, making cuts, and in my wallet. Lines of site to the blade and the work are clean, clutter-free and there was nary a cut I couldn’t make.
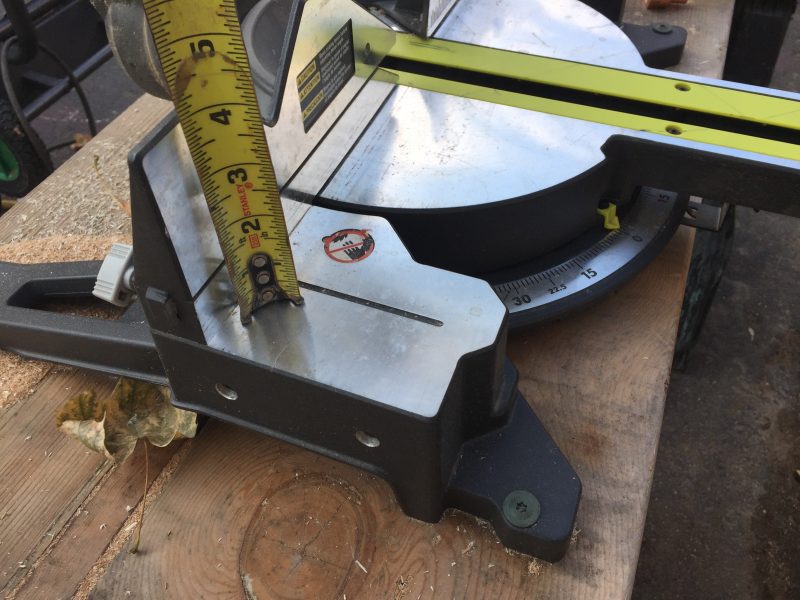


The fence
The fence is graciously tall. It’d be easy for Ryobi to sling some cost out of the unit by reducing the amount of aluminum here, but they didn’t. That means I can cut most crown molding I’d install on any given day in position. It’s called “nested.” VIDEO: How to cut crown molding. Back to the tool.
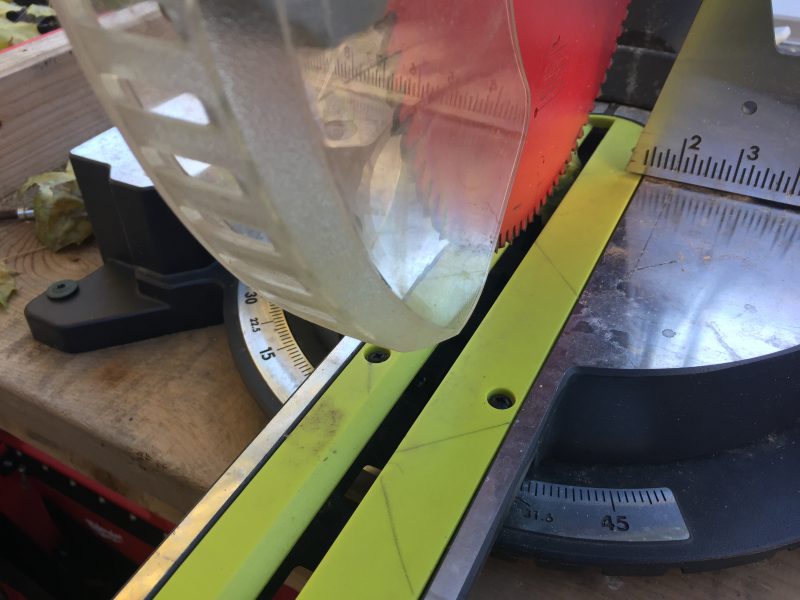


Blade guard
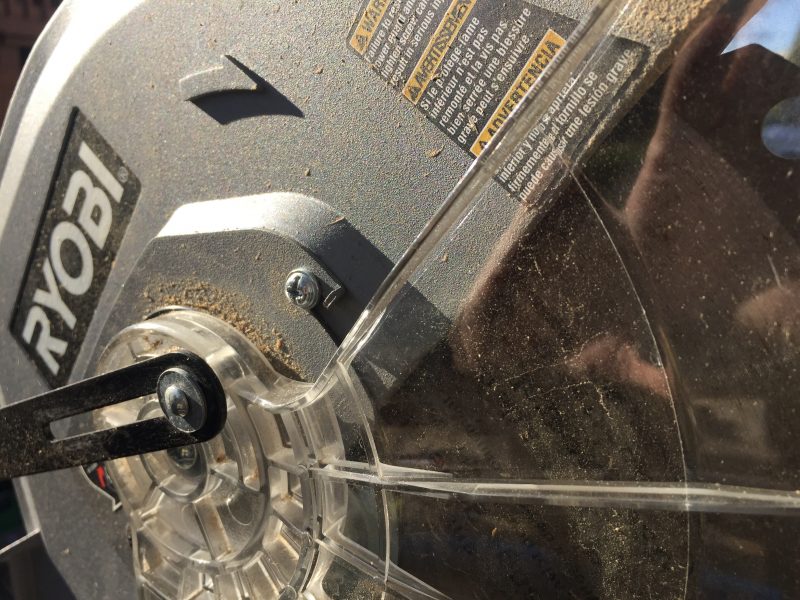
The blade guard is absolutely almost pro-grade. Clear, louvered plastic, it leaves lots of guards—deal breakers for me—on other pro tools in the dust. It’s not 1,000% smooth, but it’s darn good.
Dust collection
Dust collection is sweet. It collects and enormous amount of it in the saw’s really well-designed dust chute and bag. It’s not a feature I rely on much, but it is nice to know it’s there.


Cutting
The saw cut with outstanding accuracy out of the box and stayed accurate throughout the test period. No complaints. Adjusting the unit if it does get out of alignment is typical: Set screws and adjustment bolts. Read the directions if you need to adjust.
Power
Power is abundant. I plowed through all the stuff of DIY like cedar deck boards, PT and regular 2×4 plus molding and 1-by. The blade brake brings the cutterhead to a pleasantly quick stop. The motorhead slides easily on the rails and delivers good cuts.
Bevel
The bevel adjustment feels a little “last year’s model” but who cares? It works and works well.
This Ryobi miter saw—TSS120L—only bevels the motorhead one way (right). When I unboxed the saw, I thought it didn’t bevel at all and had a petite nervous breakdown.
I rarely use the bevel function, so I am not at all concerned about this; single bevel is plenty. It also comes with those little extension wings for the table. I get it, but they really don’t do anything. What you really (yes, really) need for dialed-in DIY is a work table like this one or this one.


Blade change
The blade change works great. However, the set screw is doomed, but easily replaceable if and when it does cam out. And the blade it comes with is a train wreck, albeit a tiny one. Because of it—and this is the DIY slog I mentioned above—I almost panned the entire tool.
While the included construction-style blade cut and didn’t change the accuracy or adjustments of the saw at all, when it spun up, it was loud and vibrate-y (real word, look it up). It made the unit feel like it was launching off the table. When it stopped, it felt the same way. And, it was loud. I mean, that thing can ring.
About DIY and miter saws
That’s what got me thinking about DIY—which I talk about on this DIY podcast more in depth. One the one hand, with the amount I use a miter saw, little things add up fast. If every start and stop has my attention over something negative, that’s not a tool I can use day in and day out. Weekends? Whatever. All week? Not happening. It’d be kind of like having slow-loading email at your job. It’d get to you after a while.
Still, as a pro, I have been lucky enough to have used and reviewed a bazillion miter saws for pro magazines (check out my review of the cordless Ryobi miter saw here!). The blade-song didn’t interrupt my work.
But if I were new to DIY, my heart would be in my throat and my palms would be sweating. As a DIYer, I already don’t really know all the facets of what I’m up against and now I’ve got a tool I have to devote bandwidth to as well. That’s a lot of unknown happening right there.
The good news is there’s a solution, and a simple one. I put a new blade on it and ended up—and this has never happened to me before—with a new saw. The wobbly wind-up of the included blade was gone and I was off to the races.
To overmake the DIY slog point, I could easily solve this problem because I have 4 to 5 extra 12-inch blades hanging around. At somewhere around 80 to 100 clams a piece, this solution is likely nowhere near DIY radar screens. So, you suffer.
Thing is, with this saw’s price tag, you can get it and a sweet blade and get out the door for what I think is really reasonable cost to value ratio.
Ryobi miter saw, TSS120L, worth it.
Price: $249. As of this writing, it’s reduced to $199. Holy smokes!
If you want to research more specs or buy this tool, head to The Home Depot.








I have a Ryobi compound mitre saw where I work in maintenance. First time out, I mitre cut a stack of 2×6 cedar for a planter project. It was all end cuts. The angle was way off. This after I cut the whole stack. I grabbed a square and checked the fence to blade angle at 90 degrees. It turns out the fences are angled back slightly toward the center. Thus on an end cut, it’s a few degrees off. Am I missing something? Why would they do that? Since both fences are a single cast unit you can’t adjust that out. With a trim job coming up, I had to cut the yoke in the back with a hacksaw, clamp a straight bar across the fences and adjust accordingly. It works fine now. It’s a pretty good saw aside from that glaring design flaw.