
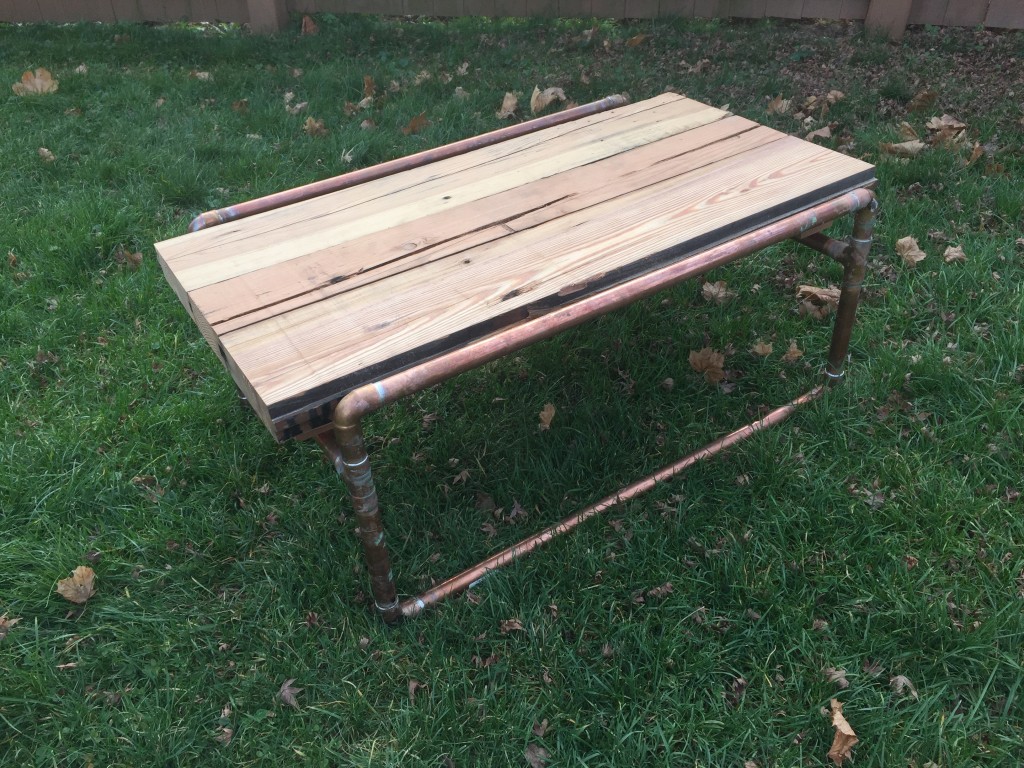
There’s no telling what Pinterest project is the one that breaks the internet. Mason jars, pallets, ‘reclaimed’ lumber…they’re all popular. I love working wood. I do. I also love the soldering so here’s how I combined some them: Reclaimed lumber and 1-inch copper pipe to make an inexpensive, real rustic coffee table.
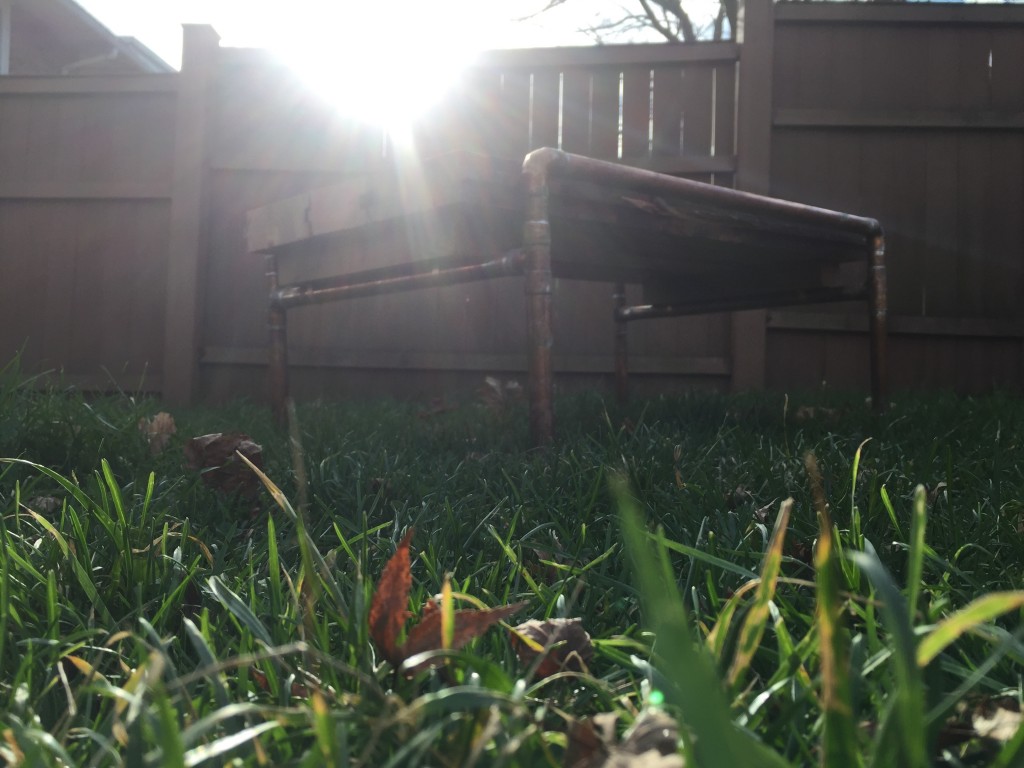
You’ll need:
(4) 1-inch copper tubes (they come in 10-foot lengths). The less expensive red-ink pipes are fine
(8) 90-degree elbows
(4) Tees
Lumber. Mine is reclaimed—full tilt boogie 3 x 10 old growth…god I love it. Framing lumber or pine boards look great too.
Bernzomatic torch and solder — I’m a Bernzomatic torchbearer. They paid me to design this and show you how I built it. I hope you still like me. I’m not selling you anything. Moving on…
Tool to cut the pipe. I use a miter saw, but a pipe cutter or tool like the Worx BladeRunner will get the job done
This Pinterest project table is 18-inches tall by 36 long by 24 wide (tweak the width to fit whatever your lumber turns out to be). Actually, tweak anything you want. Make it yours for your space. Cut the pieces and prep the pipe by cleaning it with aluminum oxide sandpaper. For this table:
Top and bottom rails are 34-inches
Side pieces (below the Tee are) 9-inches
Side pieces (above the Tee are) 3-inches
Stretchers are 22 -inches
About 1-inch of pipe goes inside each fitting, so account for that and the fitting size in your overall layout. Make sense?
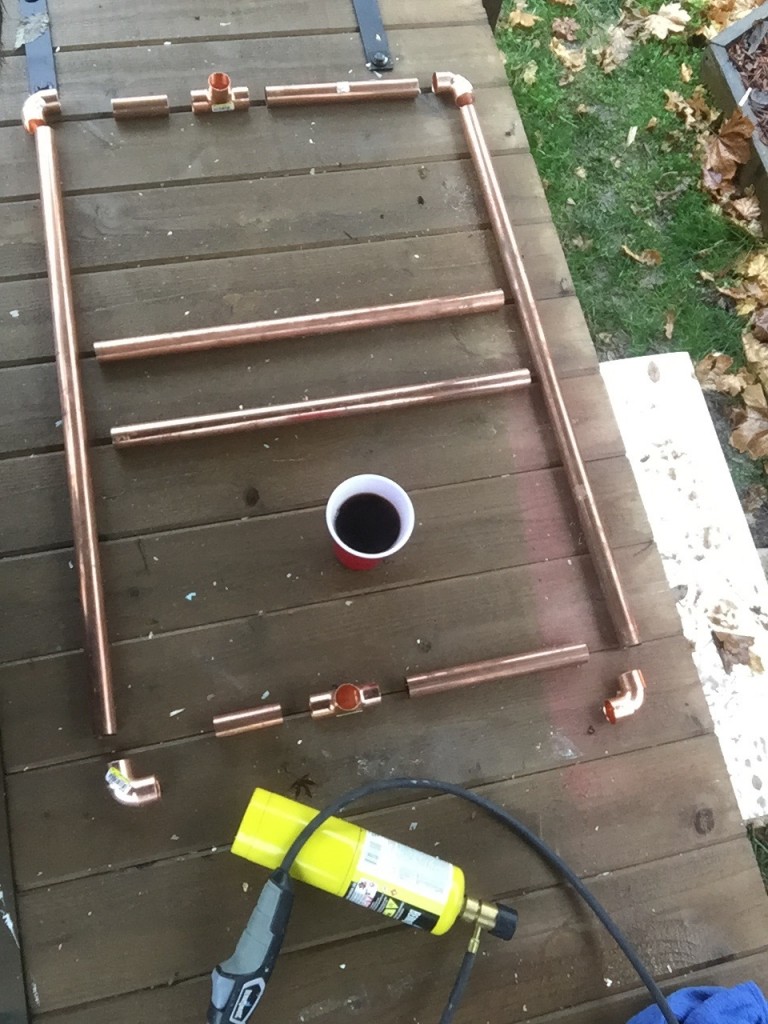


Dry-fit side Panel 1, without the stretchers, on a flat bench. Make sure the stretchers are as close to 90-degrees as possible from the side panel. Solder it all together and let it cool. Wipe the solder from the joints before it cools with a folded and/or damp rag. This really polishes up the unions and makes you look cool.
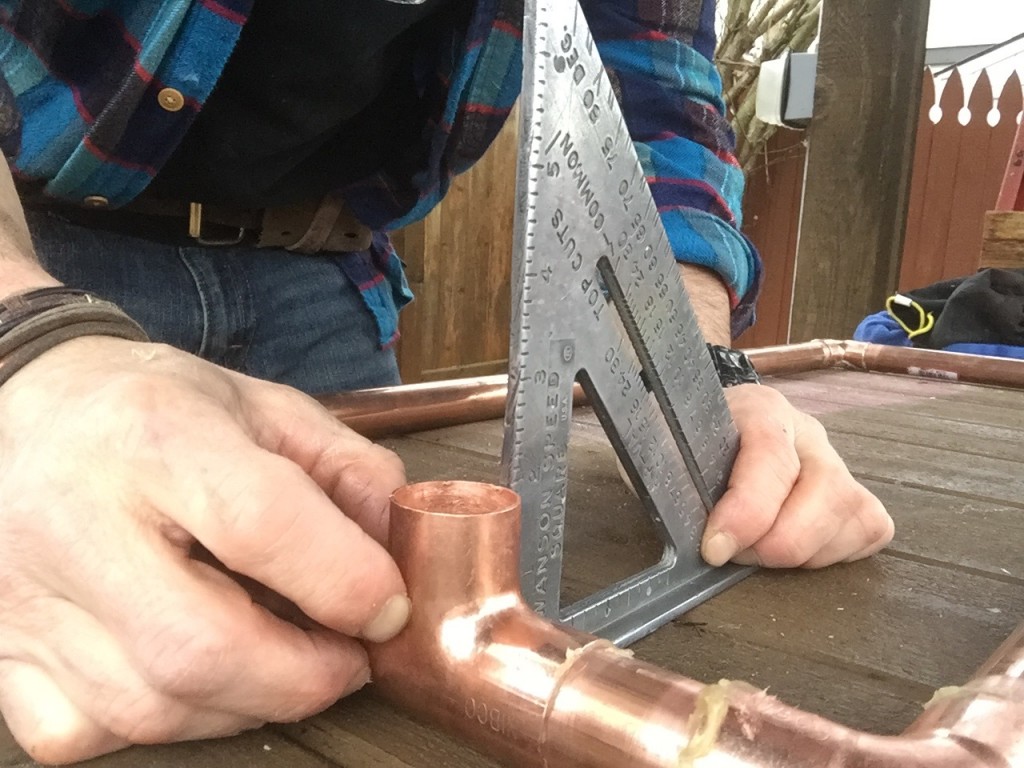


Assemble the second side panel and let it cool.
Join the panels by soldering the stretchers. Even though I’m calling this an Internet-breaking Pinterest project, I used MAAP gas because because it burns hotter than propane. This is good for larger pipes like this because it heats the whole area quicker. Propane works well too. I’m splitting hairs here.
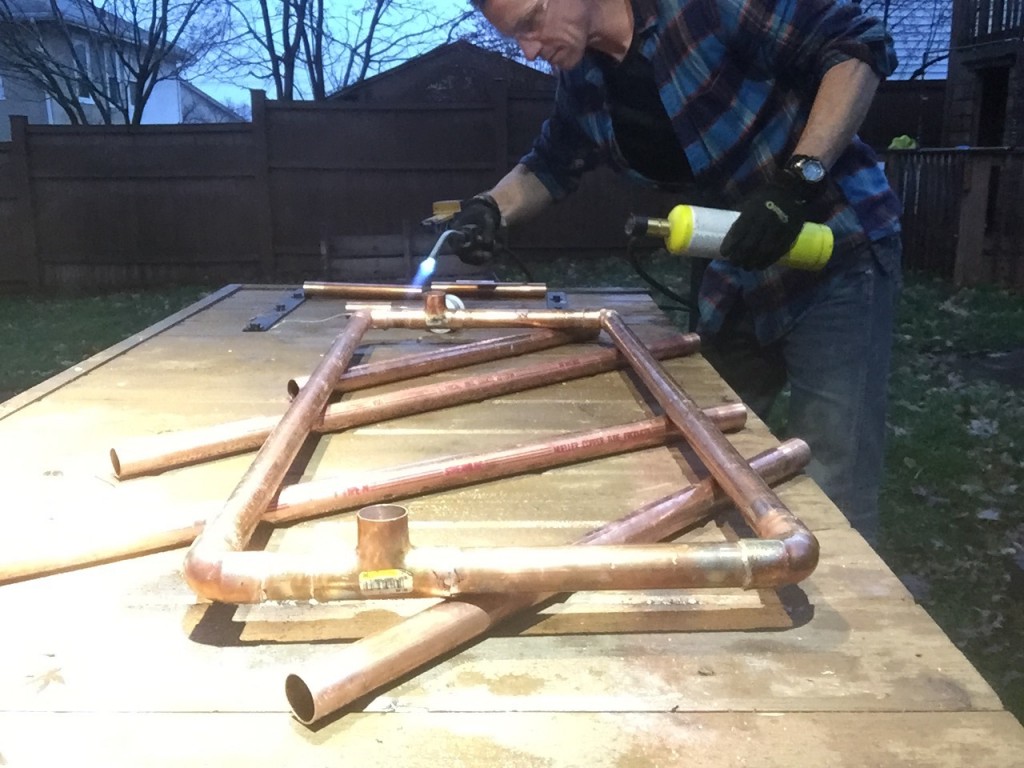


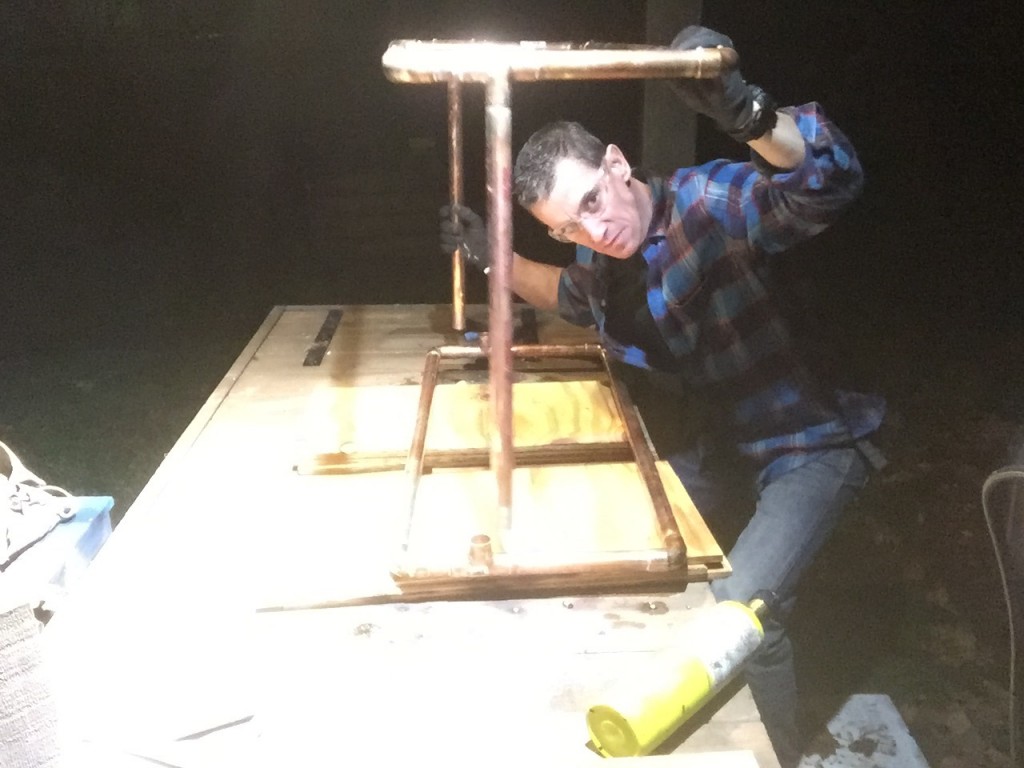


Table Top
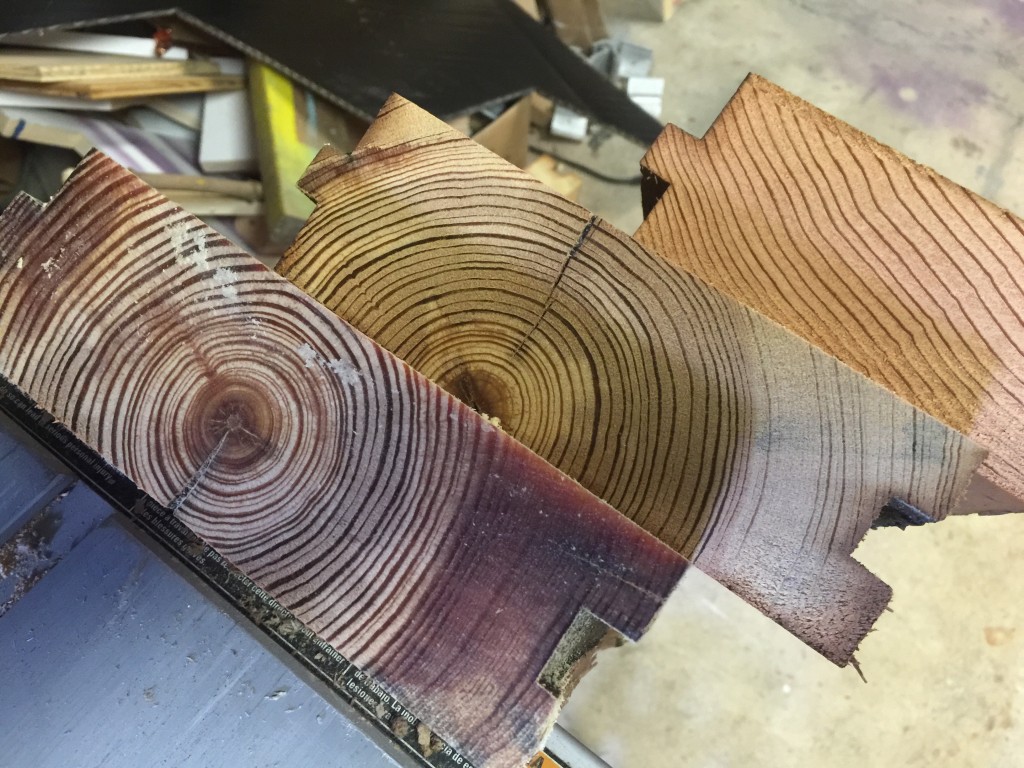
Now for the reclaimed lumber. I didn’t just get wood laying around somewhere, I went looking for it at a real lumber reclaimer called Philadelphia Salvage Company. I found a trove. I mean heaps and stacks of luscious old school goodness. They had about a mile of true 3-by material which they planed down to a bare wood top and bottom for me revealing (as artist George Nakashima said—yes, I am that big of a wood dweeb—‘the grain within’.) They left the edges all sawn and with their old tongues and grooves on them. Old and knotty and rustic and peppered with nails and all kinds of other Authentic that makes it a hunk of hundred-year-old-awesome. (You can get mason jars there too Pinterest-peeps. And old desks and bottles and doors. Hit ’em on Etsy for out of towners.)


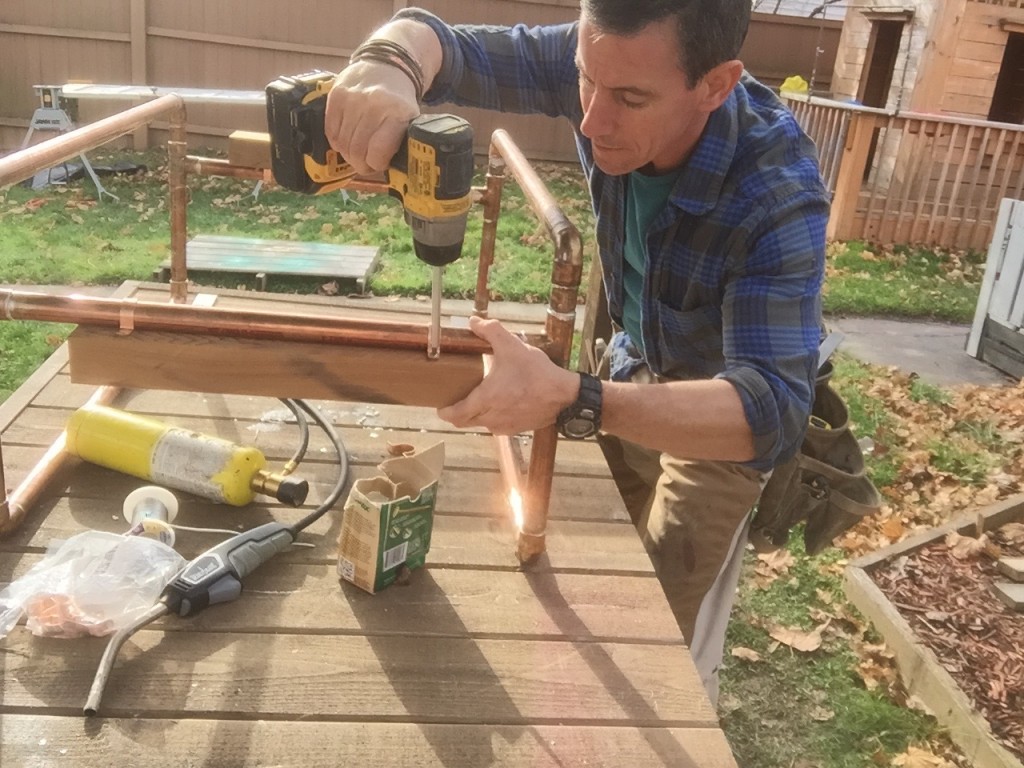
To bring my table surface level with the pipe frame, I packed it up off the stretcher with a hunk of 3-inch lumber I made on the table saw out of a 4×4. A couple 1-inch pipe clamps hold the blocks to the stretcher.
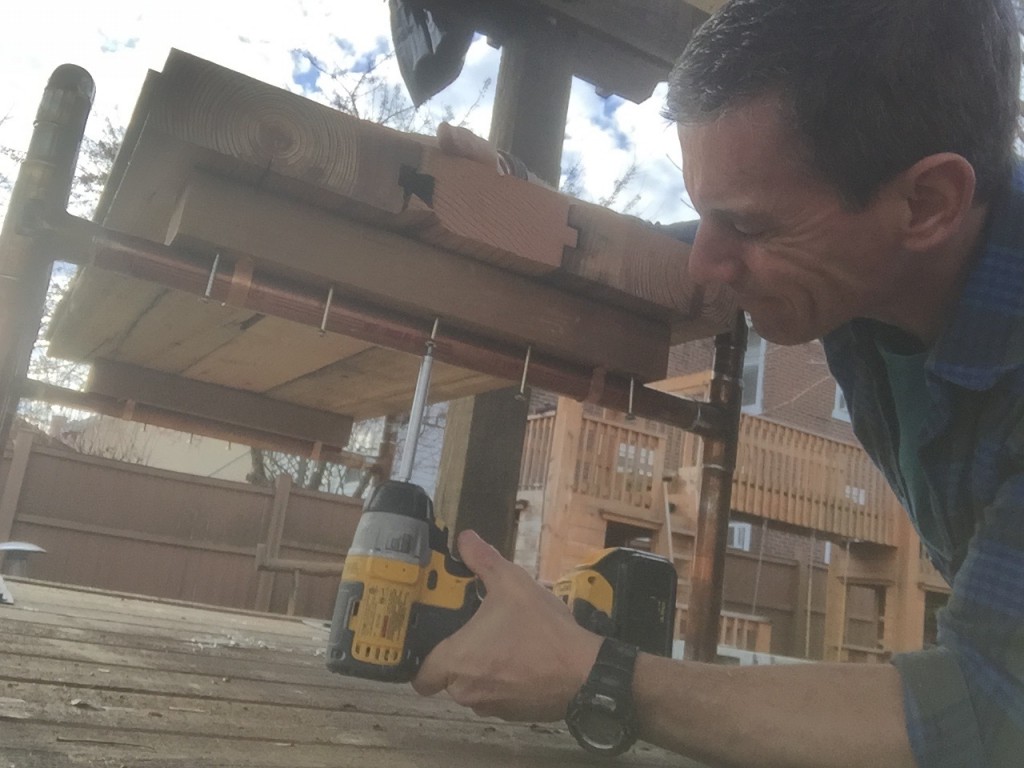


I then place the table top boards across the blocks and fasten from underneath. I countersink some fairly deep pilot holes so the 3-inch Spax screws I use can bite into the underside of the table top boards
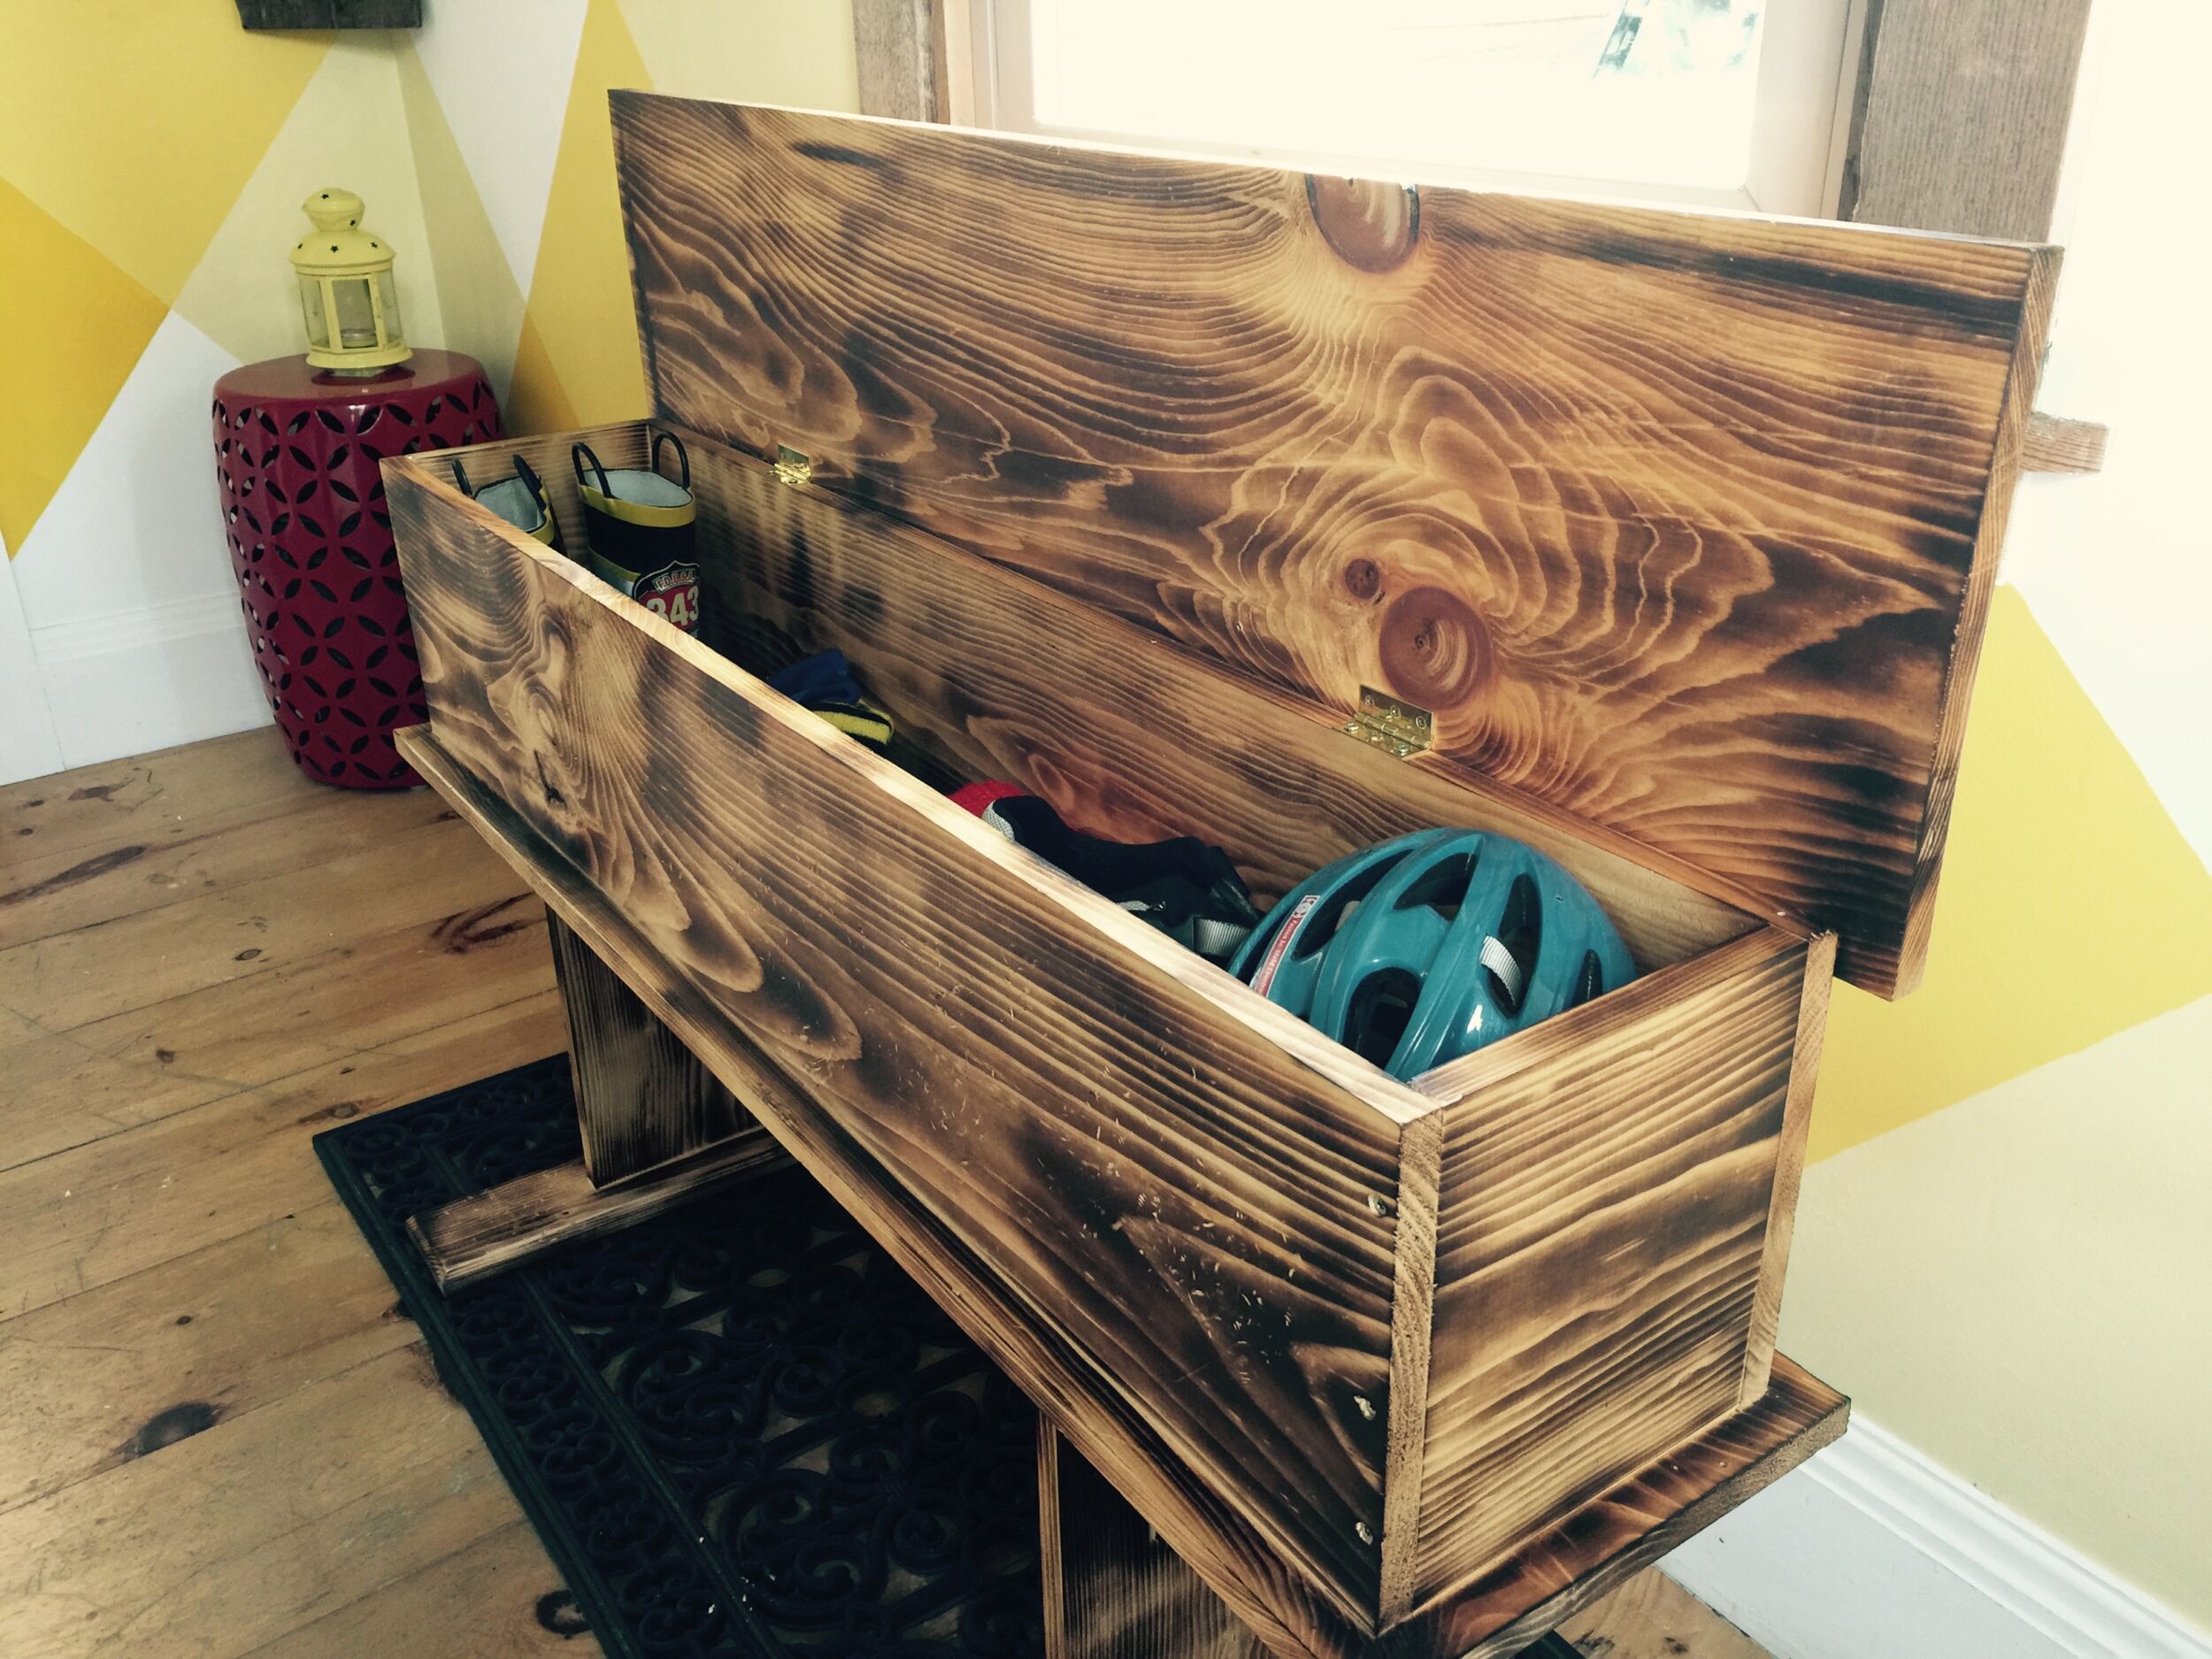
How you finish it is up to you. Do a burnt wood finish like I did with my rustic storage bench. Or sand and seal with a clear urethane.
Now get your feet off the table! Or don’t. This thing is built for real life.







[…] ‘job’ I had for Jack was to move and stack about 50 pieces of pallet wood I had piled up after cutting the pallets […]